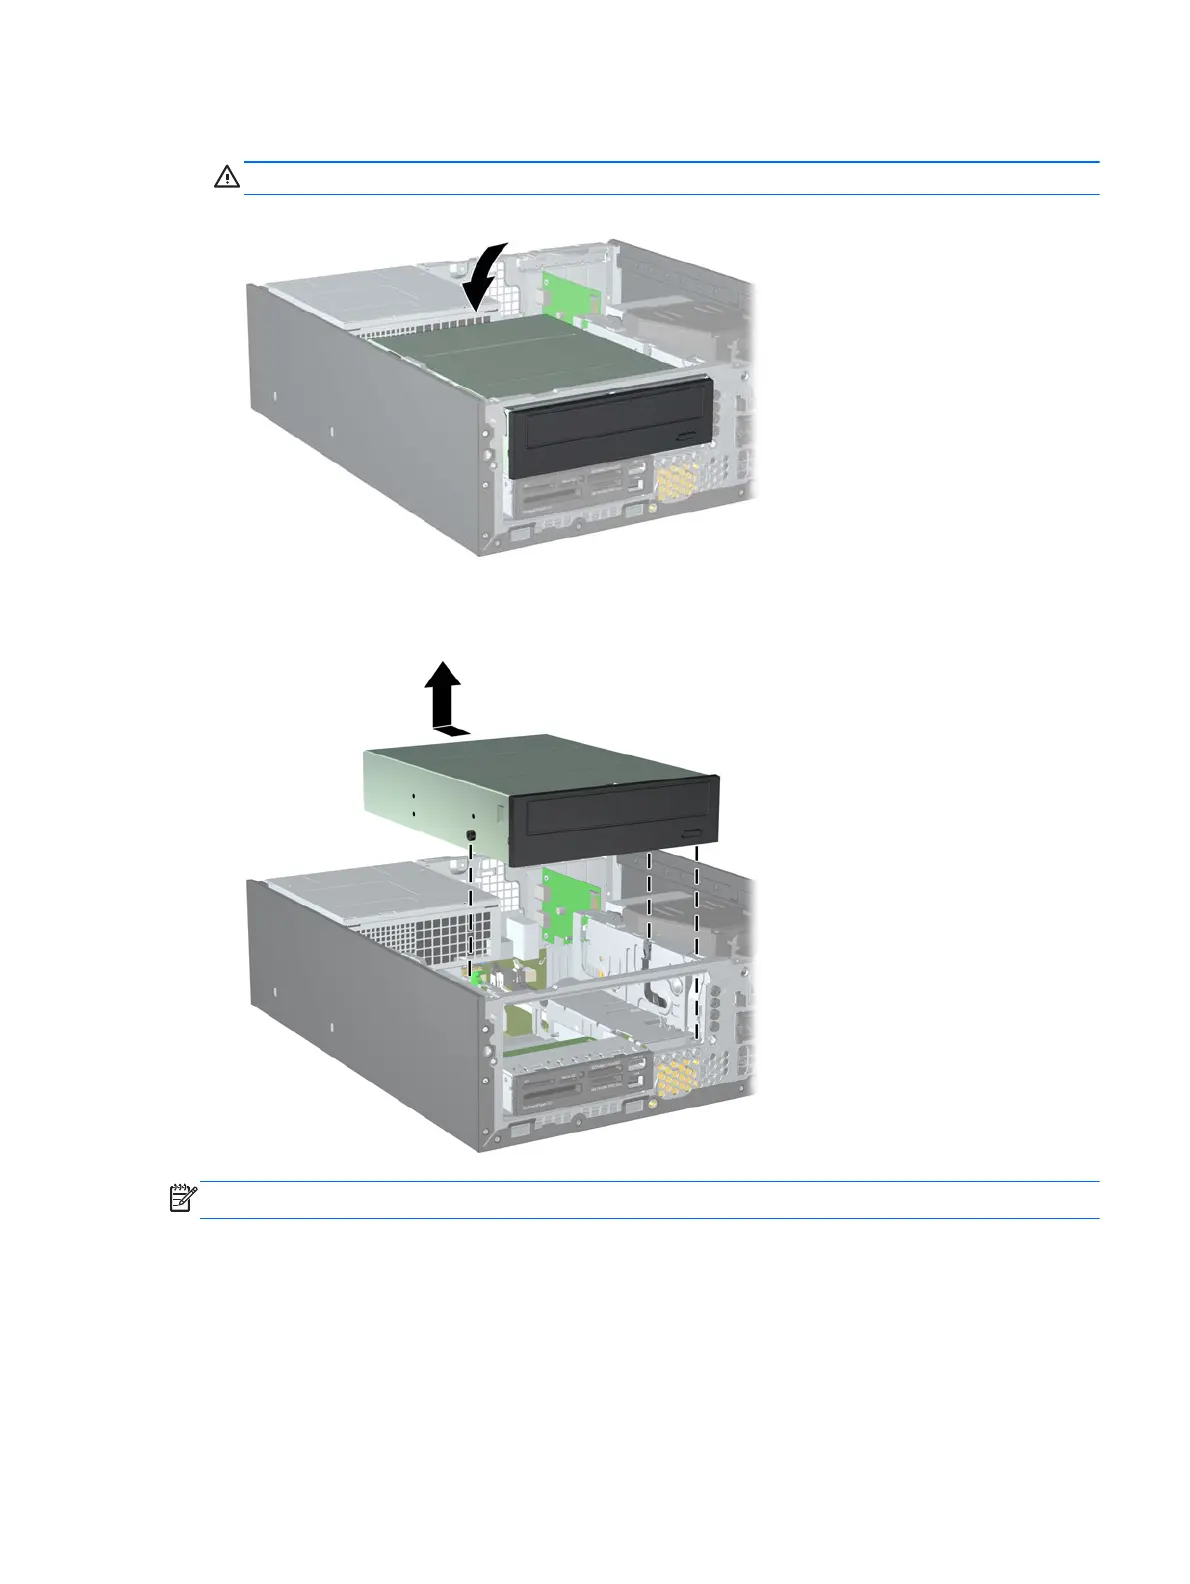
5. Rotate the drive cage back down to its normal position.
CAUTION: Be careful not to pinch any cables or wires when rotating the drive cage down.
Figure 7-19 Rotating the Drive Cage Down
6. Slide the drive back until it stops, then lift it up and out of the drive cage.
Figure 7-20 Removing the 5.25-inch Drive
NOTE: When replacing a drive, transfer the four mounting screws from the old drive to the new one.
Drives 69

 Loading...