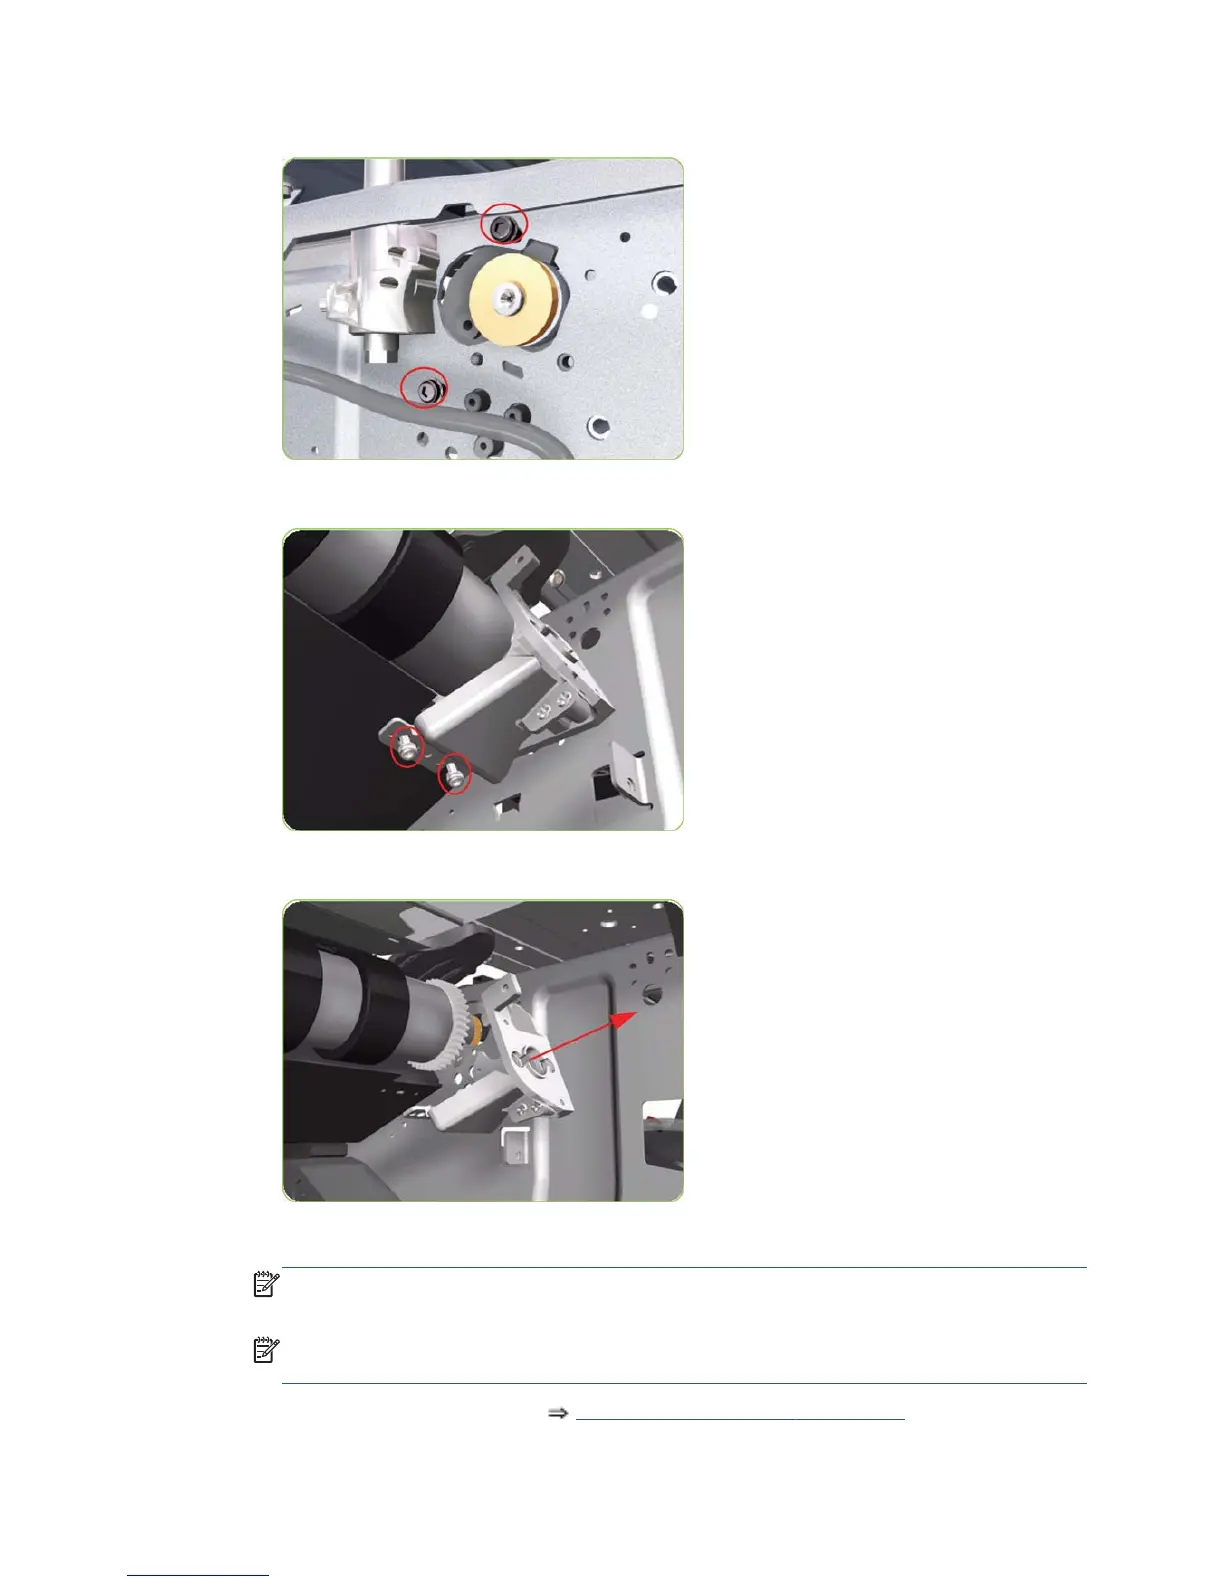
15. Remove T-20 screws that secure the Media-Axis Motor Bracket to the side-plate.
16. Remove two T-20 screws (Type A) that secure the Media-Axis Motor Bracket to the Chassis.
17. Remove the Media-Axis Motor Bracket from the printer.
18. Remove the Drive Roller by sliding it to the right, then downwards and then out of the printer.
NOTE: When reinstalling the parts, make sure you apply the grease (included with the support
part) to the gears.
NOTE: After installing the new Drive Roller, make sure you perform the following Service
Calibration.
●
Paper-advance Calibration
Paper-advance calibration on page 124.
ENWW
Disassembly order
411
 Loading...