438 Chapter 8 Removal & Installation
Removal & Installation
instructions:
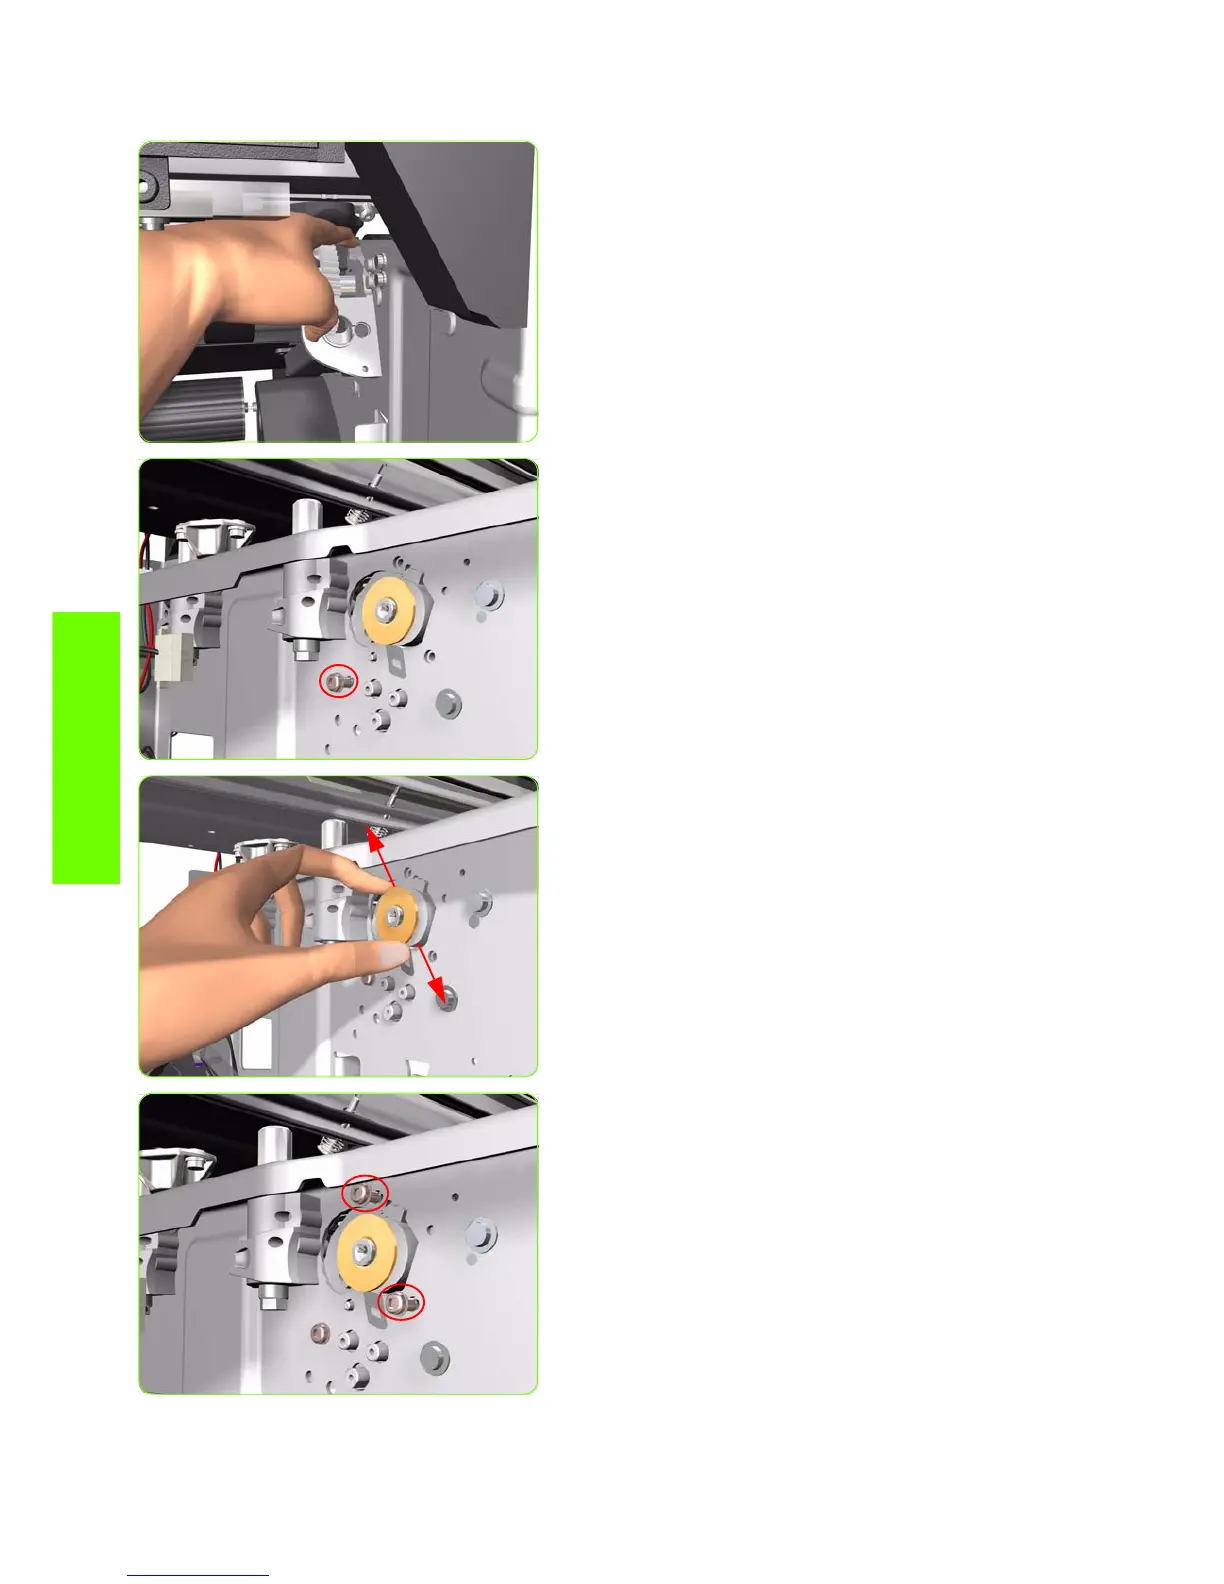
1. Place the Media-Axis Motor Bracket in the correct
position on the Printer. Make sure you keep it pushed
down (as shown in the illustration) until the first screw
has been installed and fully tightened.
2. Install the first screw (T-15) in the position shown. Make
sure you tighten the screw fully so that the Media-Axis
Motor Bracket cannot be moved.
3. Check that there is no play (movement) between the
Media-Axis Motor Bracket and the Drive Roller. If there
is play, then check that the screw installed in the
previous step is fully tightened.
4. Install the remaining two screws (T-15) that secure the
Media-Axis Motor Bracket.
 Loading...