Hardware options installation 29
Memory configuration
To optimize server availability, the server supports ECC memory. ECC memory provides the greatest memory
capacity for a given DIMM size, while providing single-bit memory error corrections, depending on the
specific DIMM type. This mode is the default option for this server.
For the latest memory configuration information, see the QuickSpecs on the HP website
(http://www.hp.com).
ECC memory configuration
ECC memory is the default memory protection mode for this server. Standard ECC can correct single-bit
memory errors and detect multi-bit memory errors. When multi-bit errors are detected by using Standard
ECC, the error is sent to the server and causes the server to halt.
General DIMM slot population guidelines
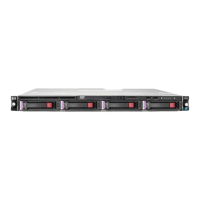
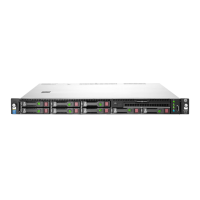
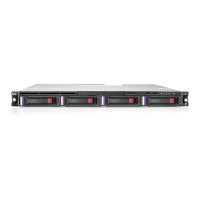
• The HP ProLiant DL120 G7 Server has four memory slots.
• The HP ProLiant DL120 G7 Server supports two channels with two UDIMM slots per channel.
• Memory channel A consists of the two UDIMMs that are closest to the processor.
• Memory channel B consists of the two UDIMMs that are furthest from the processor.
• Different types of processors have different types of memory support.
• The server supports single and dual-rank 1,066 and 1,333 MT/s ECC UDIMMs.
• The server supports up to 16 GB (4x4-GB) for UDIMMs.
• The server does not support:
o LV-DIMMs
o RDIMMs
o Non-ECC UDIMMs
• When installing DIMMs:
o If the processor is not installed, do not install DIMMs.
o Populate DIMMs from heaviest load (double-rank) to lightest load (single-rank).
o Use HP-qualified UDIMMs.
o The farthest DIMM (either CHA or CHB) must be populated first.
Installing a DIMM
CAUTION: To avoid damage to the hard drives, memory, and other system components, the air
baffle, drive blanks, and access panel must be installed when the server is powered up.
NOTE: The server does not support Elpida 1G/2G/4G UDIMM memory.
1. Power down the server (on page 17).
2. Remove the access panel ("Removing the access panel" on page 18).
 Loading...