Installing a security screw on the Engage One head unit and
stand
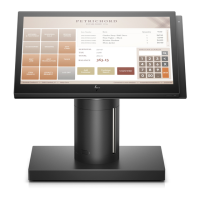
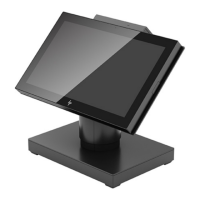
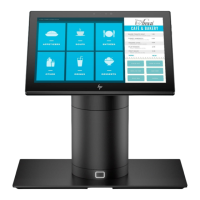
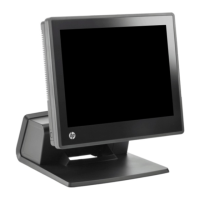
You can insert a tamper-resistant security screw into the computer’s column with a T-10 screwdriver to
prevent access to the computer head unit’s release button.
1. Remove the security screw from the bottom of the stand’s column.
2. Install the security screw in the release button hole on the stand’s column.
Installing a security screw on the Engage One head unit and
VESA mount
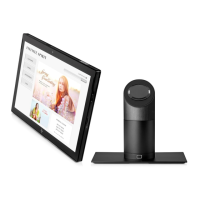
You can insert a tamper-resistant security screw into the computer’s VESA mount with a T-10 screwdriver to
prevent access to the computer head unit’s release button.
1. Press the rear cover release tab (1) on the VESA bracket, and then pull the rear cover o the VESA
bracket (2). Then remove the security screw (3) from inside the VESA bracket, and then replace the rear
cover (4).
30 Chapter 3 Hardware congurations and upgrades

 Loading...
