Removal and Replacement
Bottom Assemblies
DC Controller PCA
If the DC Controller PCA is to be replaced, the old PCA must first
be removed from its mounting assembly.
CAUTION
The DC Controller PCA is ESD sensitive. Avoid
using conductive tools (such as metal
screwdrivers) when removing the DC Controller
PCA from its mounting assembly.
1.
2.
3.
Remove the Fusing Assembly (Figure 6-27), the Formatter
Shield and PCA (Figure 6-13), and the Power Switch Assembly
(LaserJet 4P/4MP only- Figure 6-23).
Remove the DC Controller Assembly (Figure 6-36), Pickup
Solenoid, and High Voltage Connector Assembly (Figure 6-37).
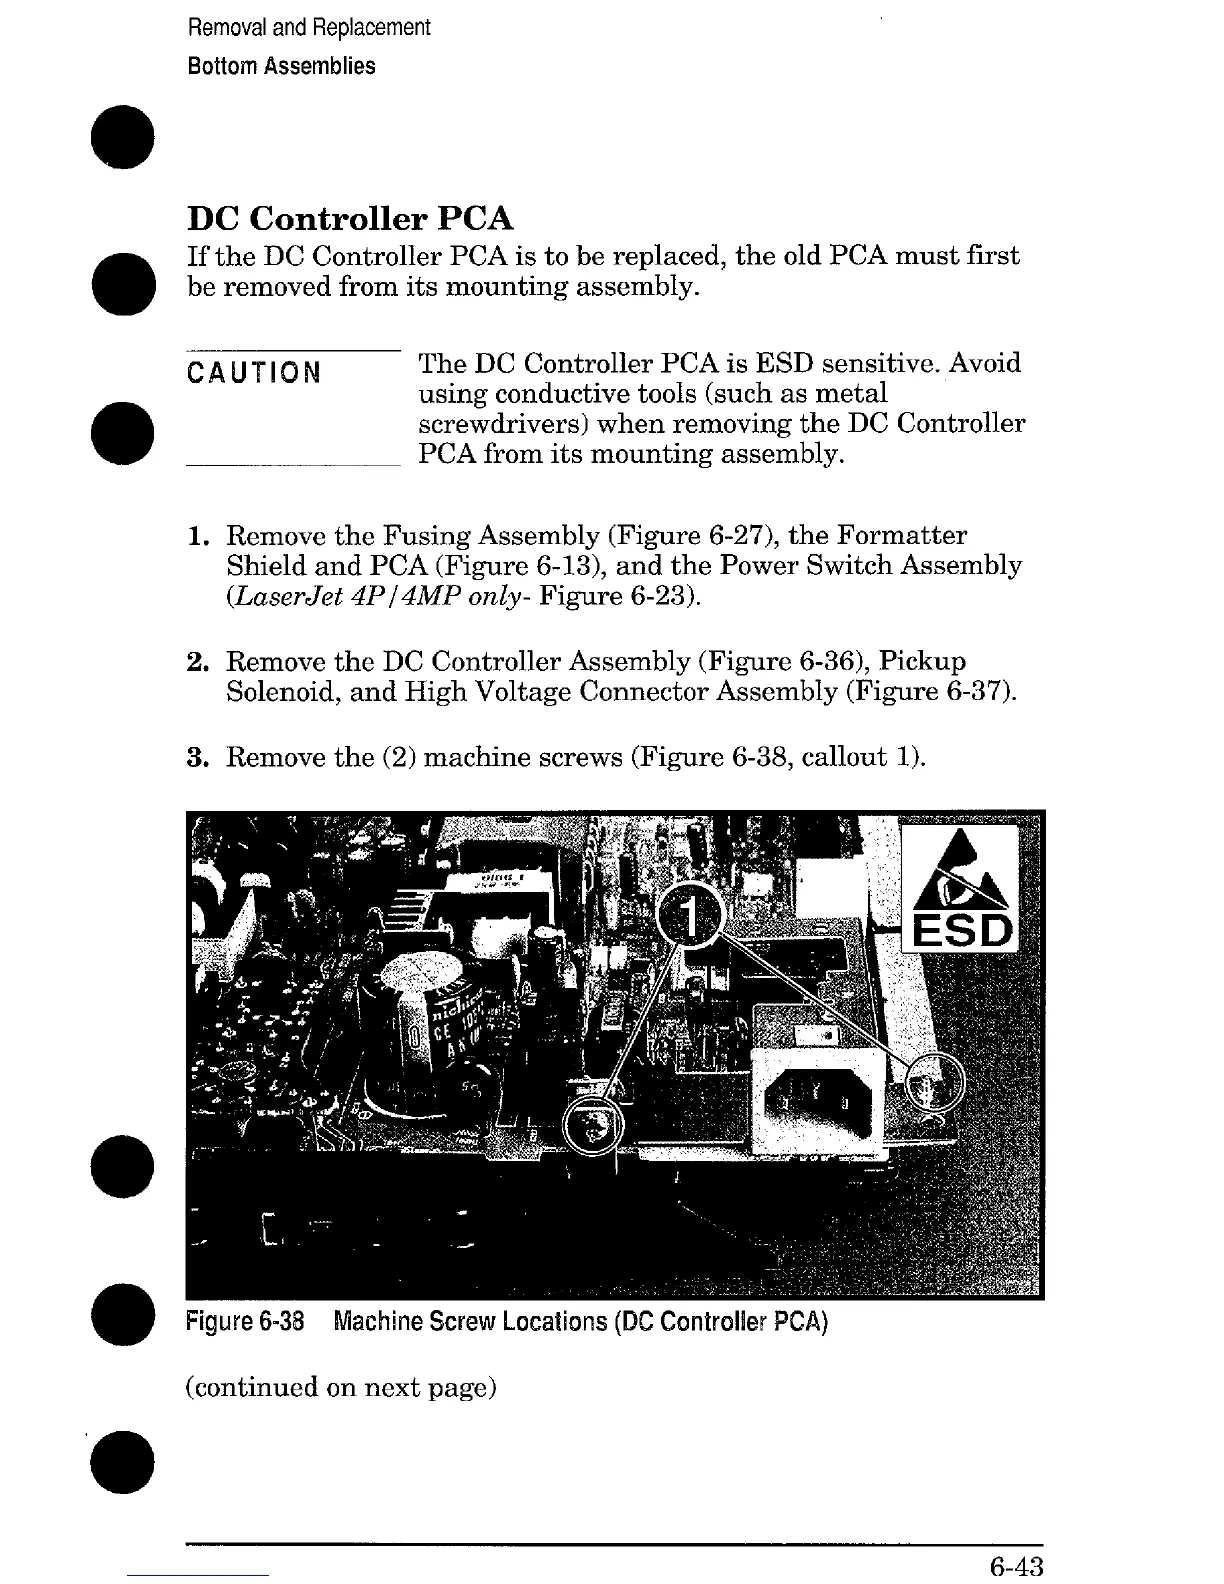
Remove the (2) machine screws (Figure 6-38, callout 1).
Figure6-38 MachineScrew I-ocatkms(IX ControllerlWA)
(continued on next page)
6-43
 Loading...