Cartridge door
Before proceeding, remove the following components:
●
Dust cover, input tray, and extension tray. See
Dust cover, input tray, and extension tray on page 9.
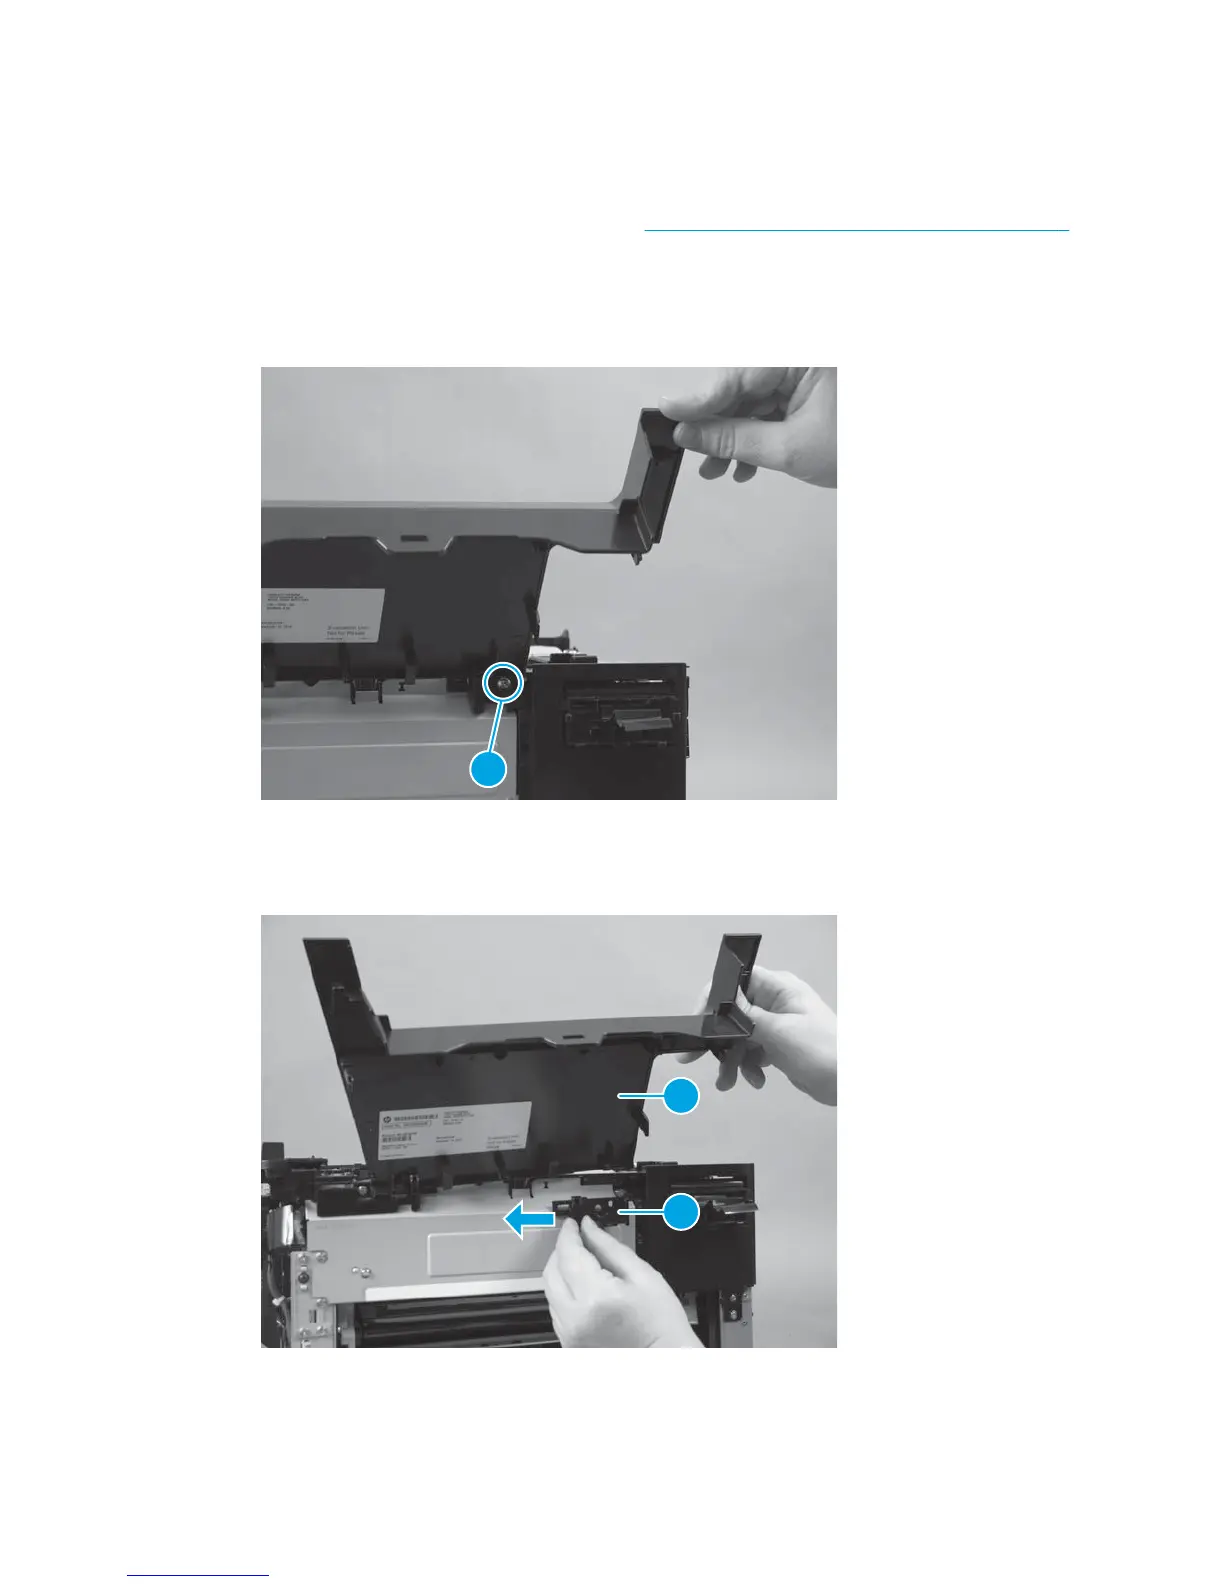
Remove the cartridge door
1. Open the front door halfway, and remove one tapping screw (callout 1).
Figure 1-43 Remove the cartridge door (1 of 2)
1
2. Slide the hinge (callout 1) and the front door (callout 2) toward the left of the product and remove them
together.
Figure 1-44 Remove the cartridge door (2 of 2)
1
2
ENWW Removal and replacement procedures 35
 Loading...