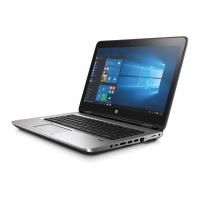
Heat sink
Description Spare part number
Heat sink (includes replacement thermal material) 650372-001
Before removing the heat sink, follow these steps:
1. Shut down the computer. If you are unsure whether the computer is off or in Hibernation, turn
the computer on, and then shut it down through the operating system.
2. Disconnect all external devices connected to the computer.
3. Disconnect the power from the computer by first unplugging the power cord from the AC outlet
and then unplugging the AC adapter from the computer.
4. Remove the battery (see
Battery on page 37).
5. Remove the service access cover (see
Service access cover on page 39).
6. Remove the keyboard (see
Keyboard on page 52).
7. Remove the fan (see
Fan on page 55).
8. Remove the top cover (see
Top cover on page 57).
9. Remove the speakers (see
Speakers on page 67).
10. Remove the system board (see
System board on page 68).
Remove the heat sink:
1. Position the system board upside down on a flat surface.
2. Loosen the four captive screws (1) that secure the heat sink to the system board.
3. Lift the heat sink straight up (2) and remove it from the system board.
NOTE: The thermal material must be thoroughly cleaned from the surfaces of the heat sink
components (1) and (2), and the system board components (3) and (4), each time the heat sink is
removed. Replacement thermal material is included with all heat sink and system board spare part
kits.
70 Chapter 4 Removal and replacement procedures

 Loading...


