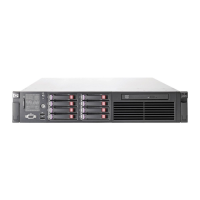
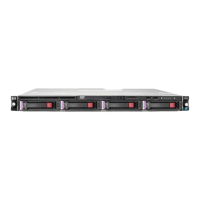
Removal and replacement procedures 25
WARNING: The server is not attached to the rack mounting rails. To avoid potential damage to
the server and personal injury, always support the server with both hands when removing it from
the rack.
To remove the server from an HP, Compaq branded, TELCO, or third-party rack:
1. Power down the server (on page 24).
2. Disconnect all peripheral cables and power cords from the server rear panel.
3. Loosen the thumbscrews that secure the server faceplate to the front of the rack.
4. Remove the server from the rack. For more information, see the documentation that ships with the rack
mounting option.
5. Place the server on a sturdy, level surface.
Access panel
WARNING: To reduce the risk of personal injury from hot surfaces, allow the drives and the
internal system components to cool before touching them.
CAUTION: For proper cooling, do not operate the server without the access panel, baffles,
expansion slot covers, or blanks installed. If the server supports hot-plug components, minimize
the amount of time the access panel is open.
To remove the component:
1. Power down the server (on page 24).
2. Remove the server from the rack (on page 24).
3. Press the hood latch button, slide the access panel to the rear of the chassis, and then remove the access
panel.
If the access panel is locked, use a T-10 Torx screwdriver to unlock the hood lock screw.
To replace the component, reverse the removal procedure.
Air baffle
CAUTION: For proper cooling, do not operate the server without the access panel, baffles,
expansion slot covers, or blanks installed. If the server supports hot-plug components, minimize
the amount of time the access panel is open.
To remove the component:
1. Power down the server (on page 24).
2. Remove the access panel ("Access panel" on page 25).
 Loading...