Removal and replacement procedures 50
6.
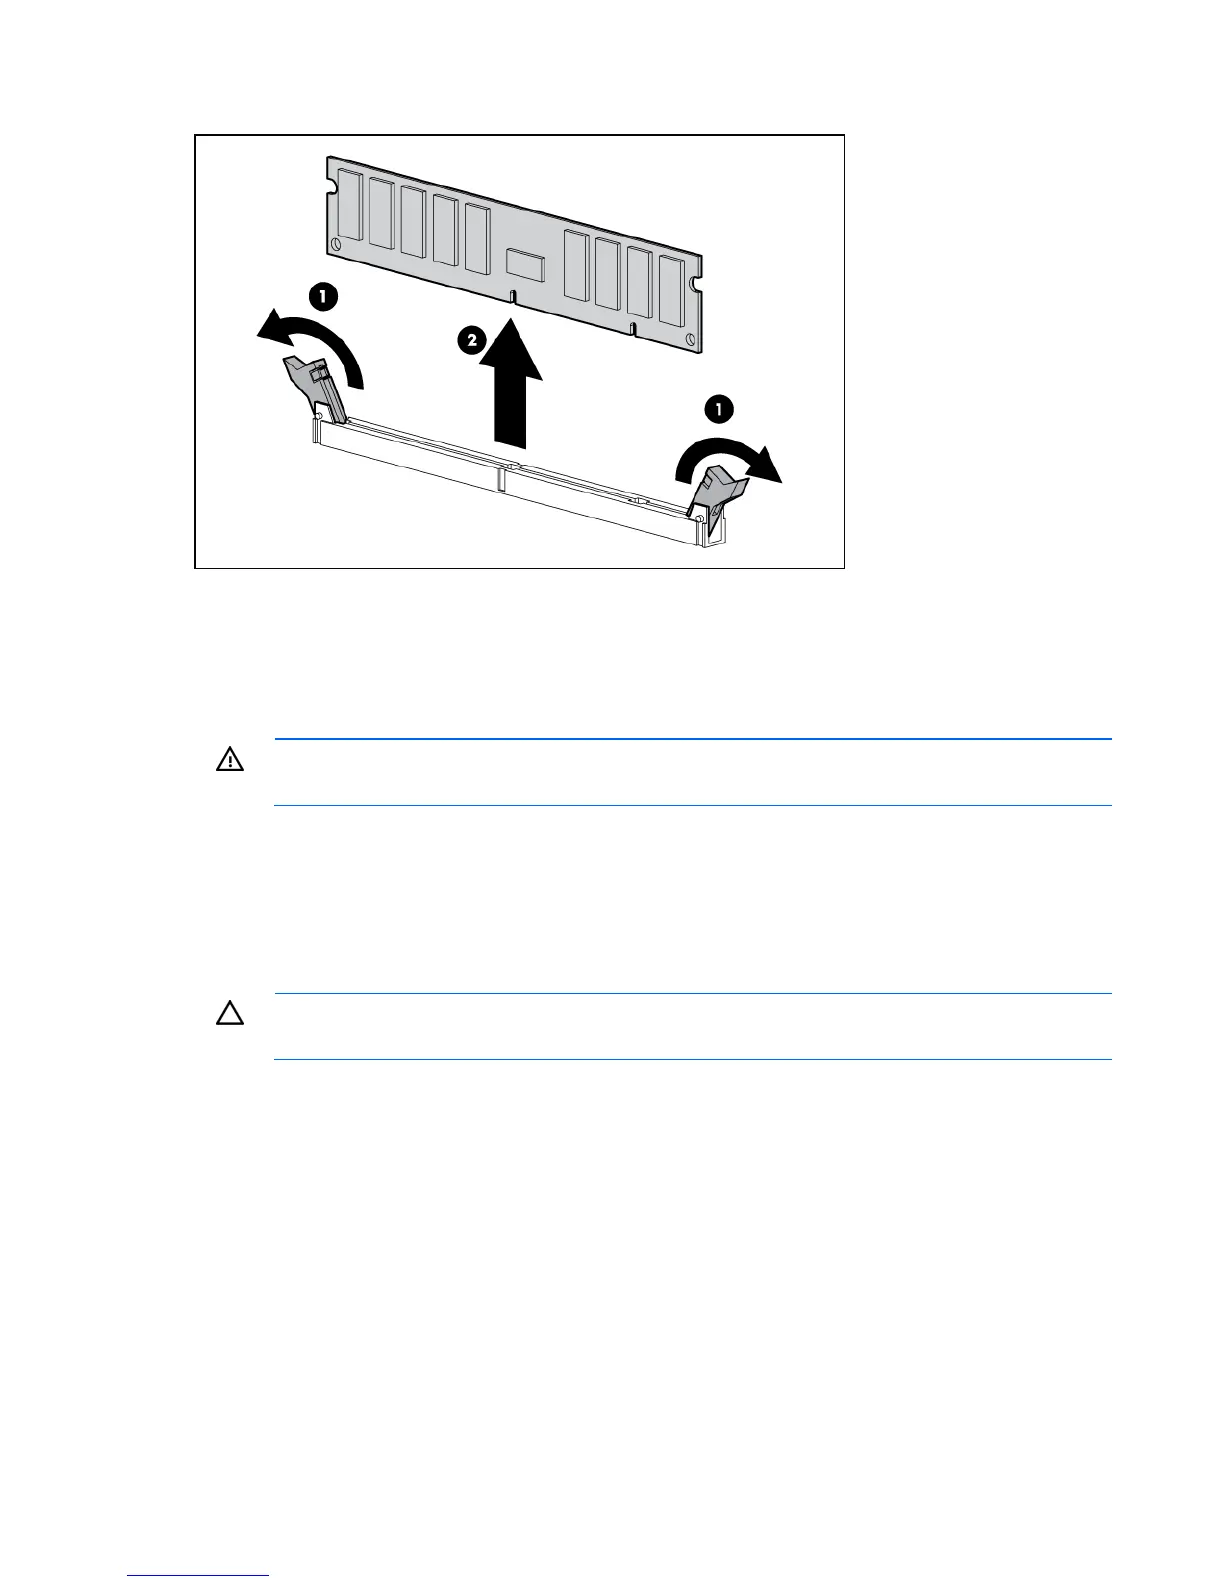
Remove the DIMM.
To replace the component, reverse the removal procedure.
For DIMM configuration information, see the server user guide.
Heatsink
WARNING: To reduce the risk of personal injury from hot surfaces, allow the drives and the
internal system components to cool before touching them.
To remove the component:
1. Power down the server (on page 25).
2. Remove the server from the rack (on page 26).
3. Remove the access panel ("Access panel" on page 28).
4. Remove the air baffle ("Air baffle" on page 28).
CAUTION: Heatsink retaining screws should be loosened in diagonally opposite pairs (in an
"X" pattern).
5. Loosen the four screws securing the heatsink:
a. Loosen each screw three or four turns in the counterclockwise direction.
b. Fully loosen the screws to free the heatsink, being careful not to remove the screw assemblies
from the heatsink.
 Loading...