EasyManuals Logo

HP Z210 Series Rack Mounting Instructions

HP Z210 Series
10 pages
To Next Page IconTo Next Page
To Previous Page IconTo Previous Page
Page #3 background imageLoading...
Page #3 background image
Step 1—Preparing the workstation
NOTE: All illustrations are examples only. Workstation models vary. For product-specific information,
see the service guide for your HP workstation at
http://www.hp.com/support/manuals before
beginning installation.
To prepare the workstation for component installation:
1. Power down the workstation, and then disconnect the power cord.
2. Power down all external devices, and then disconnect them from the workstation.
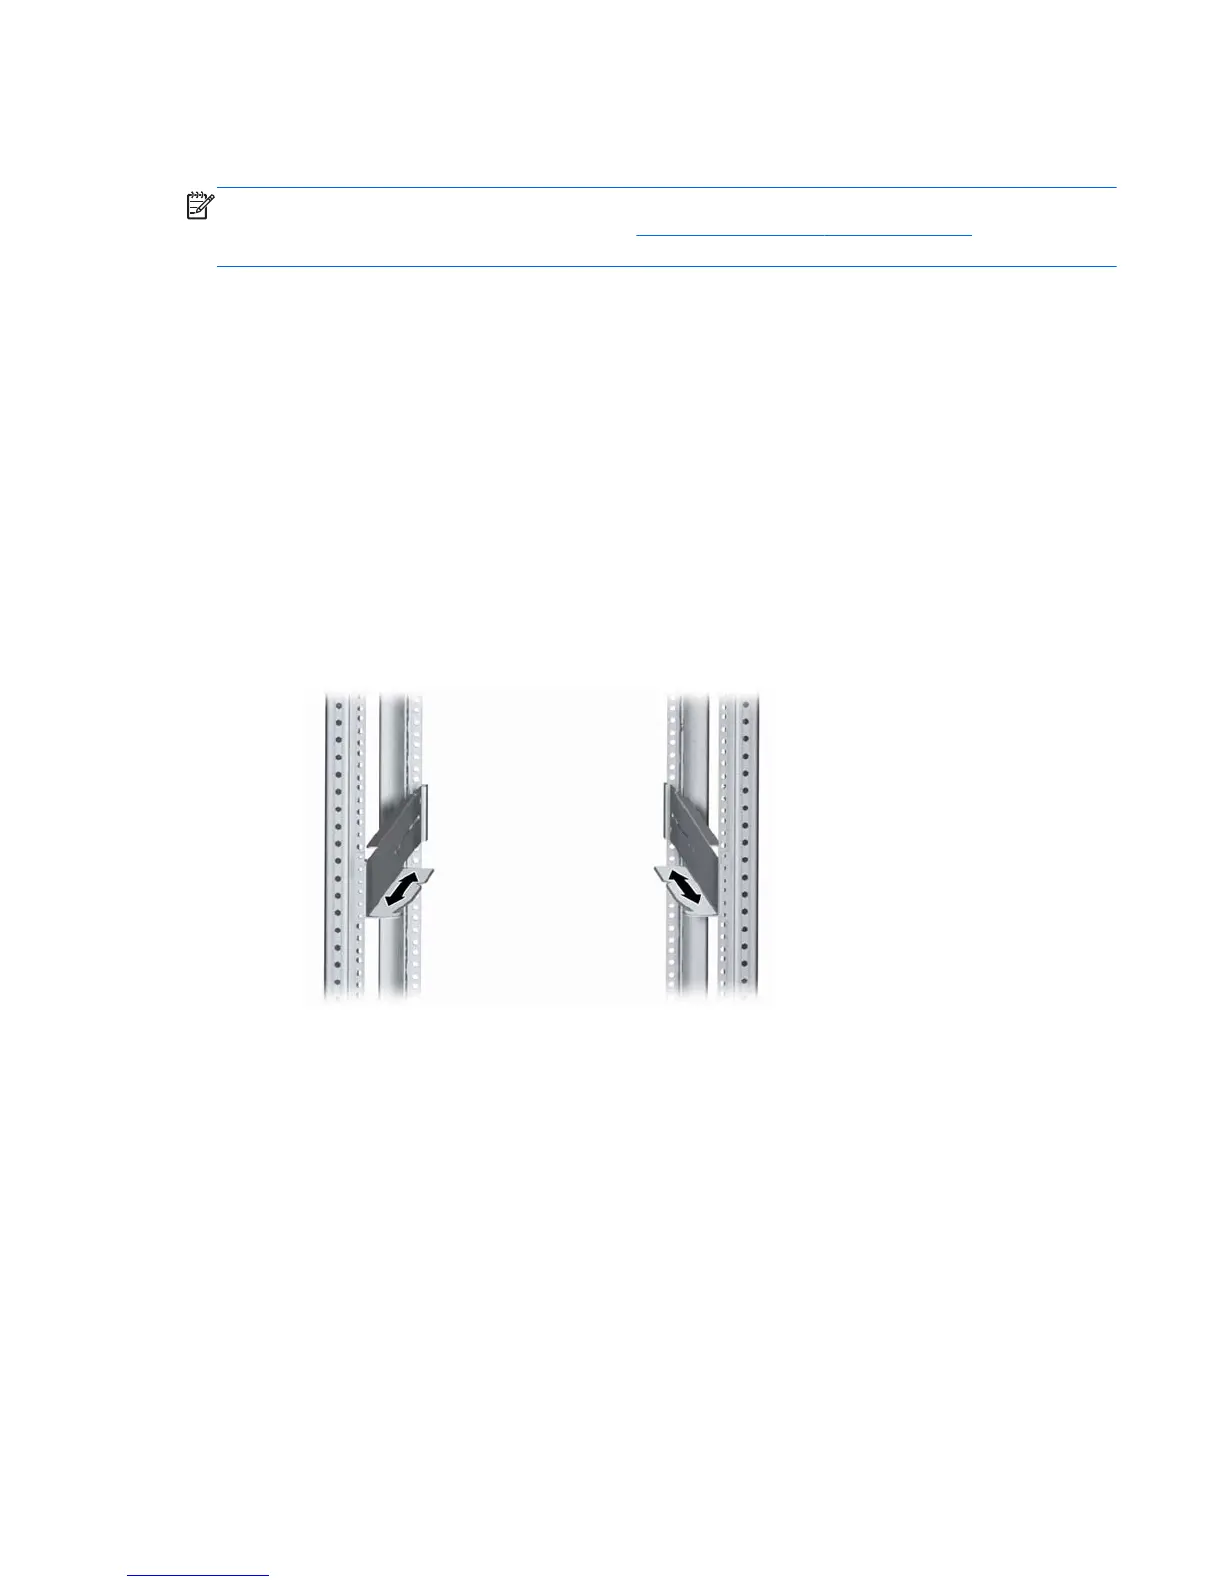
Step 2—Mounting the rails to the rack
1. Attach the rails to the rack. See Appendix A for installation instructions.
2. If glide strips were not factory-installed, then apply them to the rail shelf.
a. Remove the adhesive backing from the back of the glide strips.
b. Apply a glide strip to the top surface of each rail.
Figure 1 Applying glide strips
ENWW
Step 1—Preparing the workstation
3

Other manuals for HP Z210 Series

Questions and Answers:

Question and Answer IconNeed help?

Do you have a question about the HP Z210 Series and is the answer not in the manual?

HP Z210 Series Specifications

General IconGeneral
ChipsetIntel C206 Chipset
NetworkingIntegrated Intel 82579LM Gigabit Ethernet
Processor OptionsIntel Xeon E3-1200 series, Intel Core i3, i5, i7 processors
MemoryUp to 32 GB DDR3
Storage OptionsSATA HDD or SSD
Graphics OptionsIntegrated Intel HD Graphics, NVIDIA Quadro, AMD FirePro
Operating SystemRed Hat Enterprise Linux
Form FactorConvertible Mini-Tower
Optical DriveDVD-ROM, DVD+/-RW
AudioIntegrated HD audio
Expansion SlotsPCIe x16, PCIe x1, PCI
PortsUSB 2.0, USB 3.0, serial, parallel, PS/2
Power Supply400W 90% efficient

Related product manuals