EasyManuals Logo

Huawei AP6010DN-AGN Hardware Installation And Maintenance Manual

Huawei AP6010DN-AGN
122 pages
To Next Page IconTo Next Page
To Previous Page IconTo Previous Page
Page #87 background imageLoading...
Page #87 background image
Figure 5-76 Aligning the screw holes
Step 6 Hold the handles of the COAX crimping tools with one hand. Tighten the two fastening screws
in the clockwise direction. Figure 5-77 and Figure 5-78shows the mould installed in the COAX
crimping tools.
Figure 5-77 Mold installed in the COAX crimping tools
Figure 5-78 An installed mold
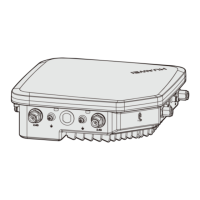
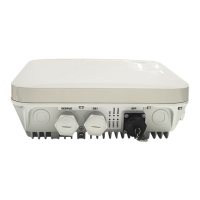
Huawei AP3x10xN&5x10xN&5x30xN&6x10xN&7x10xN
Hardware Installation and Maintenance Guide 5 Appendix
Issue 11 (2015-05-18) Huawei Proprietary and Confidential
Copyright © Huawei Technologies Co., Ltd.
80

Other manuals for Huawei AP6010DN-AGN

Questions and Answers:

Question and Answer IconNeed help?

Do you have a question about the Huawei AP6010DN-AGN and is the answer not in the manual?

Huawei AP6010DN-AGN Specifications

General IconGeneral
BrandHuawei
ModelAP6010DN-AGN
CategoryWireless Access Point
LanguageEnglish

Related product manuals