9
Installation Procedure
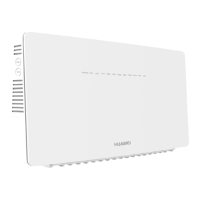
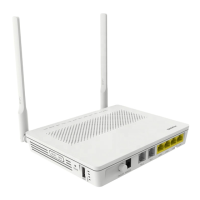
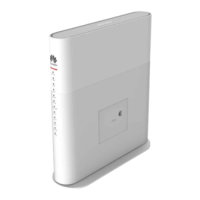
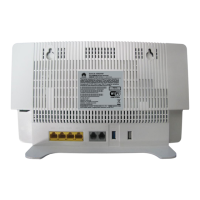
Installing HS8245W
• The HS8245W can be installed in environments such as a network cabinet or a wall, and is generally mounted
on a wall.
• Only one operator is required for installing the HS8245W. It is recommended that the operator wear ESD gloves
during the installation.
• When installing the HS8245W in natural heat dissipation areas, reserve spaces that satisfy the following
requirements:
‾ For horizontal installation, reserve at least 2 times the height above the module, 1 time the length on
each side of the module, and 0.5 time the height below the module.
‾ For vertical installation, reserve at least 2 times the length above the module, 1 time the width on each
side of the module, and 0.5 time the length below the module
Install the HS8245W on a wall
Step 1: Use the drilling template delivered with the device to mark two holes in the wall for installing the
HS8245W. The holes must be spaced as indicated by the drilling template. Use a level to make the box
horizontal.
Step 2: Use a hammer drill (drill bit diameter: 6 mm) to drill holes at the positions marked in step 1. Clear
the holes, and install expansion sleeves in the holes. Then, use a screw driver to install expansion bolts,
reserving a 8 mm length above the wall surface.
8mm
 Loading...