● The guide rail on the right has the R silkscreen, and the guide rail on the left
has the L silkscreen. Do not install them reversely.
● Adjustable guide rails are optional. You are advised to use adjustable guide rails
for rack-mounted installation. For a 3 U device, install guide rails and two
oating nuts, and secure the guide rails with screws. The oating nuts are
delivered with the device.
● The front end of the adjustable guide rails is not secured by screws. Do not
push the adjustable guide rails out of the rack when placing a battery pack on
the rack.
Figure 4-11 Installing adjustable guide rails
Step 4 Place a battery pack on the guide rails, and secure it to the rack using M6x16
screws through the mounting ears.
Ground the rack properly before operation.
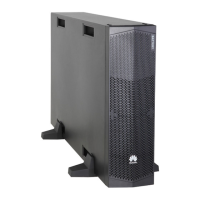
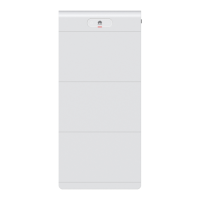
ESS-240V12-(9AhBPVBA04, 7AhBPVBA04) Battery
Pack
Quick Guide 4 Installation
Issue 02 (2022-06-30) Copyright © Huawei Digital Power Technologies Co., Ltd. 34

 Loading...


