Huawei Proprietary and Confidential
Copyright © Huawei Technologies Co., Ltd.
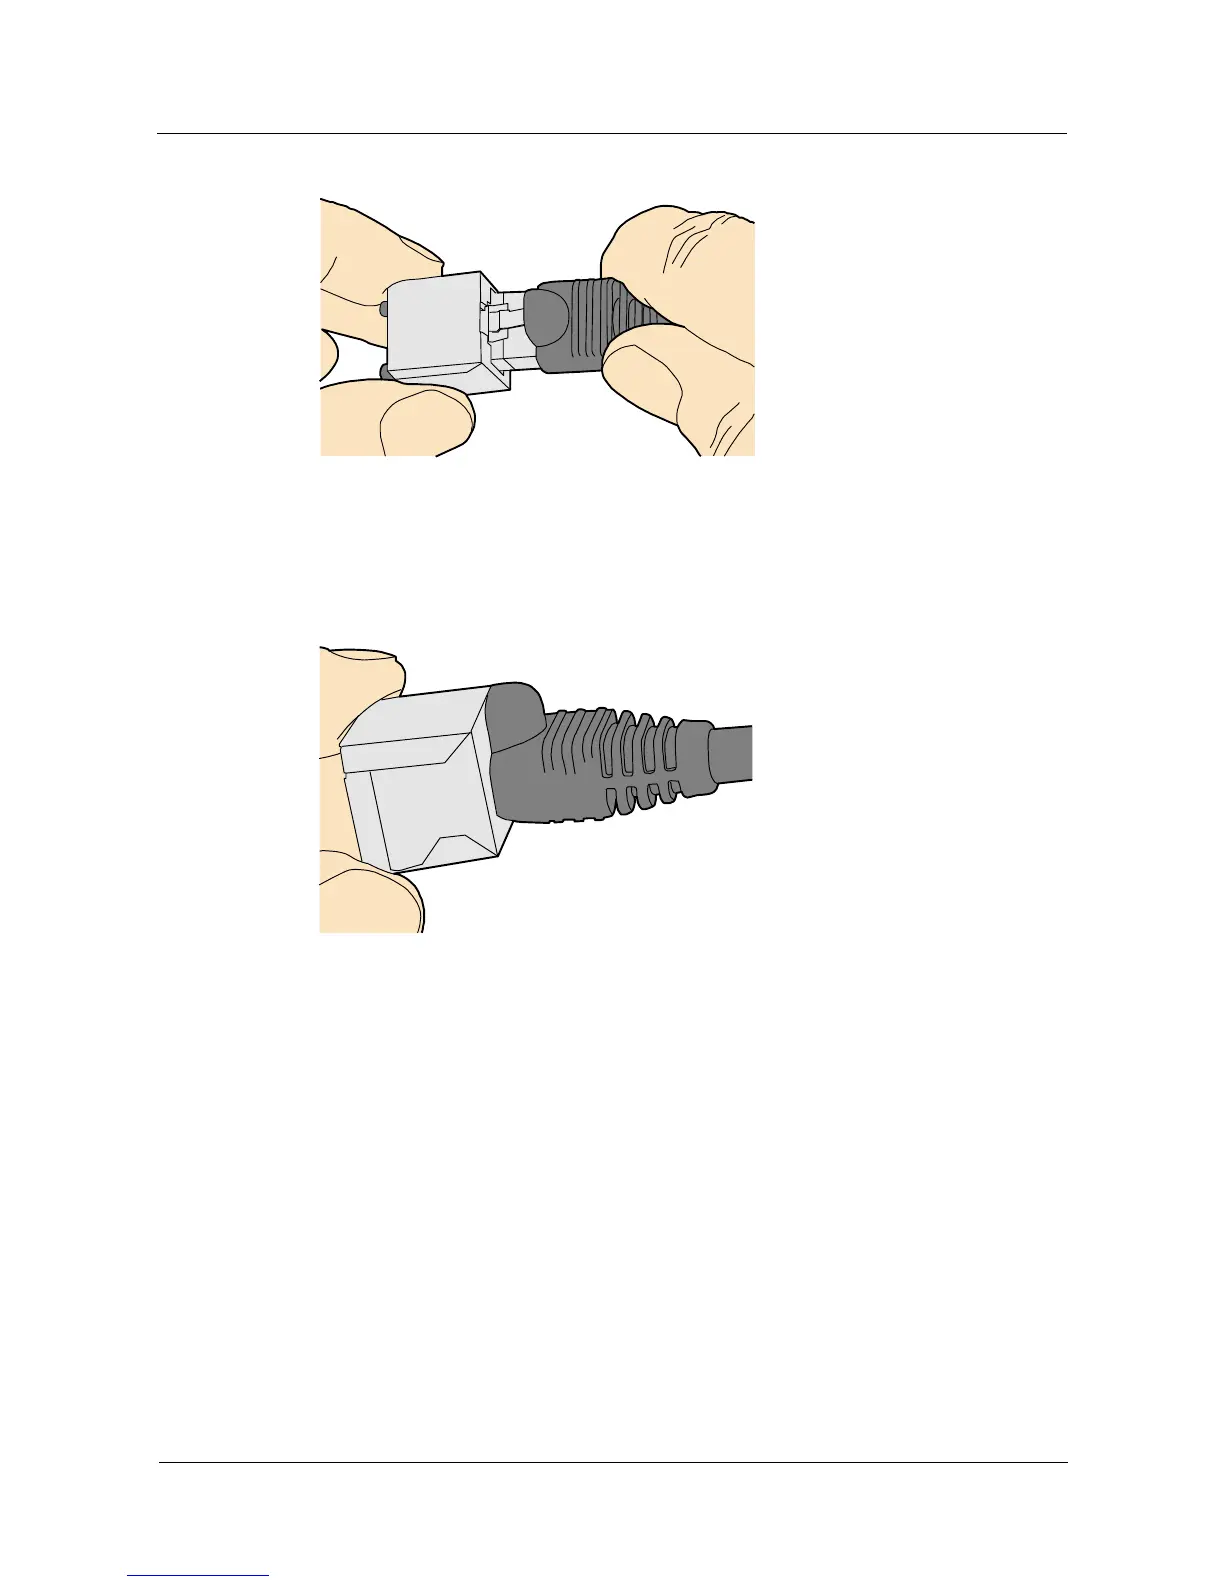
Figure 5-51 Feeding the male shielded connector into the female shielded connector
Step 3 When you hear a click, the cable connector is completely inserted in the port. (The clip on the
cable connector pops up to fix the connector in the port.) Pull the connector slightly and
ensure that it is securely connected, as shown in Figure 5-52.
Figure 5-52 Installed shielded Ethernet connector
Step 4 To remove an Ethernet connector, press the locking key and pull out the connector, as shown
in Figure 5-53.
 Loading...