6
SECTION II – INSTALLATION
WARNING / CAUTION
DO NOT TURN ON THE ELECTRIC POWER SUPPLY to this equipment until heater is
completely filled with water and all air has been released. If the heater is NOT filled with
water when the power is turned on, the heating elements will burn out.
For protection against excessive pressures and temperatures, local codes require the
installation of a temperature-and-pressure (T&P) relief valve certified by a nationally
recognized laboratory that maintains periodic inspection of production of listed equipment of
materials, as meeting the requirements for Relief Valves and Automatic Gas Shutoff for Hot
Water Supply Systems. ANSI Z21.22-1971. THE CUSTOMER IS RESPONSIBLE TO
PROTECT PROPERTY AND PERSONNEL FROM HARM WHEN THE VALVE
FUNCTIONS.
All water heaters have a risk of leakage at some unpredictable time. IT IS THE
CUSTOMER'S RESPONSIBILITY TO PROVIDE A CATCH PAN OR OTHER
ADEQUATE MEANS, SO THAT THE RESULTANT FLOW OF WATER WILL NOT
DAMAGE PROPERTY.
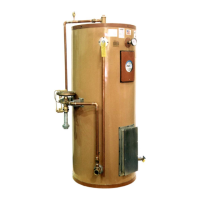
WATER HEATER PLACEMENT
1. Place the heater on a solid foundation in a clean, dry location nearest to the point of
most frequent tepid water use
2. The water heater should be protected from freezing and waterlines insulated to reduce
energy and water waste.
3. Leave a minimum of 18” clearance for element withdrawal.
4. Do not install in an area where flammable liquids or combustible vapors are present,
except when installed with the explosion proof option.
PIPING INSTALLATION
NOTE:
The most effective means for preventing deterioration from accelerated corrosion
due to galvanic and stray current is the installation of dielectric fittings/unions. The
installation of these fittings is the responsibility of the installing contractor.
1. Connect the cold water inlet and tepid water outlet to the appropriate connections as
shown below; refer to the drawing for location and sizes.
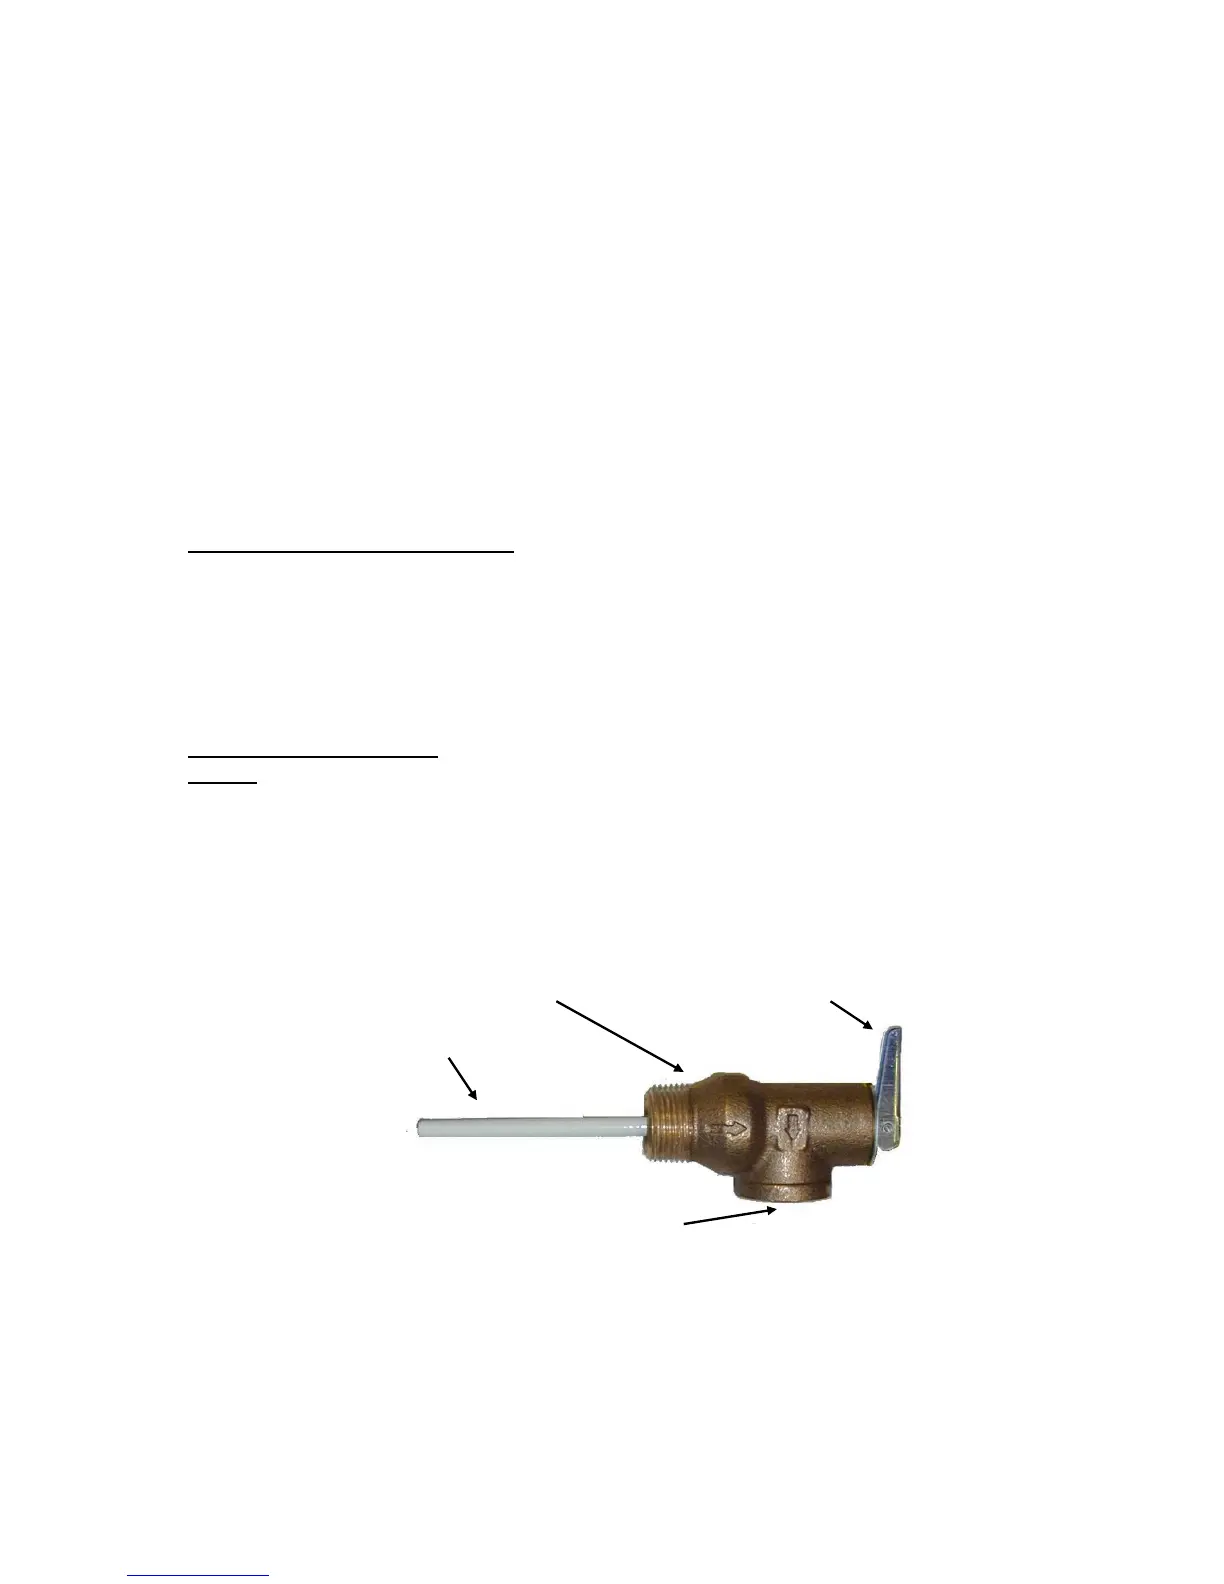
2. Install the combination temperature and pressure safety relief valve in the tapping
provided. Note that this is required by law for safety considerations.
Install into provided tapping Manual Release Lever
Temperature Probe
Outlet to floor drain
Temperature and Pressure Relief Valve
3. Install a relief valve overflow pipe to a nearby floor drain. CAUTION: No valve of
any type should be installed between the relief valve and tank or in the drain line.
4. On startup, thermal expansion will cause the water to expand. Hubbell recommends
that a thermal expansion tank or supplementary pressure relief device be installed in
the hot water outlet to allow for this expansion.