31
10. Check the voltage between the terminal block where the first YELLOW wire is
connected from left to right and the metal heating chamber cover. A voltage reading in
the appropriate range (one half of the incoming power voltage, i.e. if the incoming
power is 480V, then the reading should be 240V) should be indicated. Repeat this step
for each of the YELLOW wires.
11. If no voltage is present on any one of the YELLOW wires, replace the temperature
controller.
12. If all voltage readings are acceptable, proceed to Check the Triacs (Step 1)
.
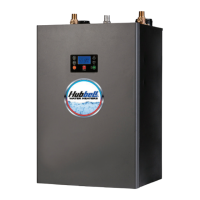
Check the Triacs (Step 1):
1. The triacs are the switching mechanism for turning the
heating elements on and off.
2. Turn on a hot water tap at a fixture that will ensure a good
flow rate through the unit and set the temperature at the
highest setting so the unit calls for full power.
3. Check the voltage between one of the screws where the
RED wire is connected to the top of the heating element
and the screw where the other RED wire is connected to the
top of the heating element. A voltage reading in the
appropriate range (equal to the incoming line voltage)
should be indicated.
4. If no voltage is present on any heating element, the triac connected to that element
should be replaced.
5. If all voltage readings are acceptable, proceed to Check the Heating Elements
.
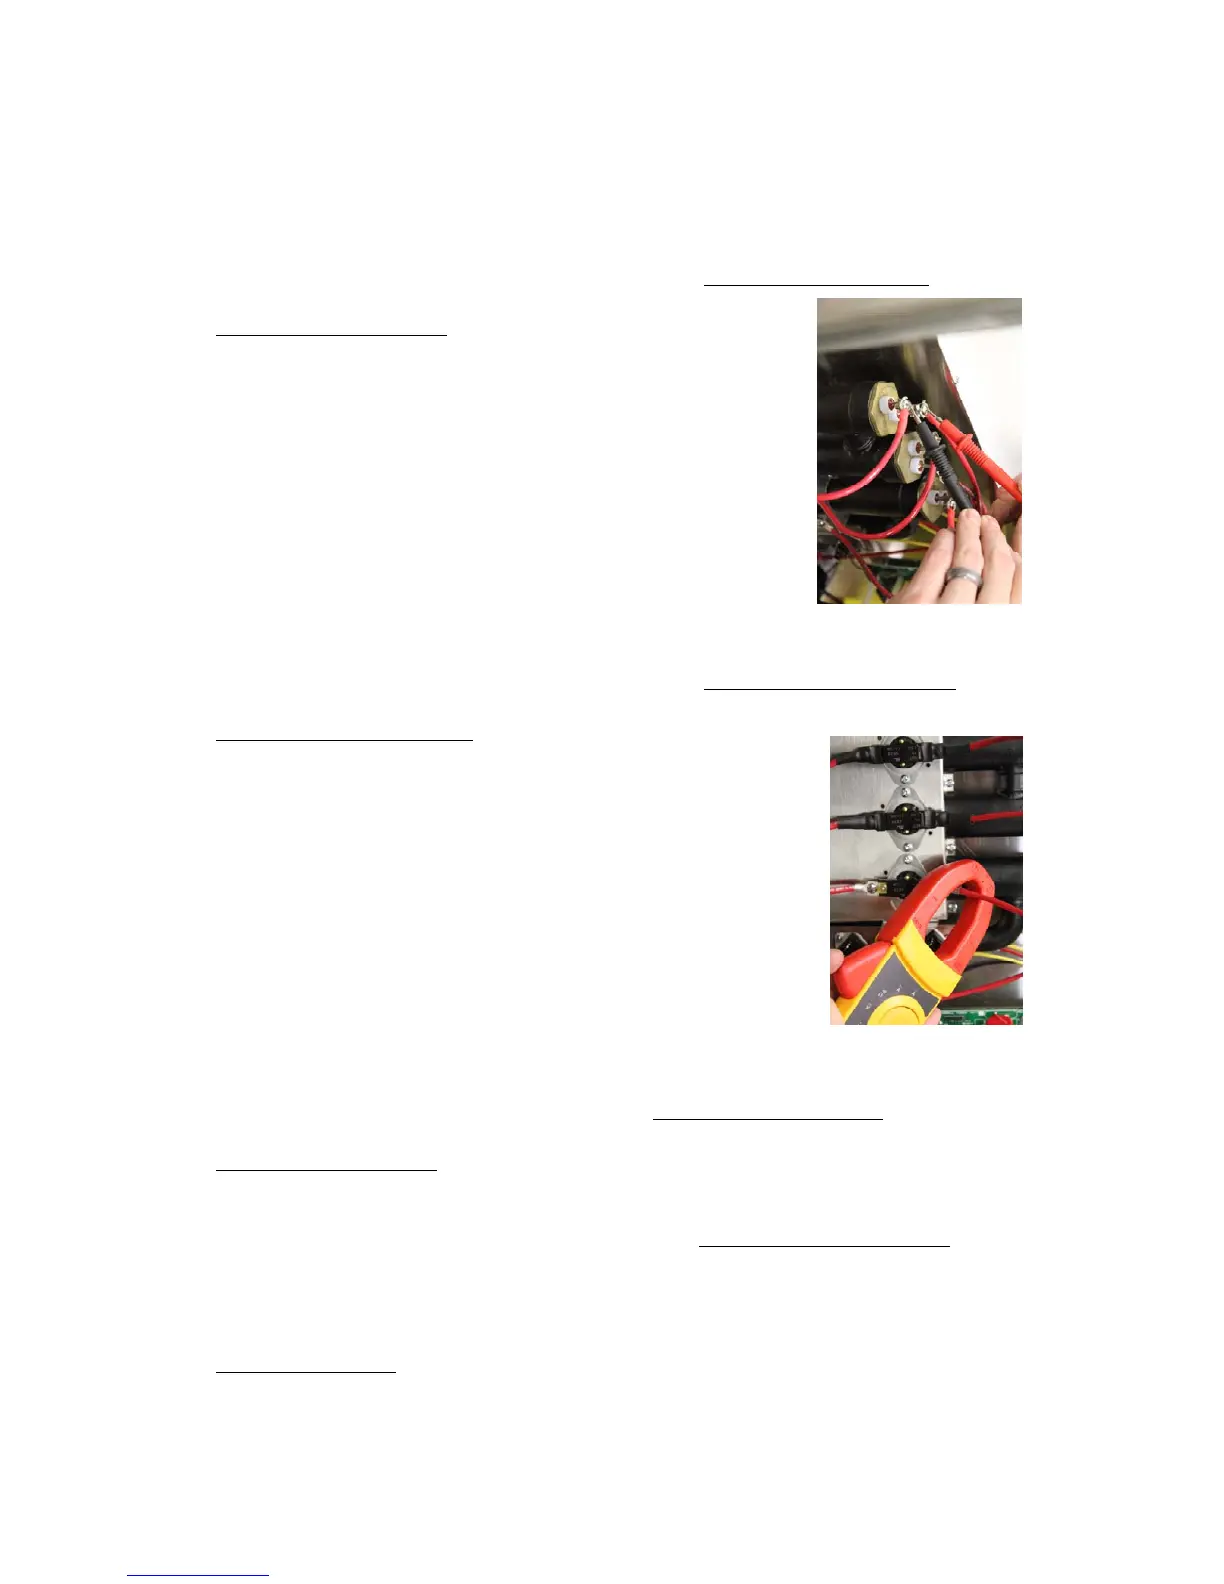
Check the Heating Elements:
1. To check the heating element the amperage draw from each
heating element must be verified. To do this the unit must be
operating.
2. Turn on a hot water tap at a fixture that will ensure a good
flow rate through the unit and set the temperature at the
highest setting.
3. Using a clamp-on multi-meter, clamp the meter around one
of the RED wires going to the lowest heating element. The
reading should be as indicated (±5%) based on the specific
model listed in the Electrical Specification table in the
Installation section.
4. Repeat for all the heating elements.
5. If any amp reading is not within the range as indicated in the chart, that heating
element should be replaced.
6. If all readings are within range continue to Check the Triacs (Step 2).
Check to Triacs (Step 2):
1. Turn off the flow of hot water.
2. Using a clamp-on multi-meter, clamp the meter around one of the RED wires going to
the lowest heating element (same as in step 3 of Check the Heating Elements
). The
reading should be zero. Repeat for all the heating elements.
3. If any reading is not zero with the hot water turned off, then that triac should be
replaced.
Contact the Factory:
1. If you were unable to determine the problem from the above troubleshooting, please
have the electrician contact the factory.
 Loading...