34
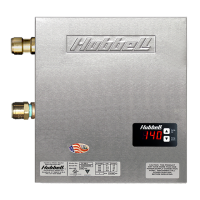
Triac:
• Disconnect power.
• Remove cover.
• Disconnect the RED wire from the heating element, the
BLACK wire from the power distribution block or
magnetic contactor (as applicable), and the YELLOW
wire from the controller for the triac to be replaced.
NOTE: Replacement triacs come with replacement wires
attached.
• Remove the two (2) nuts securing the triac to the heatsink
and remove the triac.
• Spread a pea sized amount of the conductive thermal paste
included with the replacement kit on the back of the triac to be installed.
• Install the replacement triac to the heatsink with the two (2) nuts removed previously.
• Connect the RED wire to the heating element, the BLACK wire to the power
distribution block or magnetic contactor (as applicable), and the YELLOW wire to the
controller.
• Re-install cover.
• Turn on power.
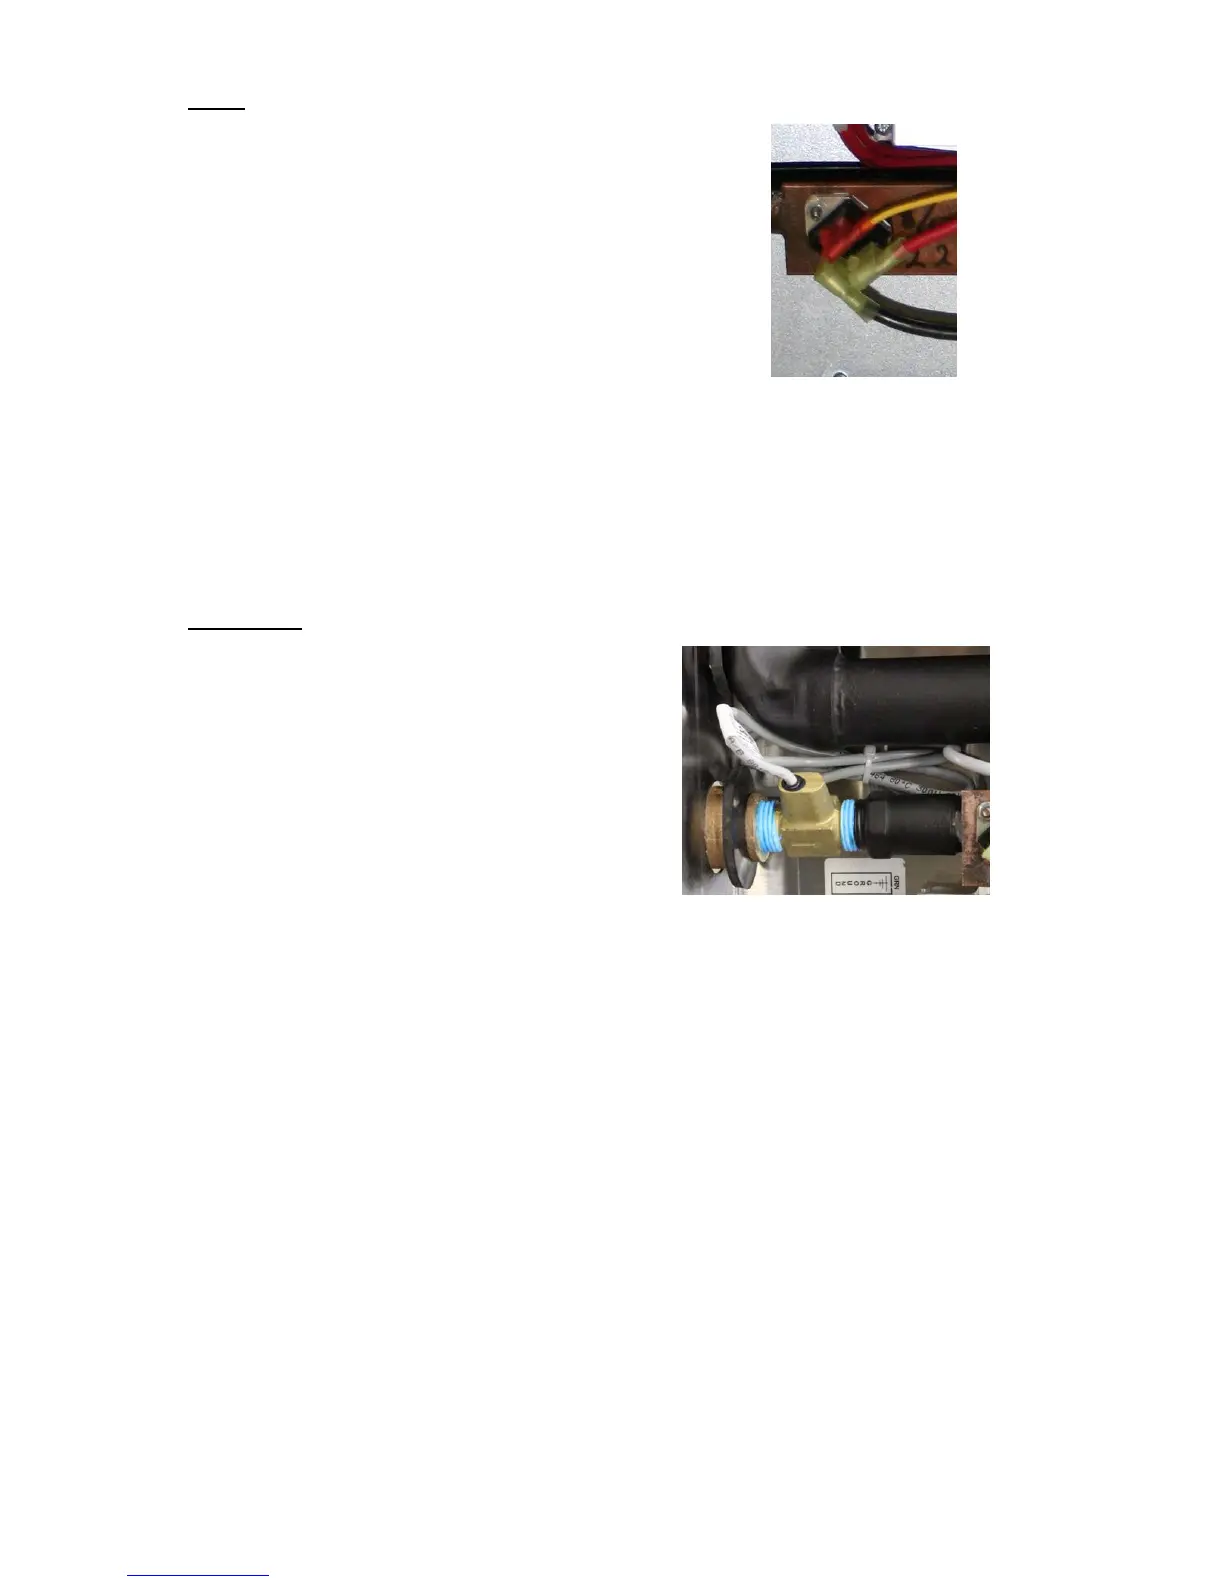
Flow Meter:
• Disconnect power.
• Shut off cold water inlet and hot water outlet
valves.
• Drain unit.
• Remove cover.
• Disconnect the flow meter wires from the
controller.
NOTE: The display may need to be removed to
access the wires from the flow meter. The
display can be removed by removing the four (4)
screws securing the display to the controller
standoffs and then pulling the display from the socket.
• Disconnect the cold water supply pipe from the quick-connect fitting. See
Disconnecting a Joint in Section III.
• Unscrew the quick-connect and coupling assembly from the flow meter.
• Unscrew the flow meter from the inlet pipe.
• Screw the replacement flow meter into the inlet pipe.
NOTE: Pipe dope must be used to seal the connection.
• Screw the quick-connect and coupling assembly into the replacement flow meter.
NOTE: Pipe dope must be used to seal the connection
• Re-connect the cold water inlet piping to the quick-connect connector. See Installation
of Quick-Connect Fitting in Section III.
• Connect the flow meter wires to the controller. From left to right, WHITE / GREEN /
BROWN.
• Re-install cover.
• Open the cold water inlet and hot water outlet valves
• Bleed air from the unit. See Checking for Leaks and Purging Air in Section III.
• Turn on power.