EasyManua.ls Logo

Hubble Nursery Pal Skyview User Manual

Hubble Nursery Pal Skyview
2 pages
To Next Page IconTo Next Page
Page #1 background imageLoading...
Page #1 background image
Nursery Pal Skyview
What’s in the box?
1 x Baby Unit (Camera)
1 x Parent Unit
1 x Magnetic Mount
2 x Power Adapters
1 x Top Clamp
1 x Bottom Clamp
1 x Gooseneck
4 x Poles with Stand Base
How do I install the Digital Video Baby Monitor?
Connecting the Power Supply for the Baby Unit:
- Insert the DC plug of the power adapter into the DC socket on the back of the Baby Unit
- Connect the other end of the power adapter to a suitable electrical outlet
- The baby unit turns on and the power indicator lights in Blue colour. Note: Only use the
supplied power adapter (DC5V/1000mA).
Fixing the magnetic mount on the wall:
- Mark the position of the screw holes on the wall
- Install wall anchors (not provided) suitable for the wall type and mounting screws if needed
- Fasten the mounting screws (not provided) on the wall
- Position the cable behind the base before attaching the base on the wall
Connecting the Power Supply of the Parent Unit
- Connect the small plug of the power adapter to the parent unit and the other end to the
electrical outlet. Only use the enclosed adapter (5VDC/1000mA)
How long does the battery last for the parent unit?
A rechargeable battery (Lithium ion battery 2000mAh) allows the parent unit to be used when
not plugged into an electrical outlet. The battery provides up to 5 hours operation of the Parent
Unit. We recommend charging for at least 16 hours before first use, and when the Parent Unit
indicates the battery is low.
How do I install the crib mount?
A crib mount with cable management is included which mounts directly to most cribs to allow
better viewing. Assemble and install the crib mount using the following steps:
- Join the 4 poles and the support base together. Note: Each pole is connected with power
cord inside, take care not to damage the power cords when removing the poles from the
box and during installation
- Fasten the top clamp either vertically on the upper rail or horizontally on the slats
Question and Answer IconNeed help?

Do you have a question about the Hubble Nursery Pal Skyview and is the answer not in the manual?

Hubble Nursery Pal Skyview Specifications

General IconGeneral
BrandHubble
ModelNursery Pal Skyview
CategoryBaby Monitor
LanguageEnglish

Summary

What's in the box?

Digital Video Baby Monitor Installation

Connecting Baby Unit Power Supply

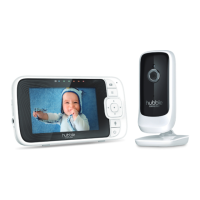
Connect the DC plug of the power adapter to the baby unit and the other end to an electrical outlet.

Fixing the Magnetic Mount on the Wall

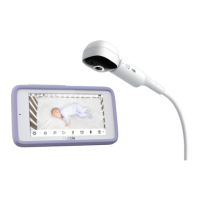
Mark screw holes, install anchors, fasten screws, and position cable before attaching the base.

Connecting Parent Unit Power Supply

Connect the small plug of the power adapter to the parent unit and the other end to the electrical outlet.

Parent Unit Battery Life

Crib Mount Installation Guide

Assemble Crib Mount Components

Join the 4 poles and support base, taking care of internal power cords during installation.

Attach Top and Bottom Clamps

Securely fasten the top clamp to rails/slats and bottom clamp to the lower rail for stability.

Install Gooseneck and Camera Unit

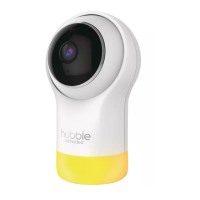
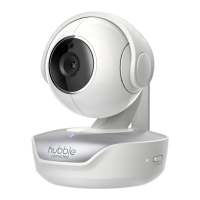
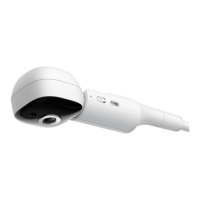
Insert gooseneck extension and magnetically attach the camera unit to the housing.

Connect Power and Position Camera

Plug the DC plug into the crib mount, connect the adapter, power on, and adjust for optimal viewing.
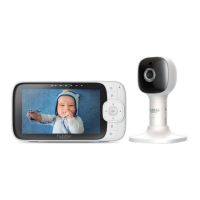
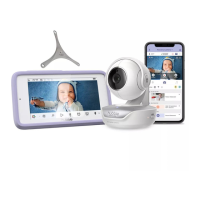
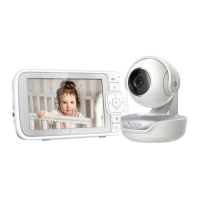
Contact Information for Support

Related product manuals