3
4
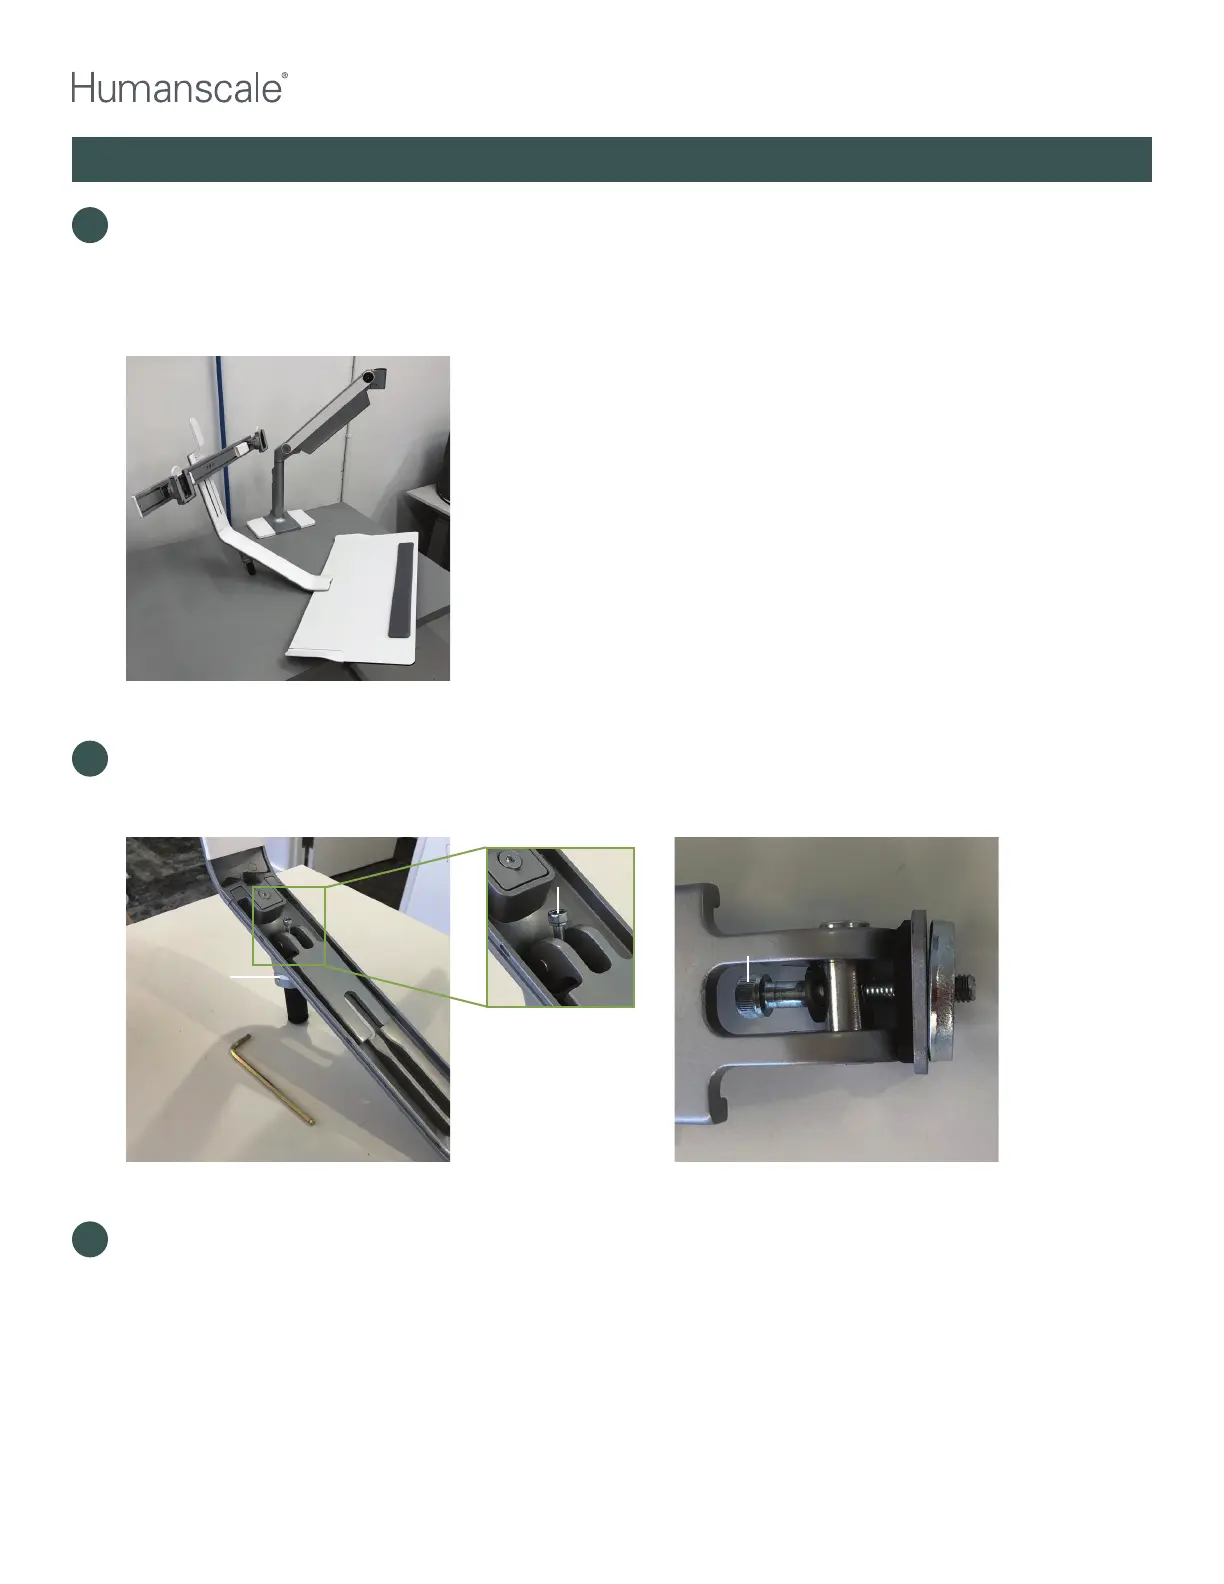
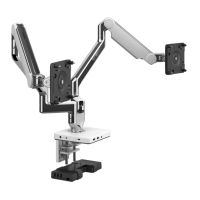
With the dynamic arm in the fully upright position, lift the QSL head straight up so that the arm link pin
comes completely out of the socket on the end of the dynamic arm. Carefully put the QSL head with
the keyboard platform and crossbar (if included) onto the work surface/desk. Set aside the plastic link
washer to be reused in step #14. Remove plastic cover. (Plastic cover may have already been removed
in step 2.)
QUICKSTAND LITE REWORK INSTRUCTIONS
5
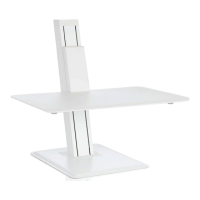
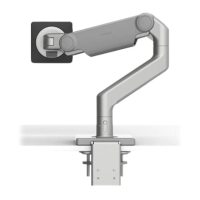
Using the 5mm hex key, loosen the cap screw that passes through the release lever and attaches the
QSL head to the arm link pin. You may have to hold the arm link pin, from below the QSL head, with your
free hand so it does not turn as you loosen the bolt.
Hold lower
arm link pin
while removing
cap screw
Cap screw
Cap screw
6
Continue loosening this screw until it can be removed from the unit. Remove the cap screw with the
release lever, and all washers that the screw passes through. Remove the arm link pin, which will be
replaced in the upgrade process. QSL head assembly is now resting on the work surface ready to be
reassembled with the replacement parts.