Do you have a question about the Hunter 28679 and is the answer not in the manual?
Checklist to determine if an existing fan site is acceptable and safe for the new Hunter fan.
Procedure for cutting the correct size hole in the ceiling for the fan installation.
Instructions for installing a support brace if a ceiling joist is not adequately positioned.
Steps for securely mounting the UL-approved octagonal outlet box to the support structure.
Ensuring power is off and preparing electrical supply lines for connection to the fan.
Explains Hunter's 3-position mounting system: Low Profile, Standard, and Angled mounting.
Guidance on using optional accessories like wall-mounted or remote speed controls.
Lists the necessary tools required for installing the ceiling fan.
Instructions on how to unpack and check fan parts for damage or missing items.
Instructions for assembling and hanging the fan using standard or angled mounting methods.
Instructions for assembling and hanging the fan using the low profile mounting method.
Steps for securely hanging the fan onto the installed ceiling plate hooks.
Details on connecting the fan wiring for dual switch control systems.
Details on connecting the fan wiring for single switch control systems.
Instructions on how to safely remove the fan blades from the blade irons.
Steps for installing the glass bowl, cover plate, finial, and pull chains.
Instructions on how to reverse the fan's motor direction for seasonal airflow changes.
Troubleshooting steps for when the fan does not start or move.
Steps to diagnose and resolve noisy operation issues with the ceiling fan.
Solutions for excessive fan wobbling, including balancing and tightening.
Troubleshooting steps for when the light fixture shuts off unexpectedly.
Advice for CFL bulbs flickering with dimming controls.
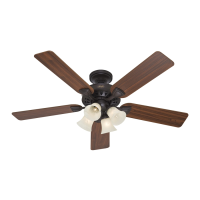
| Model | 28679 |
|---|---|
| Type | Ceiling Fan |
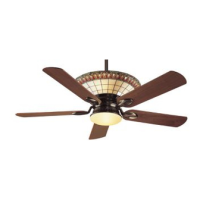
| Blade Span | 52 inches |
| Number of Blades | 5 |
| Light Kit Included | Yes |
| Control Type | Pull Chain |
| Motor Speed | 3-speed |
| Reversible Motor | Yes |
| Indoor/Outdoor Use | Indoor |
| Motor Type | AC |