Do you have a question about the Hunter Cedar Key and is the answer not in the manual?
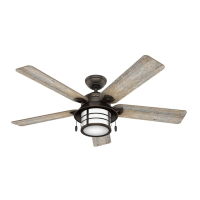
Ensure adequate clearance: 30 inches from blade tip to wall, 7 feet from blade bottom to floor.
Confirm the outlet box is secured to the building structure and fan-rated.
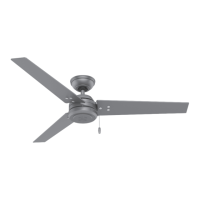
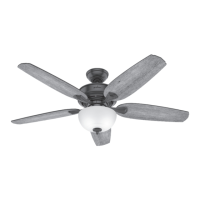
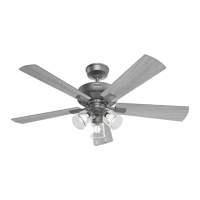
Standard vs. Angled mounting considerations for ceilings up to and over 34 degrees.
Information on downrod length and angled mounting kits for high or angled ceilings.
Secure bracket to existing outlet box using machine screws and washers.
Secure bracket to support structure using wood screws and washers with pilot holes.
Point the bracket opening towards the peak for angled ceilings.
Remove the pre-installed setscrew to allow downrod insertion.
Pass wires through downrod, hand-tighten downrod, and securely tighten setscrew with pliers.
Slide canopy over downrod and wires, then seat downrod ball into the ceiling bracket slot.
Connect white to white, black to black, cap blue wire, and connect grounding wires.
Connect white to white, black to black, second ceiling wire to blue, and connect grounding wires.
Fit canopy into place and align screw holes to secure with canopy screws.
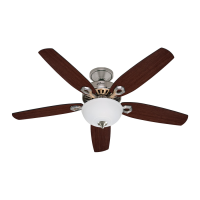
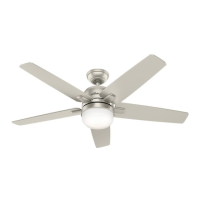
Secure each blade to a blade iron using blade nuts and blade assembly screws.
Lightly attach blade arms to the motor, then securely tighten after both screws are attached.
Connect the fan and light fixture plugs, ensuring colored markings align.
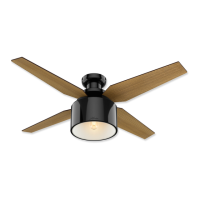
Align notch on light kit with pin on fan bracket, push wires into fixture, and secure.
Install LED bulb and attach glass fixture using thumbscrews.
Access battery compartment by removing screw; install CR2032 battery with positive side up.
Mount cradle using adhesive strip or screws into wall or drywall anchors.
Check power switch, circuit breaker, plug connections, and wiring.
Verify blade installation, hanger ball seating, and use balancing kit.
Ensure correct battery installation or replace battery if remote is erratic.
Check blade installation and for cracked blades; replace all if necessary.