www.HunterFan.com
1.888.830.1326
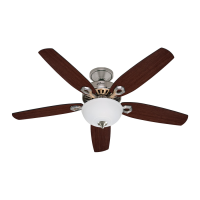
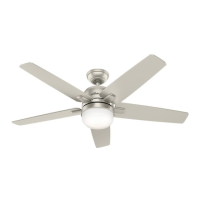
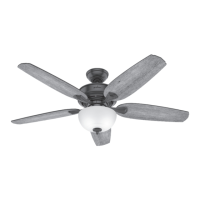
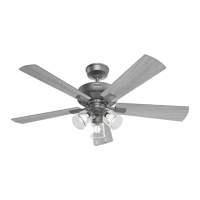
Light Kit
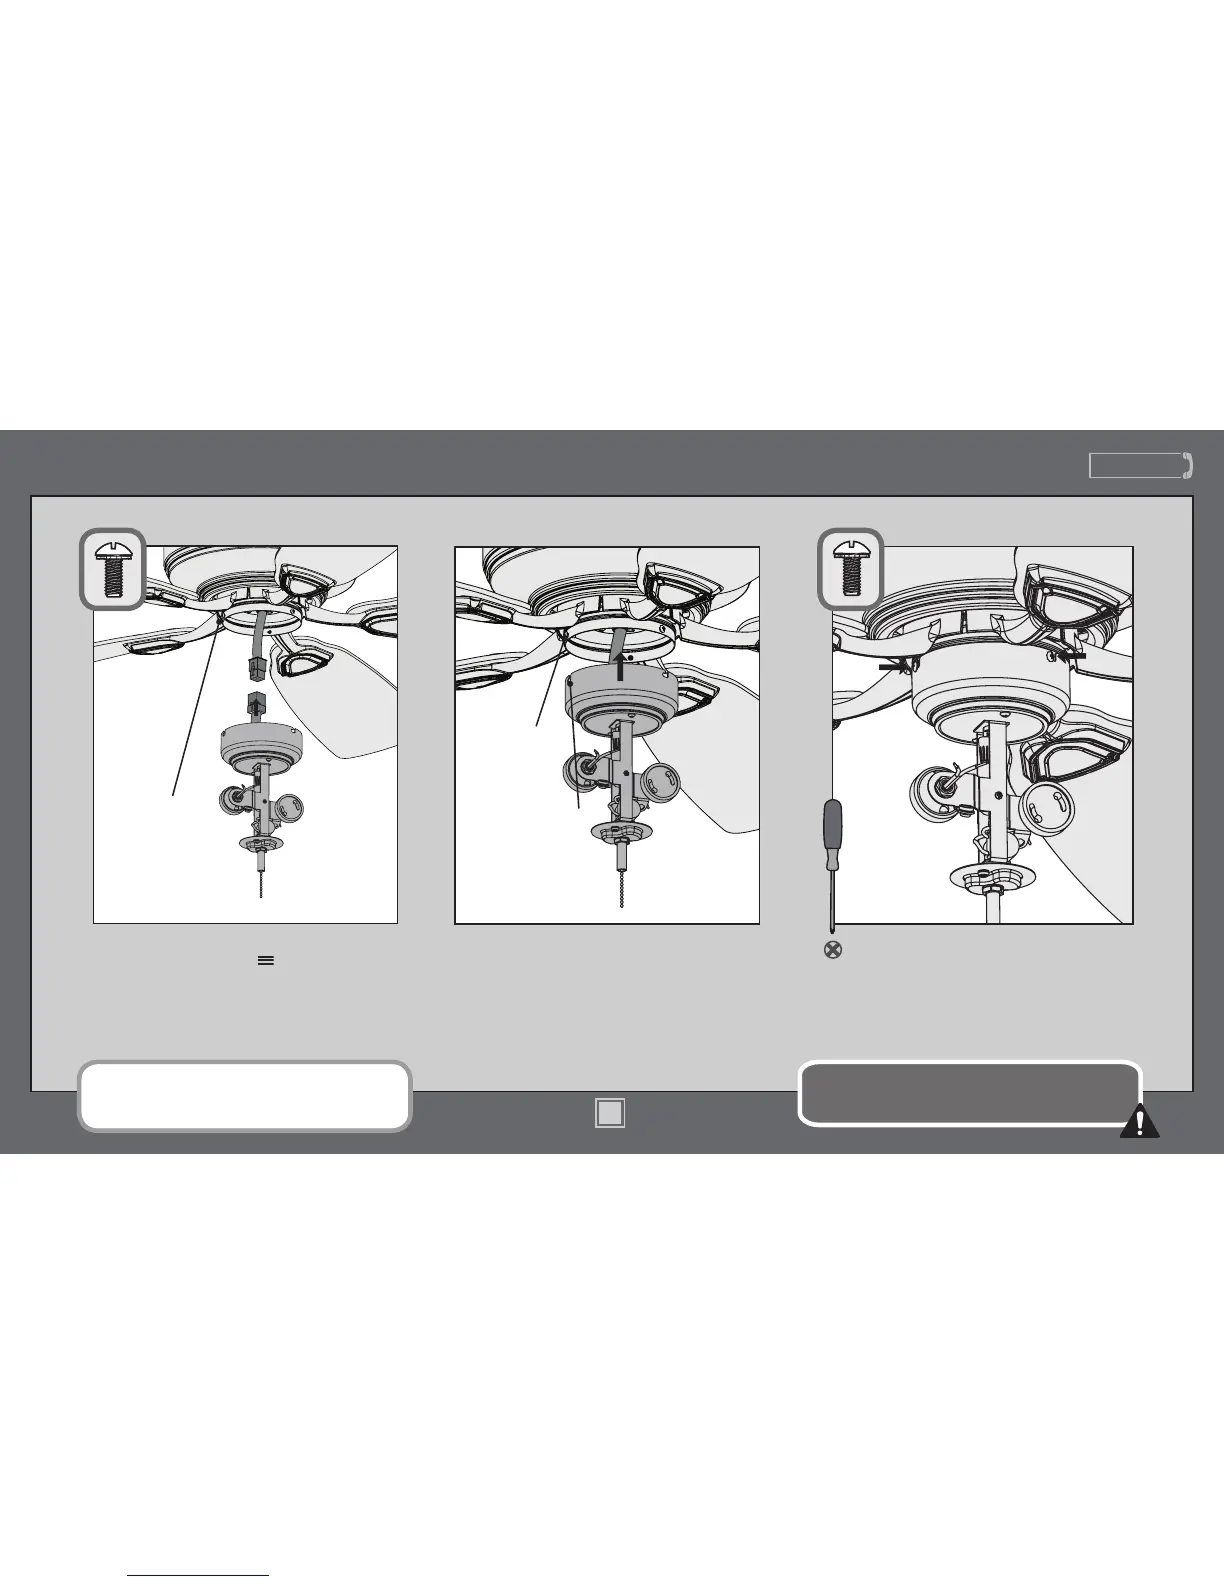
Make sure the lower switch housing is securely attached to
the upper switch housing. Failure to properly secure all three
assembly screws could result in the light xture falling.
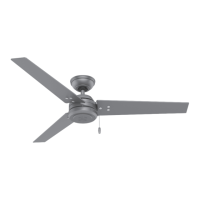
Want to install your fan without a light kit?
Go to www.HunterFan.com/FAQs and click
“How do I install my fan without the light kit?”
Partially install two of the switch housing
screws found in the bag. Connect
the plugs from the upper and lower
switch housings. Make sure to line up the
colored markings on the connectors.
Align the notches in the sides of the lower
switch housing with the upper switch
housing screws. Lift the lower switch housing.
Twist the lower switch housing clockwise
to lock into place. Then thread the fan
pull chain through the hole in the light kit.
Install the third switch housing screw.
Tighten all three screws securely.
Switch
Housing
Screw
Notch
Switch
Housing
Screw
14
M3543-01 • 11/25/13 • © Hunter Fan Company