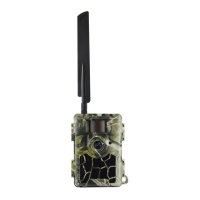
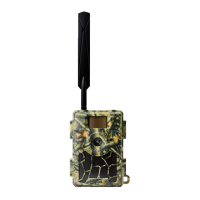
3. Mount the Antenna
Screw the antenna into the connector on the top of the camera by turning
clockwise until properly fastened.
4. Configure Camera Settings
Slide the Power Switch to SETUP, the screen will light up. Press MENU
button, you will enter the menu to view & change settings. Press arrow
buttons for navigation, OK button to confirm settings and MENU to return
to previous position in the menu.
5. How to Connect the Camera to Network
The camera has a signal “Searching” process when you slide the Power
Switch to SETUP. It may take a minute or two to connect on a cellular
network.
If it comes with a signal bar and no other pop-up, it means the network is
automatically connected. You only need to fill in phone numbers and
emails in “Send To” for receiving photos upon motion triggers.
SETUP→MENU→4G→Send To→Phone/Email
If it comes with a pop-up “SIM Auto Match failed…”, go to “SIM Auto
Match” under “4G”, select “Manual”, and fill in local operator APN details
in “Manual Setup”, the camera will connect to network to send photos.
1. SETUP→MENU→4G→SIM Auto Match→Manual→OK
2. SETUP→MENU→4G→Manual Setup→MMS/4G
Note!
● This camera can send photos to 2 phones & 2 emails. It is set to send
photos to phones via MMS and emails via SMTP (data). If you prefer
more personalized way of sending, configure in menu accordingly.
● It is not a must to enter Username and Password of APN, but some
operators require this password access to get connection on their 4G
network. Check with your SIM card operator to get this confirmed.
6. Function Test
To test the camera operation:
1. Slide the Power Switch to SETUP and wait for the camera to connect
to the operator (4G signal strength indicator is shown on the screen).
2. Press the OK button once. The camera will take a photo, save on the
SD card, and transmit the photo to your phones/ emails.