English
Español Português
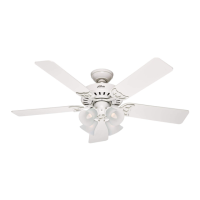
41919 • 08/21/13 • Hunter Fan Company
111111
Thread the supply mains [a] through the center hole of the
ceiling plate [b].
Pase los alambres de la alimentación de la red [a] a través del
agujero central de la placa de techo [b].
4
Passe os fios da rede [a] através do furo central do suporte de
teto [b].
5
[a]
[b]
[c]
[d]
[b]
[a]
Align the Anchor bolts [a] with the oval slots in the ceiling
plate [b]. Push the Ceiling Plate onto the anchors [a] until
the rubber isolators [c] are tight against the ceiling. Place the
spring washer, flat washer, and nut [d] onto the anchor bolt
and secure tightly.
Alinee los pernos de anclaje [a] con las ranuras ovaladas de la
placa de techo [b]. Introduzca la placa de techo en los anclajes
[a] hasta que los aisladores de goma [c] queden apretados
contra el techo. Coloque la arandela de seguridad, la arandela
plana, y la tuerca [d] en el anclaje y apriételo firmemente.
Alinhe os chumbadores [a] com as fendas ovais na placa do
teto [b]. Empurre a placa do teto nas até os chumbadores [a],
até que os isoladores de borracha [c] estejem bem apertados
contra o teto. Coloque a arruela de pressão, a arruela plana,
e a porca[d] no chumbador e aperte bem.
 Loading...