Do you have a question about the Hunter Sentinel and is the answer not in the manual?
Ensure adequate clearance from blade tips to walls and floor for safe operation.
Verify the outlet box is securely attached to building structure for fan support.
Determine compatibility for standard or angled mounting based on ceiling slope.
Details on downrod length and Angled Mounting Kit for ceilings > 34°.
Secure bracket to existing fan-rated outlet box using machine screws.
Secure bracket to support structure using wood screws and pilot holes.
Attach downrod to motor, ensuring setscrew is tightened securely with pliers.
Slide canopy over downrod, place downrod ball into ceiling bracket slot.
Follow diagram to connect ceiling wires to receiver and fan wires using wire nuts.
Align canopy screw holes and insert canopy screws to attach.
Use Allen wrench and blade nuts to secure each blade to the blade iron.
Feed connector through motor housing, connect to light kit, and secure with screws.
Insert bulbs, align globe notches with tabs, and twist to secure.
Remote is pre-paired; replace battery with CR2032. Instructions for re-pairing provided.
Install cradle to switch cover plate using provided screws.
Explain fan rotation directions (updraft/downdraft) and how to use the reversing switch.
Addresses fan not working, wobbling, noise, and remote control problems.
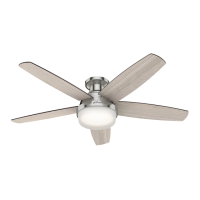
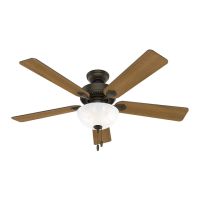
| Blade Span | 52 inches |
|---|---|
| Number of Blades | 5 |
| Control Type | Pull Chain |
| Mounting Type | Ceiling |
| Mounting Options | Standard |
| Material | Wood |
| Color | Brushed Nickel |
| Warranty | Lifetime |