14
42709-01 • 02/26/10 • Hunter Fan Company
10 • Completing Your Installation
10-1. Partially install two light kit tter screws into the light kit
mounting plate.
10-2. read the plug connector from the fan through the light kit
tter.
10-3. Align the keyholes in the light kit tter with the two partially
installed screws and rotate to engage the screws in the narrow
ends of the keyholes.
10-4. Install the remaining screw to secure the light kit tter to the light
kit mounting plate. Securely tighten all three screws.
10-5. Connect the 2-pin plug connector from the fan to the 2-pin plug
connector from the ballast.
10-6. Attach the ballast to the light kit tter with two ballast screws.
10-7. Install the included 22 Watt uorescent bulb into the hooks on
the tter.
10-8. Connect the 4 pin plug from the ballast to the uorescent bulb.
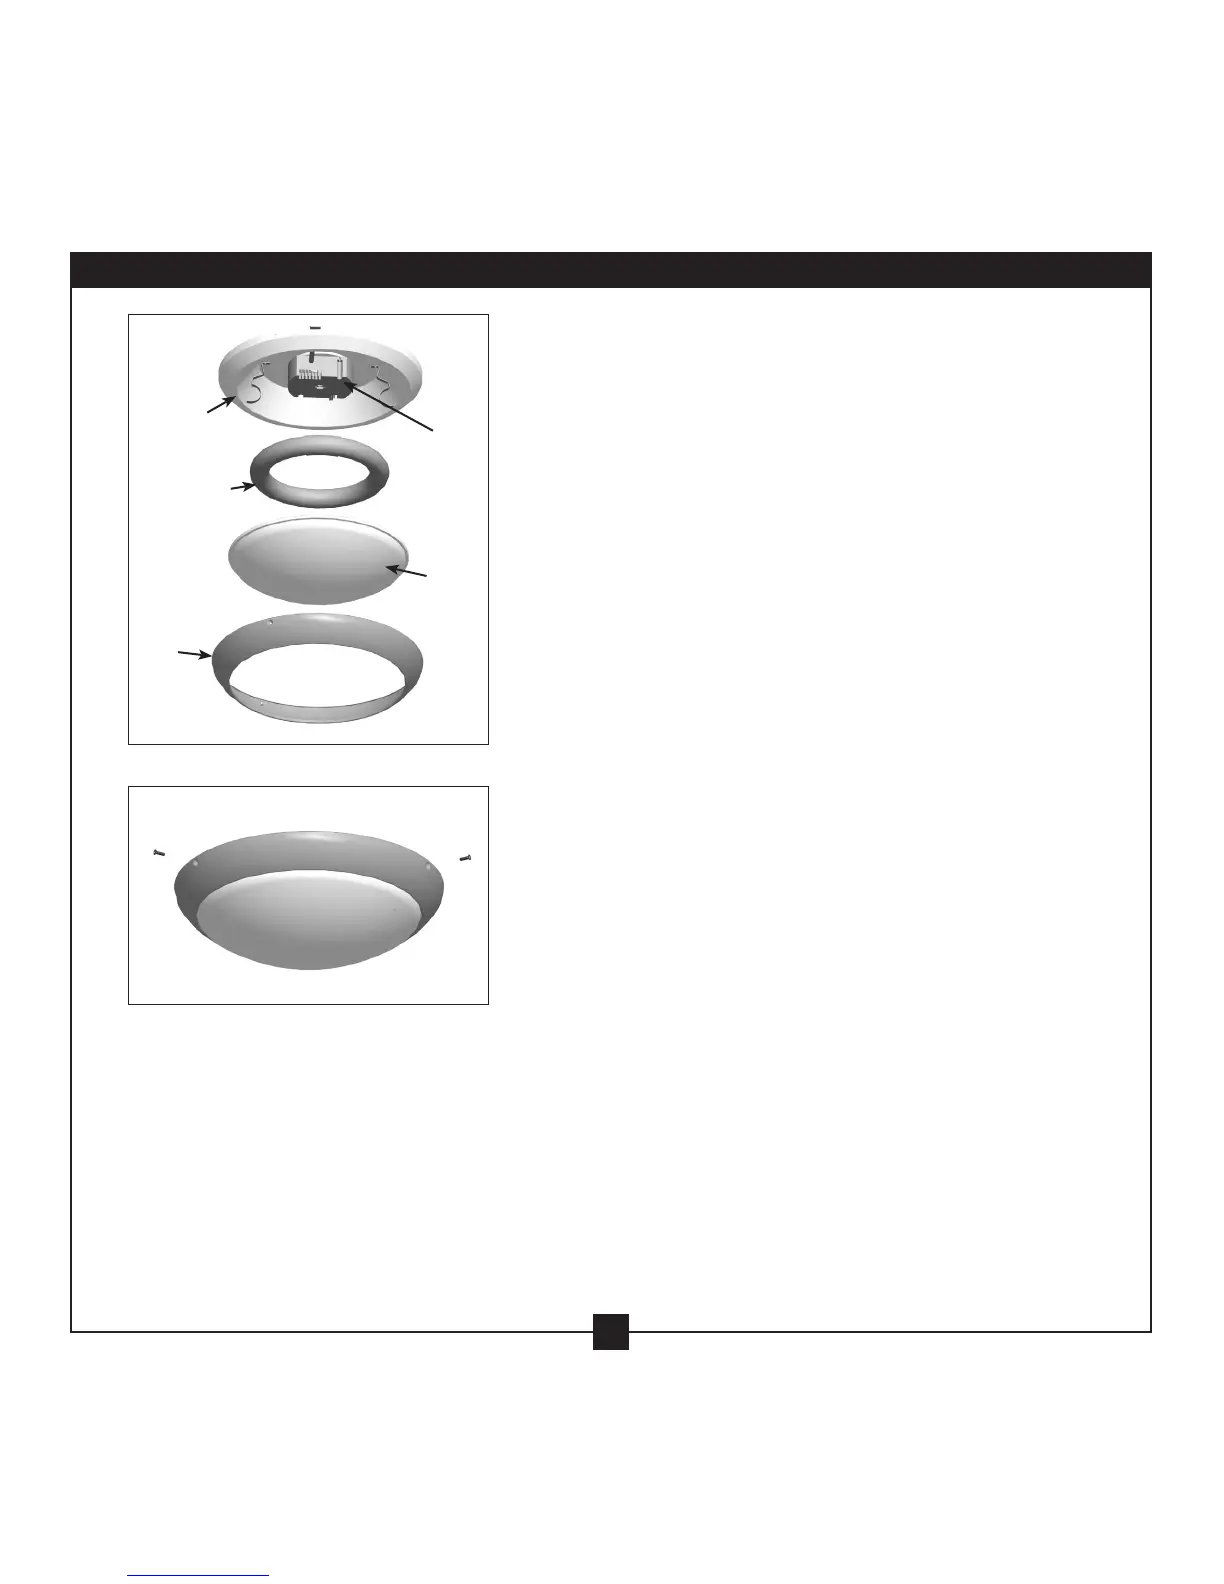
10-9. Place the glass globe into the globe trim band. Align the three
holes in the trim band with the three holes in the tter. Install
and securely tighten all three screws.
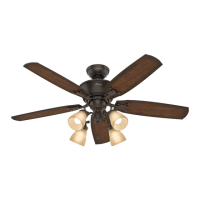
Steps 10-1 – 10-8
Step 10-9
Light Kit
Fitter
Ballast
Fluorescent
Bulb
Glass
Globe
Globe
Trim
Band
 Loading...