7
8
Ceiling Bracket Downrod Hanging Fan Wiring Canopy Blades Control
x10
Lightly attach the blade arms to the motor with
the blade arm screws, then securely tighten
after both screws are attached.
Repeat x5
Repeat x5
Blade Arm Screw
Remember the screws that you
kept after removing the shipping
blocks? You need them here.
D
I
S
C
A
R
D
K
E
E
P
!
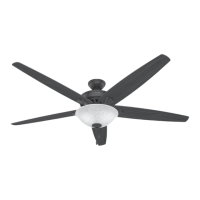
Fan style may vary.
Note:
x15
bag
Blade Screw
Secure each blade to a blade iron as shown using the blade nuts, found in the hardware
bag, and the blade assembly screws and grommets, found in the hardware bag.
x15
bag
Blade Nut
x15
Grommet
Fan style may vary.
Note:
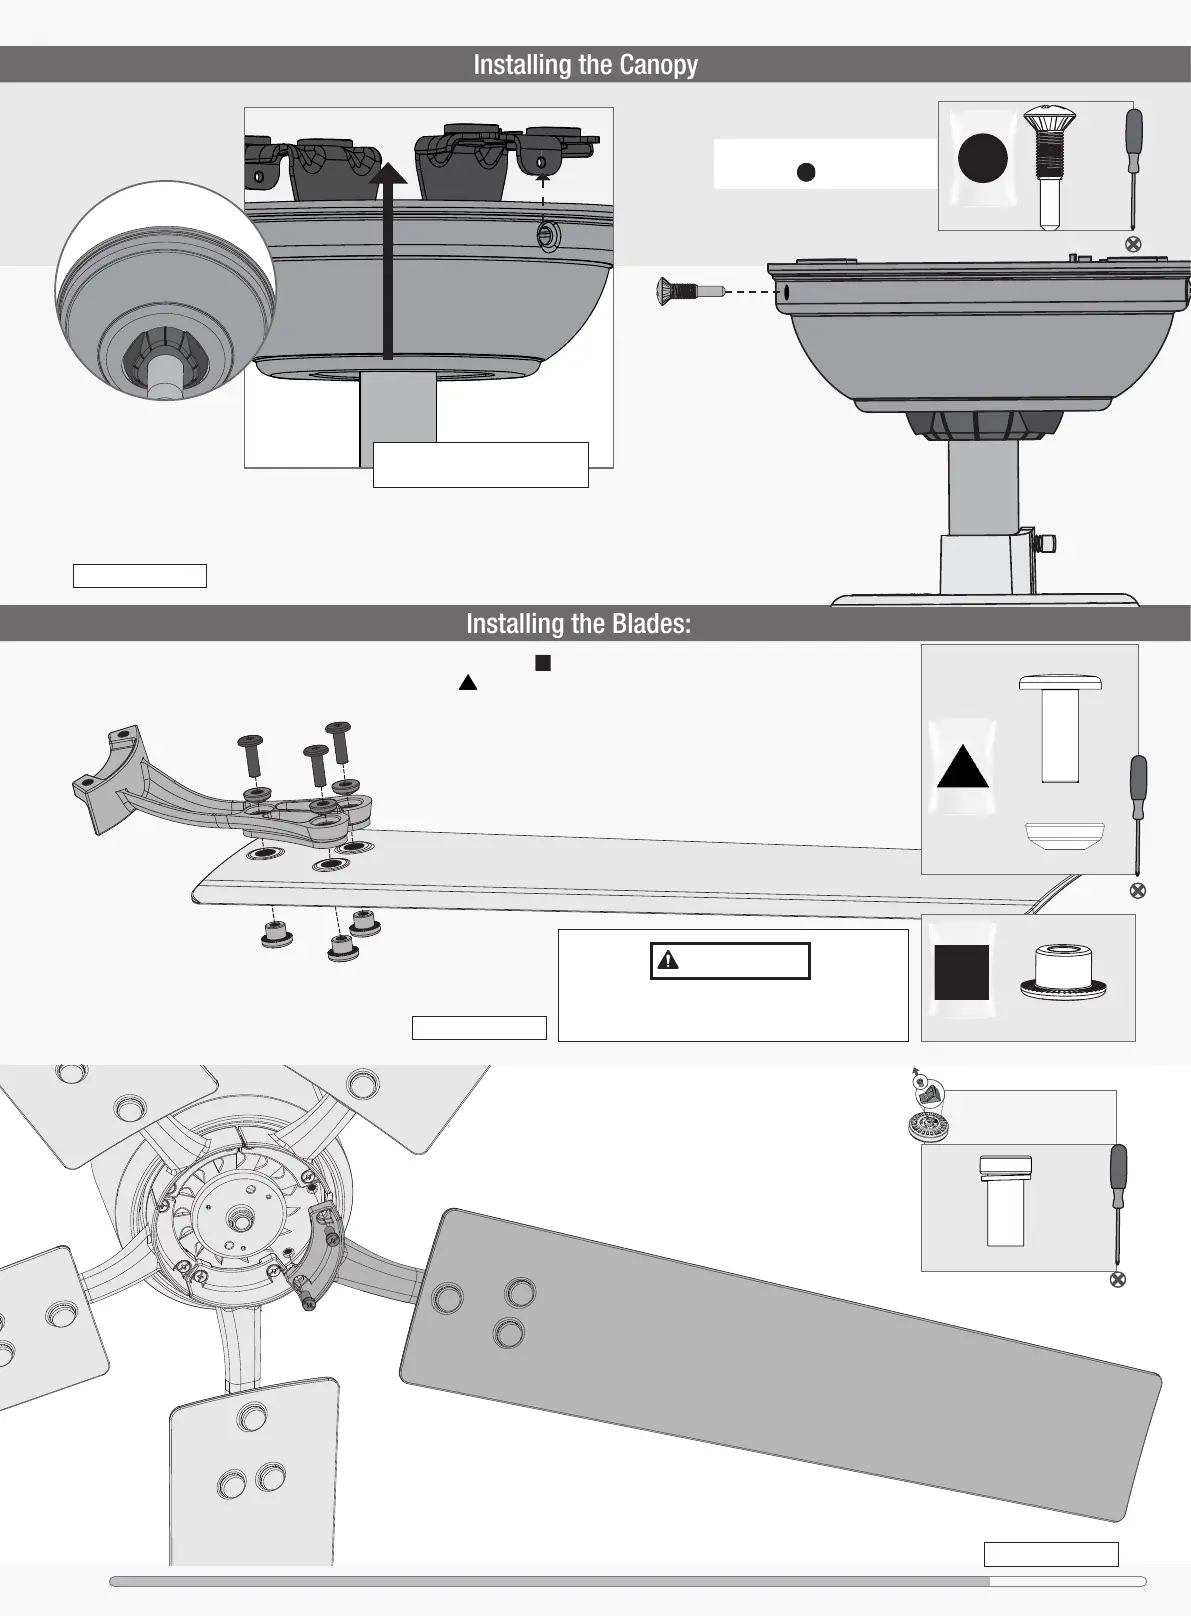
x2
Lift the canopy into place so that
the screw holes are aligned.
Insert the two canopy screws
found in the hardware bag.
F
i
t
t
h
e
c
a
n
o
p
y
i
n
p
l
a
c
e
a
s
s
h
o
w
n
.
bag
Canopy
Screw
IMPORTANT
NOTE: Follow the instructions on the blade. Installing it
incorrectly could result in your fan not functioning.
Fan style may vary.
Note: