4
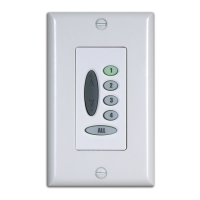
Radio Control
Group Addition or Removal
Before you begin, operate the window covering using the manual
control button to make sure that it is working properly.
tip: Move the wireless wall switch as close as possible (2"– 3")
to the sensor eye when assigning groups.
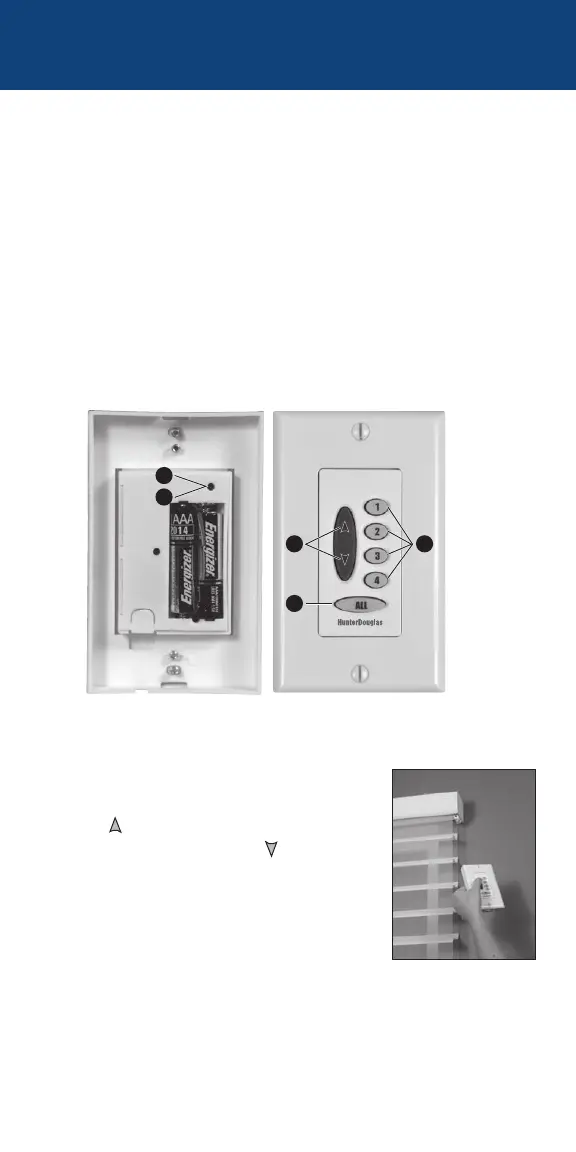
1. Remove the back cover of the wireless wall switch.
2. With a paperclip, press and release the recessed SETUP
button on the back of the switch. The ALL button on the front
of the wall switch flashes green for approximately 30seconds.
3. While the ALL button is flashing green, press the groupbutton
for the group to which you plan to assign the window covering.
4. Point the top of the wall switch at the sensor
eye of the window covering and press the
UP
button to add the window covering
to the group or the DOWN
button to
remove the window covering from the
group. The window covering moves slightly
(or “jogs”) to indicate that it has been added
to or removed from thegroup.
5. Exit setup mode by pressing and releasing the SETUP button
a second time. The wall switch saves any changes made and
the ALL button stopsflashing.
6. Replace the wall switch in its mounting place.
5
3
2
2
4