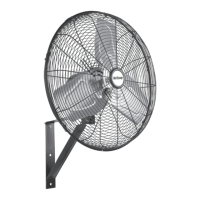
The fan should be installed on solid wood or a pillar that is secured
perpendicular to the floor.
CAUTION:
To prevent the fan from falling off, do not install it on walls less
then 4 inches thick or those made from materials that are easily damaged.
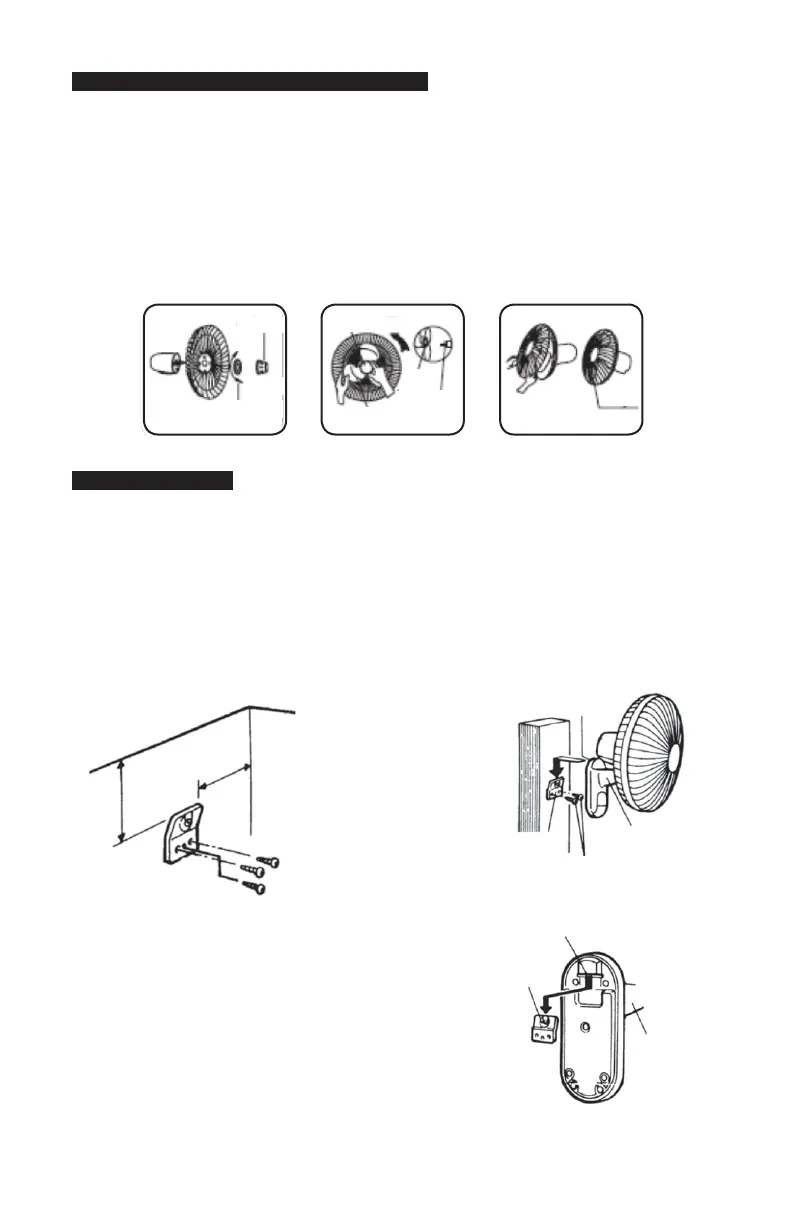
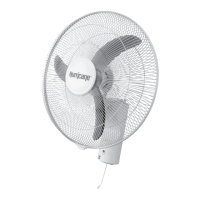
INSTALLING THE MOUNTING BRACKET
Fix the supplied mounting bracket firmly to the wall using the three screws.
NOTE: The bracket
should be positioned
at least 14 inches from
the ceiling and at
least 12 inches from
adjoining wall.
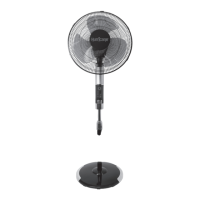
INSTALLING THE STAND
Mount the stand on the bracket by inserting
the bracket catch into the slot on the stand.
INSTALLATION
GUARD & FAN BLADE ASSEMBLY
Follow these assembly instructions carefully.
1. Unscrew the spinner clockwise (or take the spinner out of the bag).
Then unscrew the plastic nut counter-clockwise and remove. Fix the
rear guard to the motor, then tighten the plastic nut again. (Fig. 1)
2. Discard PVC sleeve on shaft. Insert the blade into shaft, and make sure
the rotor shaft pin is fitted into the groove of the blade. Turn the
spinner counter-clockwise to tighten the blade. (Fig. 2)
3. Fasten the front guard and the rear guard using the guard clip. (Fig. 3)
14 inches
12 inches
Ceiling
Wall
Fig. 1 Fig. 2 Fig. 3
Clip
Spinner
Tight
Slot
Retaining
Pin
Blade
Spinner
Tight
Loose
Plastic Nut
Stand
Screws
Mounting
Bracket
Slot on
Rear Side
Slot on Rear Side
Mounting
Bracket
Stand