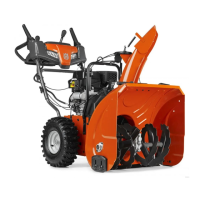
4. Turn the adjustment nut (B) until the distance (D)
between the continuous track and the steel plate is
between 3.175 and 6.350 mm (0.125 and 0.250 in).
wide. (Fig. 100)
5. Attach the locking screw (A) and then the rear
locknut (B).
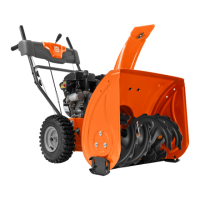
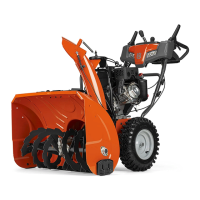
To clean the product
• Clean plastic parts with a clean and dry cloth.
• Do not use a high pressure washer to clean the
product.
• Do not flush water directly on the motor.
• Use a brush to remove leaves, grass and dirt.
Troubleshooting
Problem Possible cause Solution
The product does not start
The safety ignition key is not inserted.
Insert the safety ignition key.
The product is out of fuel.
Fill the fuel tank with fresh, clean
gasoline.
The ON/OFF key is OFF.
Move the ON/OFF key to ON posi-
tion.
The engine is flooded.
Wait a few minutes before restarting,
DO NOT prime.
Restart the engine while full throttle
and the choke in OFF (CLOSE) posi-
tion.
The spark plug cable is not connected. Connect the cable to the spark plug.
The spark plug is bad. Replace the spark plug.
There is water in the fuel or the fuel is too old.
Empty the fuel tank and carburetor.
Fill the fuel tank with fresh, clean
gasoline.
There is vapor locked in the fuel line.
Make sure that all the fuel line is
below the outlet of the fuel tank.
The fuel line should run continuously
down from fuel tank to carburetor.
Other causes.
Inspect the starting procedures care-
fully in this manual.
The starting battery is not charged. Charge the starting battery.
The starting battery needs to be replaced. Replace the starting battery.
The engine control unit does not receive power. Inspect the ECU fuse and wiring.
The starter solenoid does not engage. Inspect the starter fuse and wiring.
The fuel injector does not trigger. Contact an authorized service center.
The fuel pump does not receive power. Contact an authorized service center.
876 - 019 - 05.10.2023 25