5-6 112479_0510
5. When ready to use mower again after charging, always
turn charger OFF before disconnecting charger from
mower. Disconnect charger cord from wall outlet then
from the mower.
6. Cover the battery charging port with the dust cap and
begin operating mower.
7. If the amber light is blinking, battery failure has
occurred. Check to make sure that all battery cables
connections are tight. If connections are tight, then one of
the batteries may have failed.
8. If the green light is blinking, the charger has overheated.
Turn charger OFF and wait 15 minutes before restarting
charger. Be sure charger is positioned where air can flow
unrestricted into and out of charger.
Charging Recommendations:
WARNING: Do not smoke while servicing the bat-
teries.
WARNING: Always wear safety glasses and protec-
tive clothing near battery. Use insulated tools.
1. Lead acid batteries do not develop a memory and need
not be fully discharged before recharging.
2. Over the winter season, when mower is not used
regularly, the charger can be kept plugged into the mower
to maintain a full charge on the batteries. Batteries left
uncharged will slowly discharge. Before initial use each
spring season, be sure batteries have a full charge before
mowing.
3. If charger is not left plugged in, the batteries should be
fully charged every 30 days to maintain battery life.
4. When charging, be sure charger cooling fan inlet and
outlet are not blocked.
Watering Batteries:
Flooded Batteries need to be checked approximately every 30
charge cycles to be sure there is adequate water in the batteries.
All battery chargers and applications are different. When first
using the mower, check your batteries more frequently until a
refill pattern has been established.
Please adhere to the following instructions on checking and
adding water if necessary:
1. Fully recharge the batteries before checking water level.
Water should only be added to fully charged batteries.
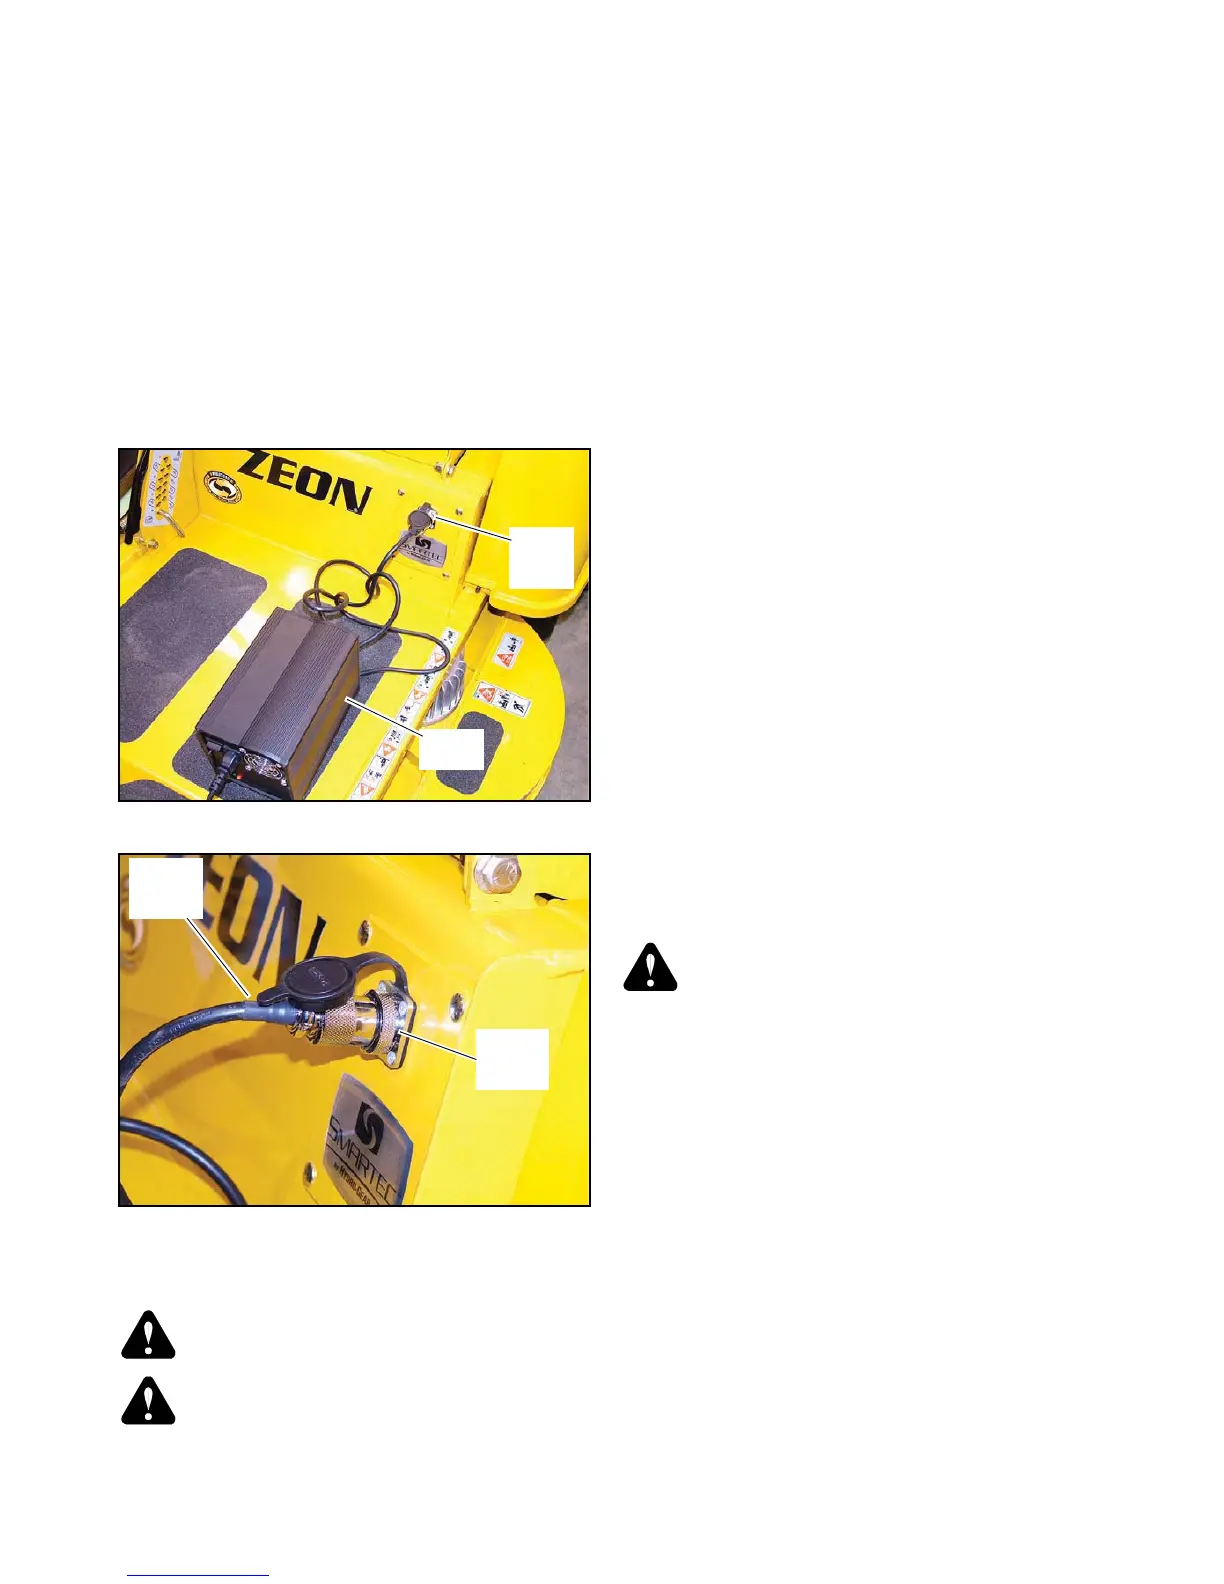
2. Disconnect the charger before checking battery water
level.
3. Remove the seat hold down nut and raise the seat pan.
4. Disconnect the negative (black) cable from the battery
pack. Fig. 5-4
5. Remove the battery hold down and battery cover. Fig. 5-7
6. Clean any dirt or debris from the top of the battery pack.
7. Unscrew the six threaded covers in the top surface of the
battery and check that the water level inside completely
covers the plates. It may be advisable to shine a flashlight
inside the battery for best observation. If plates cannot be
seen above the water, then water level is adequate and
threaded covers can be screwed back on. Repeat this
process on all four batteries.
WARNING: Do not use a lighter, matches or flame to
inspect fluid level.
8. If plates can be seen above the water level, then water
must be added.
9. Use distilled or deionized water only and always
dispense from the water can provided with the Zeon™.
The water can ensures the proper level of water is
reached while preventing overfilling. Place water can
spout down over battery opening and press down to
dispense water into the battery. Continue pressing down
on water can until you no longer hear water flowing.
10. Repeat this procedure with all battery openings. Then
screw caps back onto battery.
11. Repeat steps 7 thru 10 for all of the batteries in the
battery pack.
12. Check all battery connections.
13. Re-install the battery cover and battery hold down. Lock
in place with battery cover hold down nut.
14. Reconnect negative (black) battery cable. Refer to
Battery Connection section for more information.
15. Close seat pan and lock in place with seat pan hold down
nut.
Fig. 5-5
Fig. 5-6
 Loading...