10
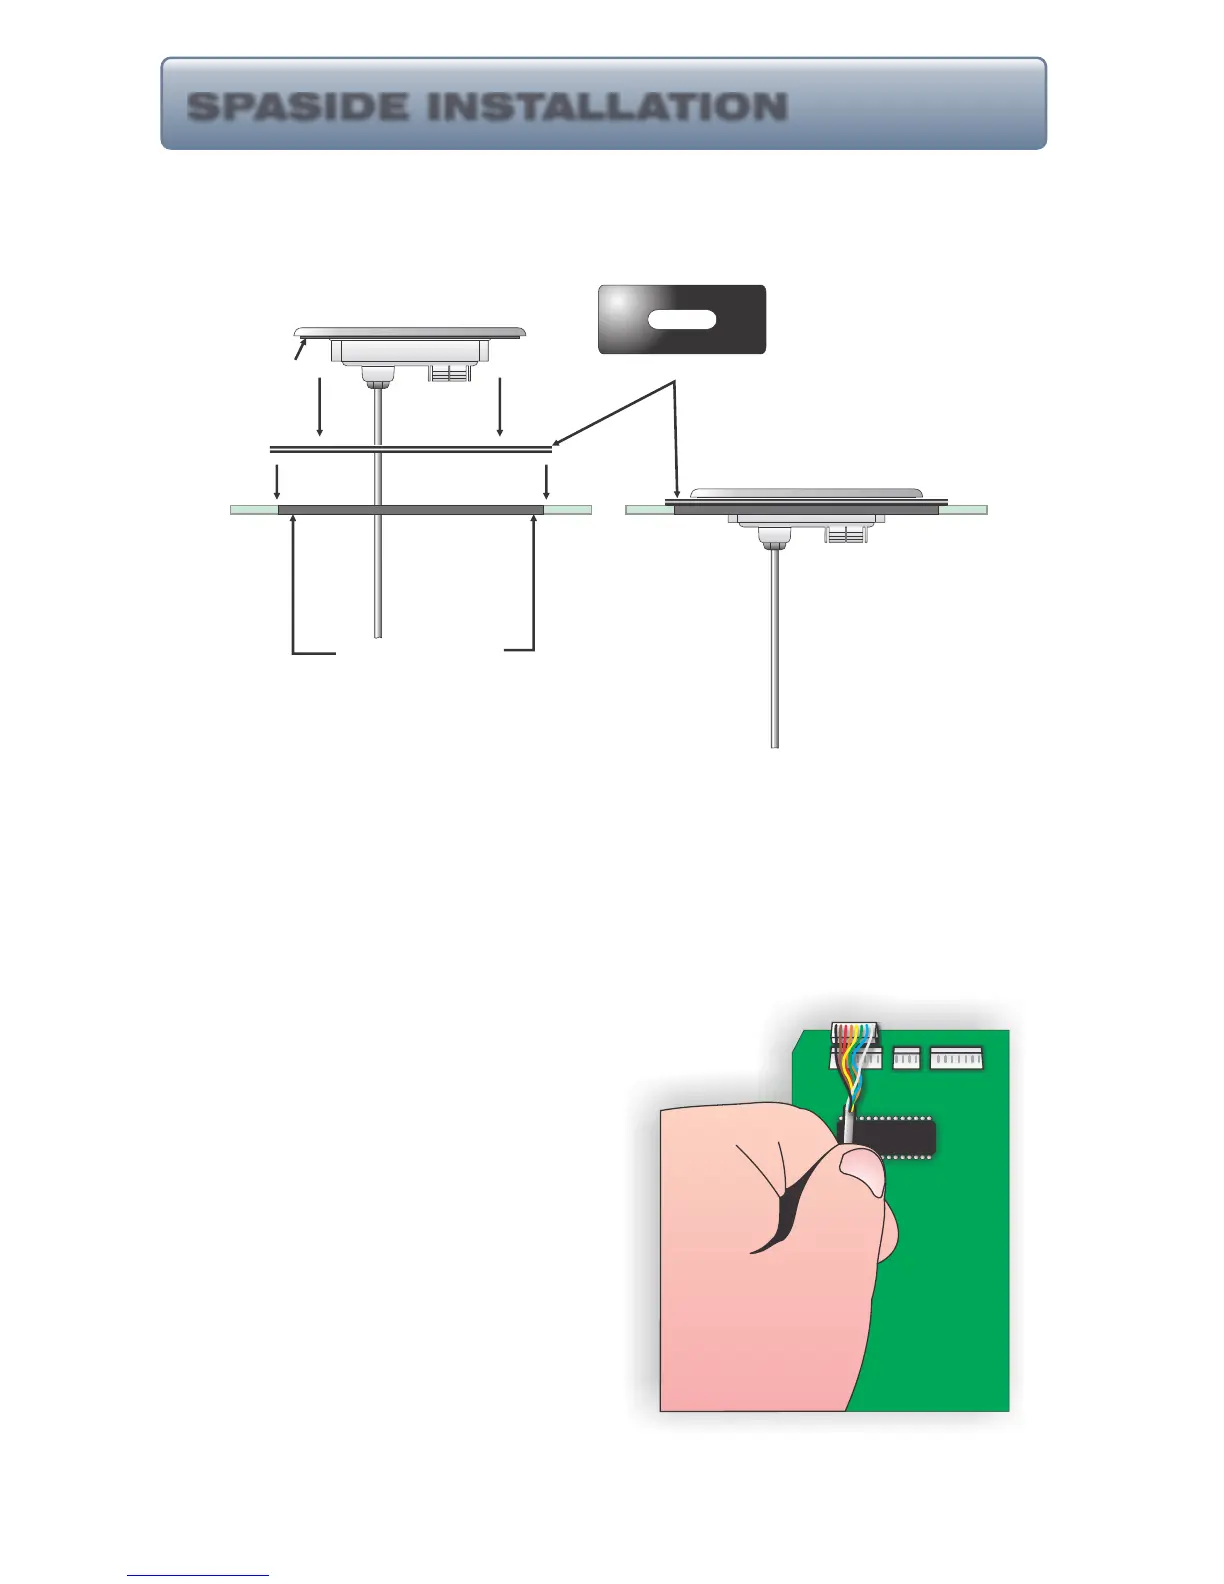
Step 1 - (If control cutout already exists, determine if
placard must be used. If existing cutout is sufficient,
disregard step 1.) Choose a location for the
spaside control. Using the template provided,
d
lean area and insert spaside. (If placard is
required, position and secure using a water resistant silicone
sealant.)
rill two 1” diameter holes, 2 5/8” apart. Cut
away the material between the two holes,
c
Step 2 - Route cord through the hole, remove
the double-sided adhesive tape on the back
of the keypad. Now carefully adhere the
keypad to the spa shell or placard making
sure it is straight.
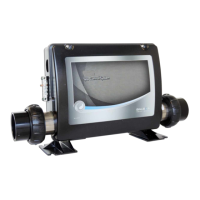
Step 3 - Remove protective film from display
window, clean control surface with rubbing
alcohol and apply label. Connect spaside
control plug to circuit board as shown.
Eco-1, 2, 5 & 6 Series Spaside Controls:
PLACARD
SPASIDE INSTALLATION
EXISTING HOLE
DOUBLE-SIDED TAPE