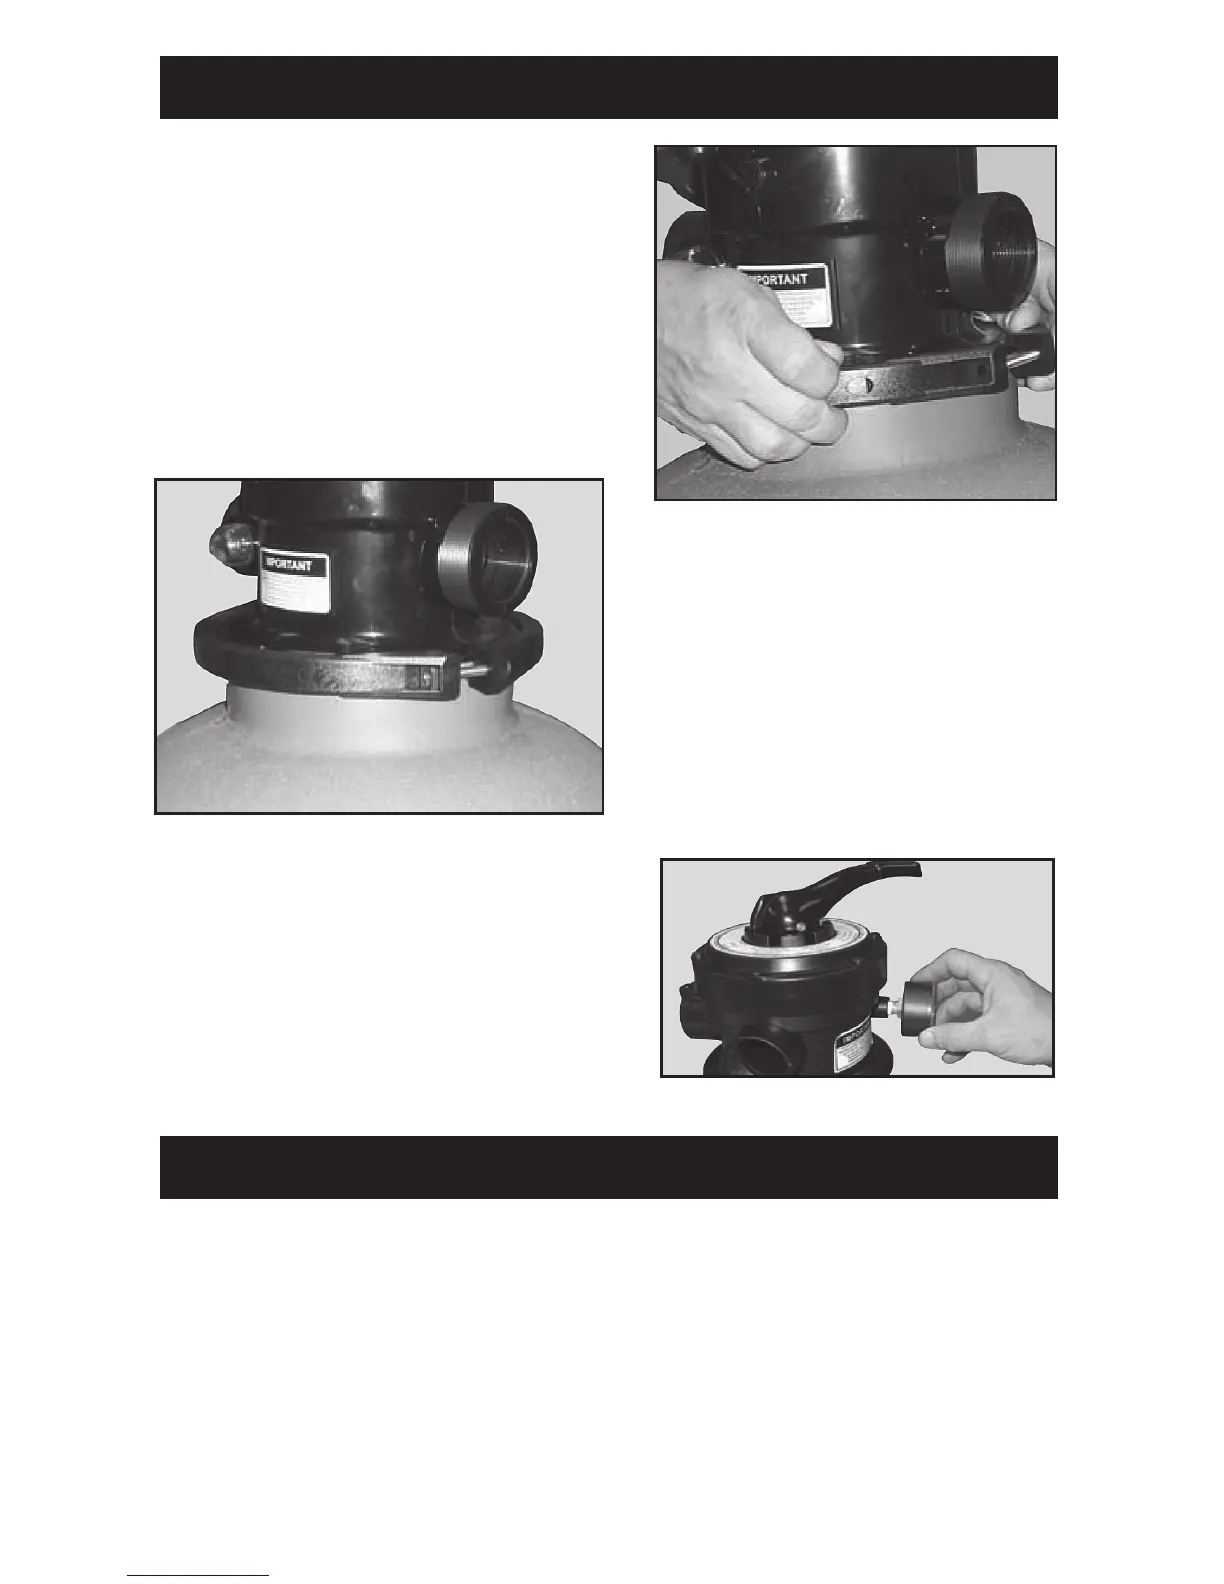
STEP FIVE - INSTALLING VALVE (continued)
STEP SIX - CONNECT HOSES
• Make sure that the screws of the
clamp are lined up with the seams of
the tank. Tighten two screws on clamp a
little at a time. Alternate from side to side
so that both sides are tightened equally.
Failure to tighten correctly will result in a
leak at the clamp. (Fig. 19)
• The clamp should sit flat around the lip of
the tank and edge of valve. If it is not sitting
flat the clamp will leak.
(Fig. 18)
• Cover threads of pressure gauge with Teflon
tape. Remove temporary plug from valve and
thread gauge into opening.
(Fig. 20)
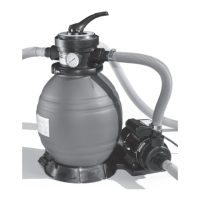
•
The valve ports are labeled “RETURN”, “PUMP” and “WASTE” with raised letters next to
or on the openings. Attach one 6’ hose to the bottom of your through-wall skimmer and to the
front of the pump with hose clamps on each fitting. Attach second 6’ hose to the fitting on the
“RETURN” valve port and to the pools return fitting with hose clamps on each fitting.
“WASTE” port will accept a standard fitting and a backwash hose (Sold separately) which will
be used during maintenance.
•
Check drain plug at bottom of filter to ensure that it is screwed on tight.
Fig. 18
Fig. 19
Fig. 20
9