CAREFULLY FOLLOW THE BATTERY PACK MAKER’S RECOMMENDATIONS AND SAFETY ADVICE!
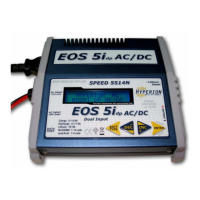
Using the EOS 5i DP AC/DC
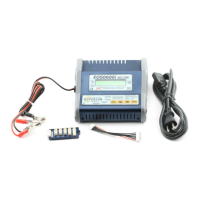
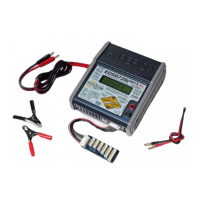
The EOS 5i includes an Output Harness with two 4mm male “banana” connectors attached. First,
solder your chosen battery connector to the bare wire ends of the harness, taking great care to
observe proper polarity.
ALWAYS FOLLOW this connection sequence, and reverse sequence to disconnect:
1) Connect OUTPUT harness to the sockets located on the right side of the charger.
Take care that the Output Harness RED wire bullet connector goes to the (+) socket, and BLACK wire to (-) .
2a) Connect Charger INPUT alligator clips to an appropriate DC power source:
a) A 12V automobile battery
b) A quality, low-noise DC power supply of 12~15V with 5A+ rating (large batteries may require 10A supply)
OR
2b) Connect to AC wall power 100~240V using the supplied AC adapter cable
DO NOT CONNECT BOTH AC AND DC INPUT AT THE SAME TIME!!
The Charger will display INPUT VOLTAGE error message if input voltage is out of range. If this happens, please
recheck the input power supply to make sure correct voltage is present.
3) Set the battery type using the charger
configuration buttons.
*The INC and DEC buttons are used to Increase
or Decrease values, such as Charge Current or
LiPo Cell Count
*The INC and DEC buttons are used to select MODE, such as Charge, Discharge, or Cycle
*The BATT TYPE and ENTER buttons both have two modes: SHORT press or LONG (~1 second) press
• Short press BATT TYPE: Scroll battery types
• Long press BATT TYPE: View input/output Data
• Short press ENTER: Scroll settings for a battery type. Values will blink when selected. If nothing is
changed, blinking will stop. Short press Enter until re-selected, then INC/DEC to change values.
• Long press ENTER: START charging (or discharging, or cycling)
Let’s start by using a NiMh battery as an example:
When the charger is first connected to input power, it will display the previously used battery configuration.
This is especially convenient if you often charge the same type of battery.
1) If NIMH is not shown, short push the BATT TYPE button to scroll through all battery types. Stop when
you reach NIMH.
2) Short press the ENTER button to select “C”, charge rate in Ampere
3) Press INC or DEC buttons to choose the proper rate for your battery pack.
Charging NiCd and NiMH is mostly automatic, and the setup routines are the same for both. You only need to consult the
documentation for your battery pack (or ask your dealer) to determine the proper charge current in Ampere (A). If the rate
is given in mA, note that 100mA equals 0.1A: so 900mA would be 0.9A, for example.
4) Attach your NiMH battery to the EOS 5i Output side harness, checking that +/- polarity is correct.
5) Long press ENTER button (hold down for about 1 second) to begin charging
NO BATTERY error - if battery not connected
OPEN CIRCUIT error - if the battery becomes disconnected from the charger after START