6.3.2.2 Performing a fuel conversion on EX 700 and EX 850 appliances
1. Turn off the power and shut off the gas supply at the external gas shut-off valve.
2. Remove the front door and top cover from the boiler.
3.
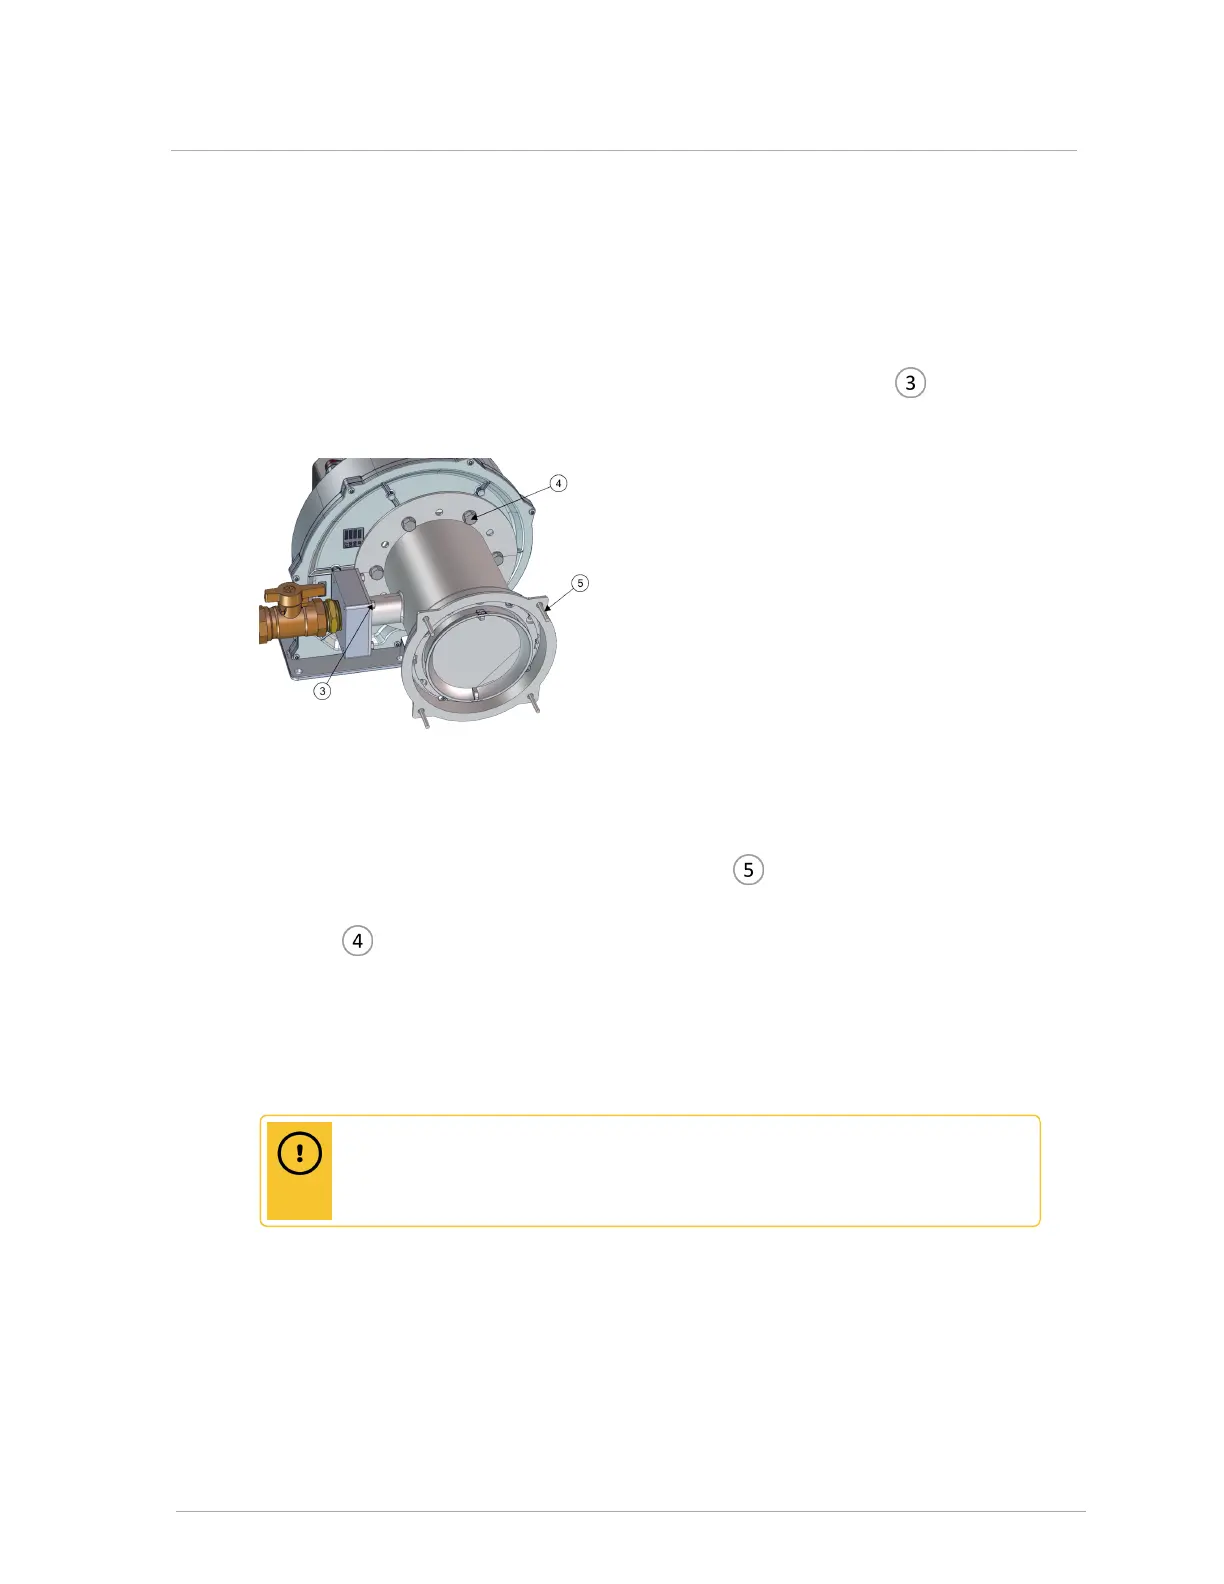
Remove the four (4) 5/16" hex bolts from the gas inlet to the mixing device. Carefully
separate the two parts, remove and retain the O-ring for re-assembly. (See in image
below).
Figure 46 Disconnecting the mixing device
4. Remove the four (4) ¼" hex bolts that connect the mixing device to the air filter box. The
gasket should remain attached to the air filter box. (See on image above).
5. Use an Allen key to remove the Six (6) 6 mm screws connecting the mixing device to the
fan. (See in image above). Carefully separate the two parts, remove and retain the O-
ring for re-assembly.
6. Remove the propane mixing device.
7.
When Installing the new natural gas mixing device ensure that the O-ring is properly seated
in the groove of the fan.
Caution
Failure to position the O-ring as indicated will result in a gas leak, and affect
burner operation.
8. Re-assemble in the reverse order of steps provided.
9. Turn on the electric power and gas supply to the boiler.
10. Reset the gas low pressure switch by pressing the clear plastic cover above the Red
button.
6.3.2 Performing a fuel conversion