18 19
BIKE SET-UP TIPS AND TRICKS BIKE SET-UP TIPS AND TRICKS
Mojo HD3
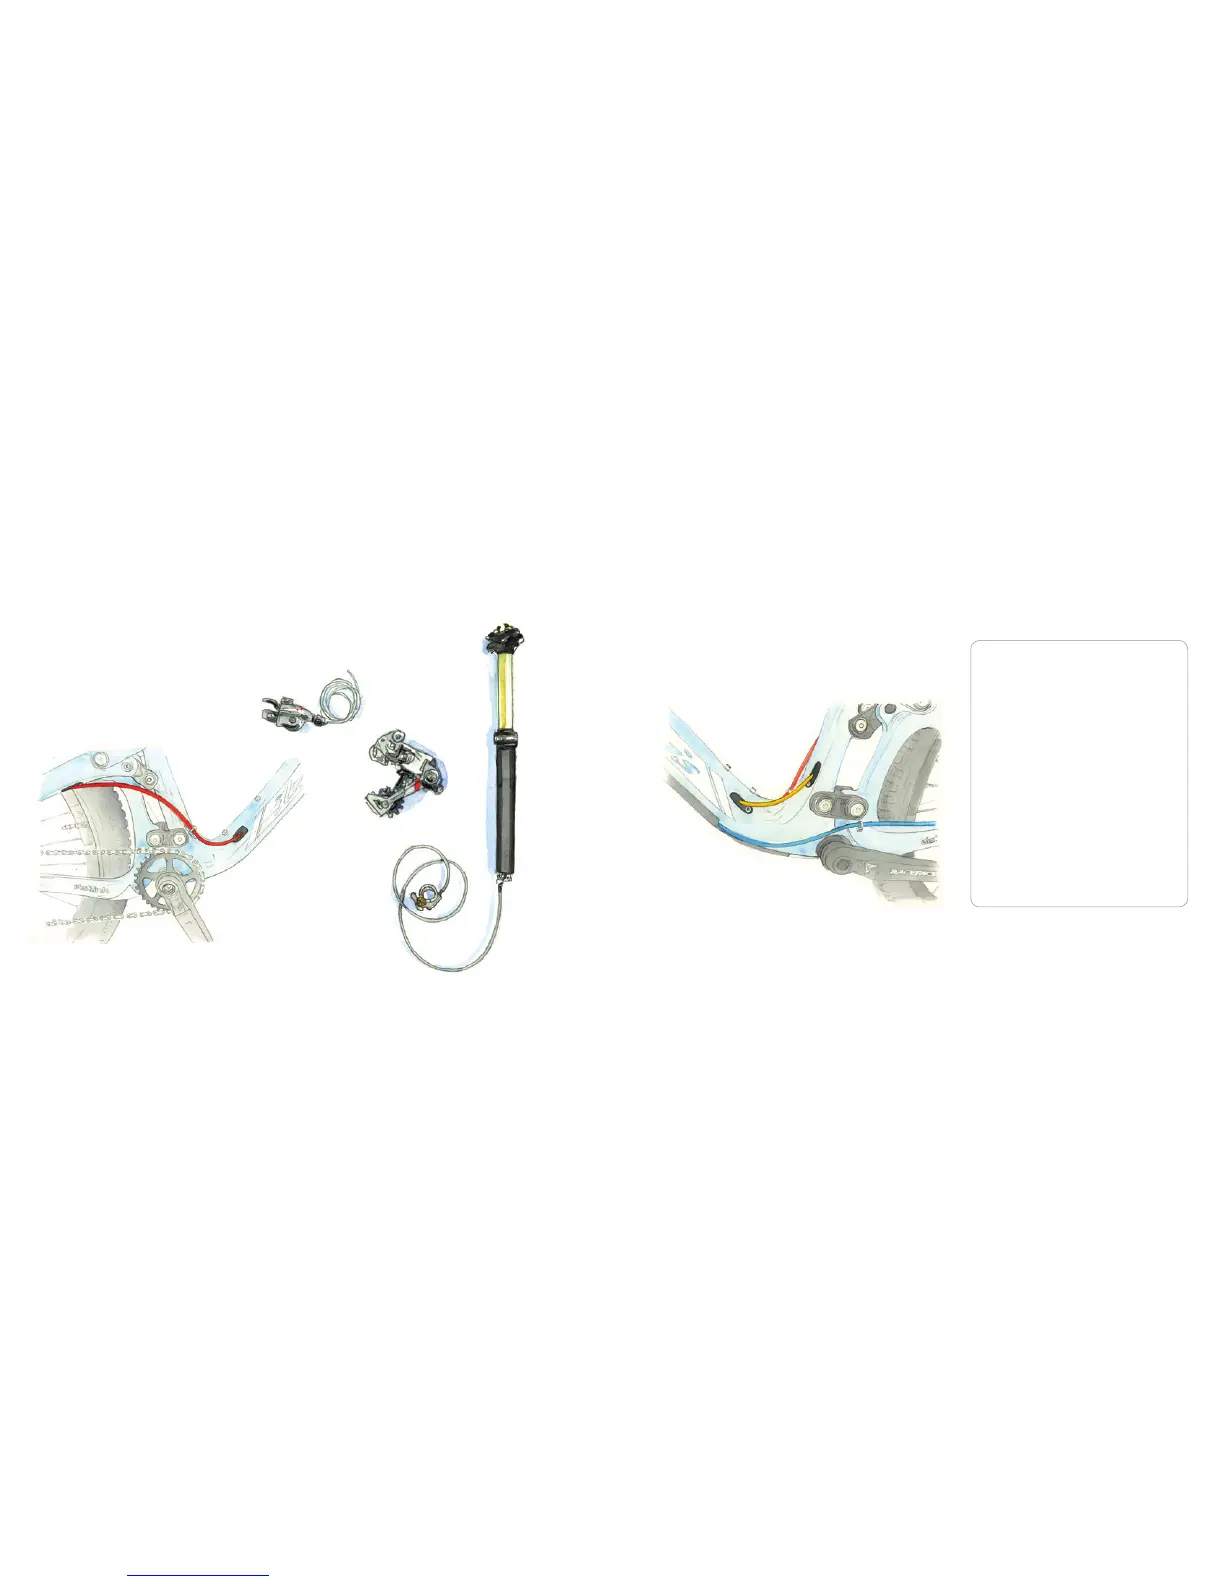
Dropper Cable Routing
Mojo HD3
Derailleur Cable Routing
A Note on Reverb Dropper Routing
The Reverb dropper routing we prefer is not
illustrated, but we’ll describe it for you. You
need three of our hydro cable stops. Route the
Reverb into the left side of the down tube (it’s a
single port) using our hydro port. Use two other
hydro ports at the bottom left side of the down
tube and seattube, and fish the dropper tubing
through to the seattube. Connect as normal.
If you’re using Shimano’s new side pull front
derailleur, route it through the drive side of the
down tube and then out at the bottom of the
drive side. For top mount front derailleurs use
the toptube for entry and exit for the derailleur
cable. Note that you have the choice of full
housing or interrupted derailleur housing with
our versatile port configurations.
For droppers that use cable and housing, such
as the KS LEV, route the housing according to
the illustrations.
A Note HD3 Routing
with Top Pull Derailleurs
We have made the Mojo HD3 compatible
with the new Shimano side swing front
derailleurs. Should you be retrofitting an
older style top pull derailleur refer to new
Ripley Routing on page 14.
 Loading...