15
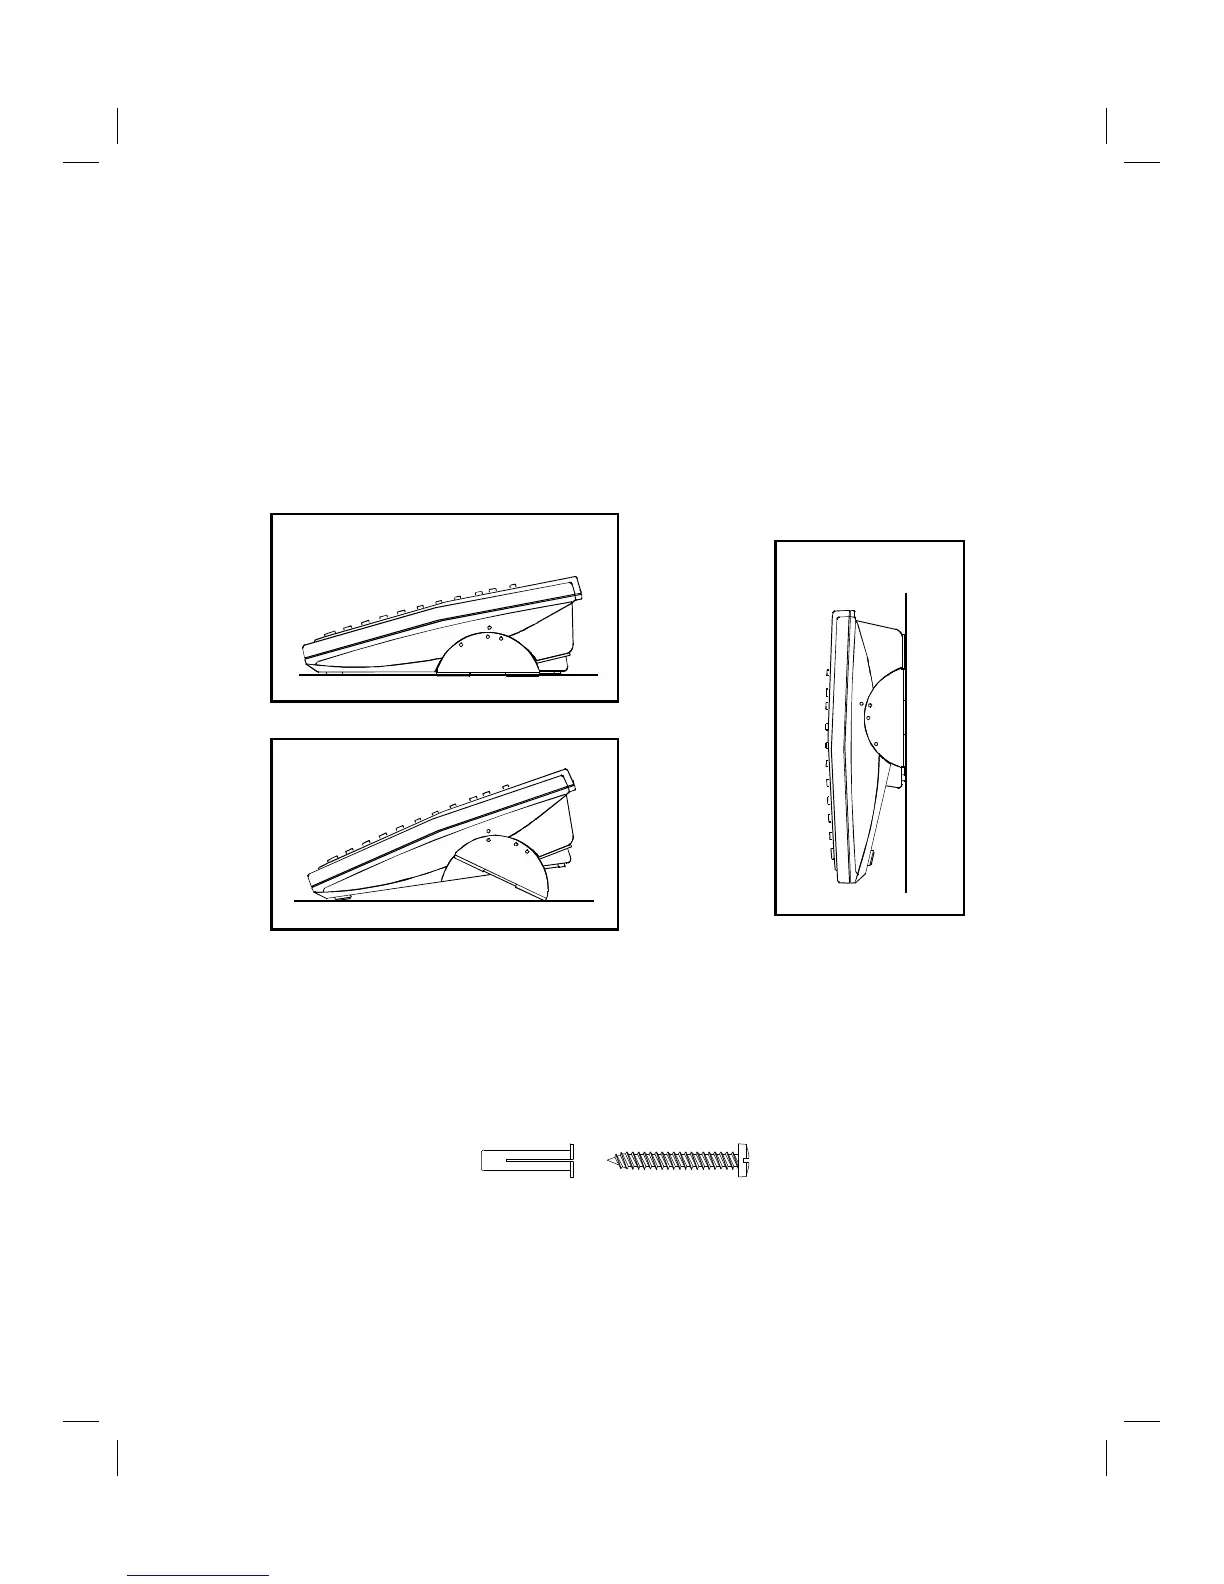
Adjusting the Viewing Angle Brackets
Adjust the viewing angle brackets (one on each side of the phone) to position the phone to the desired
viewing angle. Take care to keep the right side bracket on the right side of the phone and the left
bracket on the left side of the phone. These brackets are not interchangeable. The character R or L
appears on the inside of each bracket to indicate proper installation.
The brackets are adjusted by removing them from the base and reattaching them at desired angle. To
remove the brackets, insert your finger into the bracket opening (on the underside of the bracket) and
press up as you pull the bracket straight out from the side of the phone. To attach the brackets, use
alignment guides (small marks) on the side of the phone and on the brackets as you snap them in place.
WALL MOUNTING
The telephone may be installed on the studs of a standard wall phone plate or onto two screws (not
included) fastened into the wall. When installing screws, use wall anchors (not included) to insure that
the screws are secure.. To install screws properly, remove the template from page 36 of this manual
and use it to mark the screw locations on the wall. Insert the screws into the wall leaving 3/16" of each
screw extending out from the wall.
(Not Included)
Counter Top Angle
Desk Top Angle
Wall Mounting Angle
Expansion
Anchor
#6 or #8 Pan Head
Self Tapping Screw
 Loading...