Note: Do not hold the drive only by the handle.
4. Slide the drive into the enclosure until the drive stops.
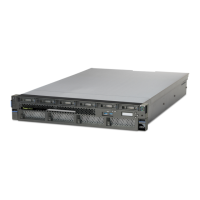
Figure 10. Installing a disk drive in the ESLL storage enclosure
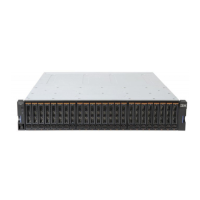
Figure 11. Installing a drive in the 5147-024 or ESLS storage enclosure
10 Power Systems: Installing the Model 024, ESLL, or ESLS storage enclosure