Accessing the Advanced System Management Interface (ASMI)
__ Connect the server to the same PC that you connected the null modem cable to for access to the ASMI. For
instructions, see Accessing the ASMI using a Web browser.
Attaching devices by using a system port
__ If you want to access the ASMI when the system is in standby, attach an ASCII terminal to a system port on the
back of the server. For views of the back of each server, see References.
__ If you want to access the ASMI remotely when the system is in standby, attach a modem to a system port on the
back of the server. For views of the back of each server, see References.
__ If you are connecting your server to an uninterruptible power supply, see the documentation that is included
with your uninterruptible power supply. You might need additional hardware.
Notes:
1. Any other application that uses a system port requires a system port adapter to be installed into a PCI slot.
2. The attachment of high availability cluster multiprocessing IBM (HACMP) cables to a system port on the back of
the server is not supported.
Connecting the power cords
__ Connect the power cords from the display and attached devices to a power source.
Routing the cables through the cable-management arm
__ Is your server installed in a rack?
v No. Proceed to the next section, After you finish.
v Yes. Do the following:
__ Place the system into the service position. For instructions, see Place the model 51x or 710 in the service
position.
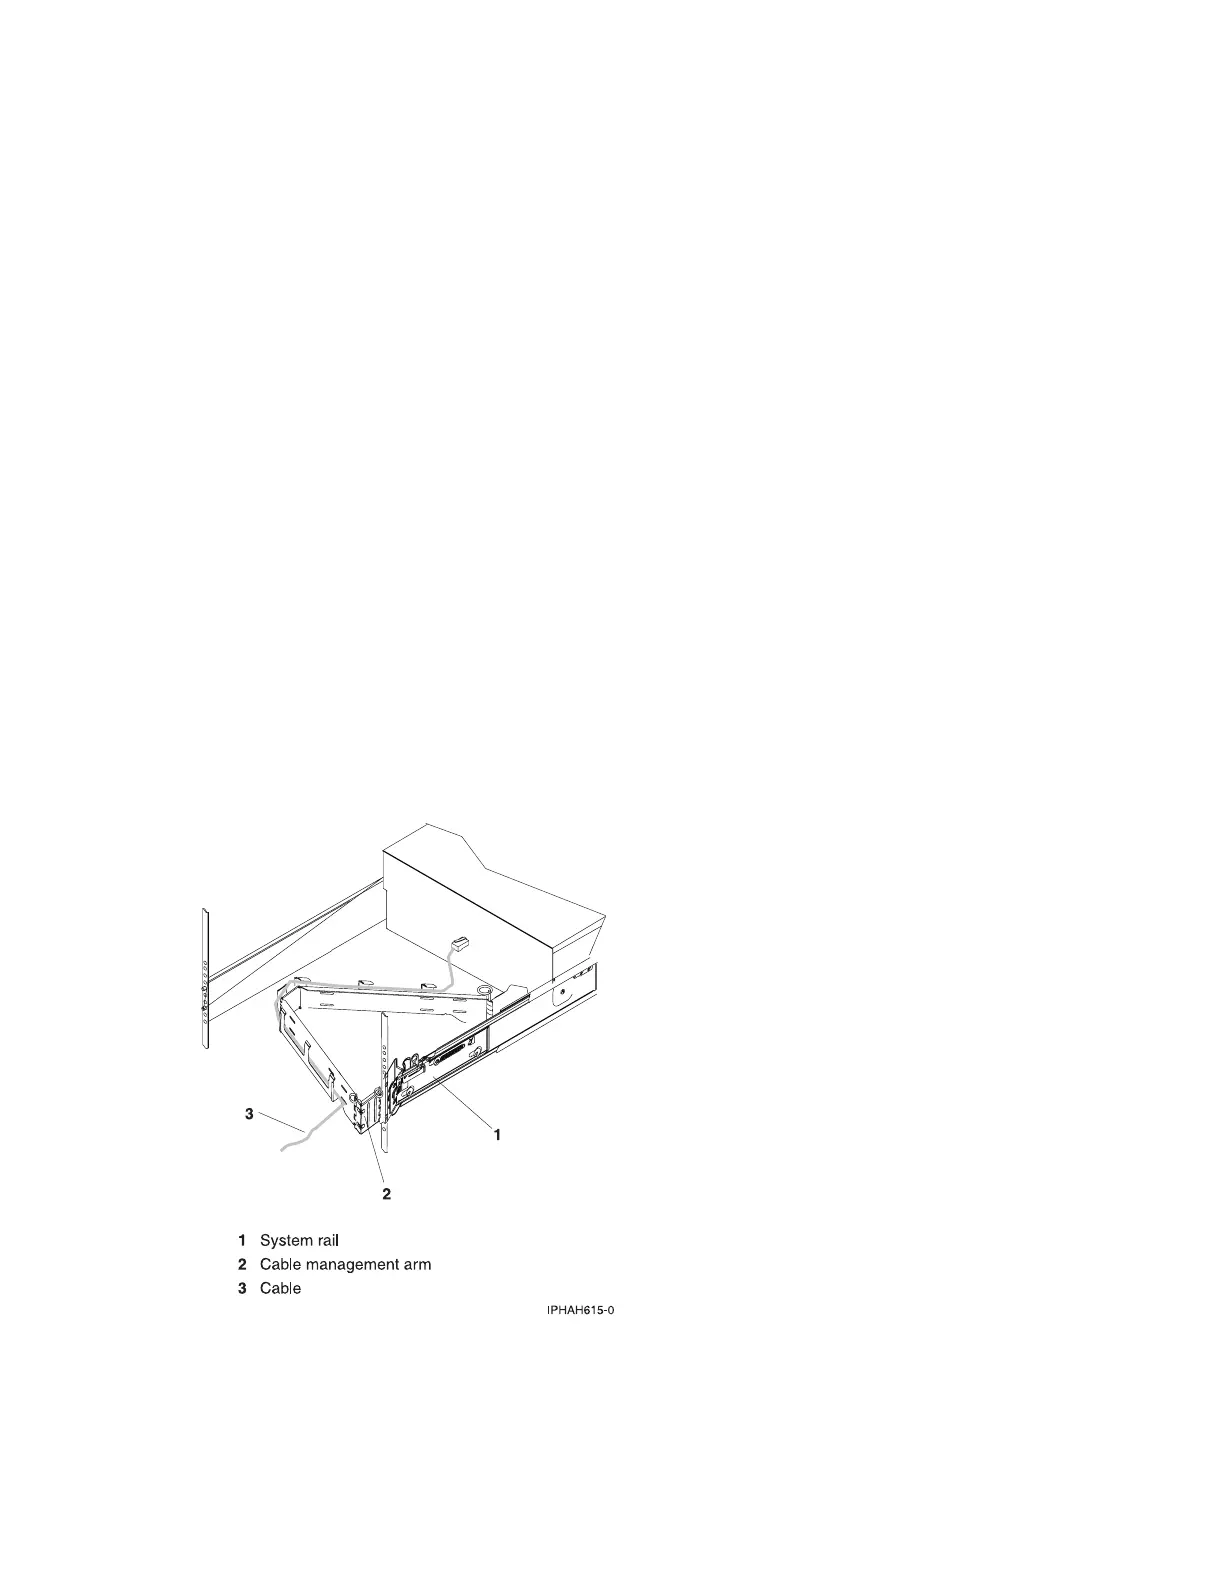
__ Route the cables through the hooks that are located along the cable-management arm and secure them with
the straps that are provided, as shown here:
__ After you attach the cables to the cable-management arm, go to the front of the rack and move the system
drawer in and out. Observe the cables and cable-management-arm movement to verify that the cables are
not binding.
230 System i and System p: Cabling your server
 Loading...