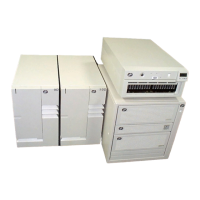
Step 1. Position the Rack
Note: It is the customer's responsibility to unpack the system unit and place it
where it is to be installed. If this has not been done, consult the customer
and the marketing representative as necessary.
Note: The -48 V DC Model S00 rack must be installed only in restricted access
areas such as dedicated equipment rooms or equipment closets in
accordance with Articles 110-16, 110-17, and 110-18 of the National
Electrical Code, ANSI/NFPA No. 70.
1. If the customer has not unpacked the system unit, remove all packing and tape
from the rack.
2. Position the rack according to the customer floor plan. If the rack has a front
door installed, the rack should have a minimum of 3 to 5 inches of clearance on
both the left and right sides of the rack for access to the front door handle.
3. Lock each caster wheel by tightening the thumbscrew on the caster.
Thumbscrew
Step 2. Level the Rack
Adjust the leveling feet by doing the following:
1. Loosen the locking nut by turning the locking nut counter-clockwise (away from
the bottom of the rack).
2. Adjust the height of the leveling feet by rotating the leveling feet either upward or
downward according to the level of the surface on which the rack is placed.
Repeat this for the remaining leveling feet as needed.
Chapter 2. System Installation 2-3
 Loading...