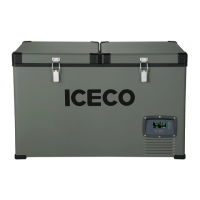
When you first fit your extension collar and high lid, adjustment to the hinges may be necessary if they do not sit flat.
If required, please adjust your hinges as follows:
1. Remove the flat lid.
2. Slide on your extension collar followed by your high lid.
3. Release the tension on all hinge screws.
4. Close the high lid and extension collar and clip them down.
5. Retention all screws with the high lid and extension collar in the clipped down position.
•
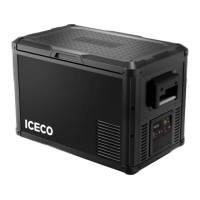
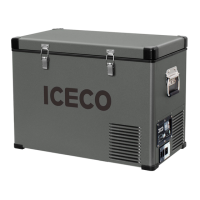
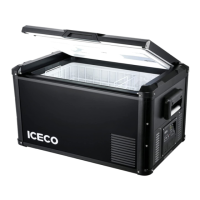
Do not lay your ICECO on its back or sides or at any angle exceeding 40º.
•
Never operate your ICECO directly from 240V mains power without using a 240V – 12V adapter.
•
Never place items on top of the vents above the compressor, heat will not be able to escape and overheating
could occur.
•
Do not use a modified sine wave inverter to operate your ICECO.
3
2. Working process:
●
Power on for the first time, turn on the power switch of the control panel(S1), the LCD displays the measured temperature,
the default setting temperature is -2˚C, you can hold down the "SET" key and "UP" or "DOWN" key to adjust the setting
temperature.
●
When the measured temperature is greater than or equal to the set temperature of 2˚C, the refrigerator starts to cool,
the red LED indicator is on, and the green LED indicator is off. When the measured temperature is less than or equal to
the set temperature of 2˚C, the refrigerator stops cooling, the red LED indicator is off, and the green LED indicator is on.
●
Turn off the power switch of the control board(S1), the control board does not work, and all loads stop working.
●
When the setting temperature is -22˚C, the refrigeration will stop working when the measured temperature reaches -22˚C.
IMPORTANT INFORMATION
FITTING THE EXTENSION COLLAR AND HIGH LID
OPERATING
DISPLAY
1.
After the whole machine is powered on, turn on the S1 switch, the refrigerator starts to work, and the refrigerator
screen displays the measured temperature of the unit.
2.
When the compressor is running, the red LED indicator lights, and the green LED indicator does not work;
3.
When the compressor stops normally, the green LED indicator lights, and the red LED indicator does not work;
4.
The LCD display temperature range is -25˚C ~ 40˚C, greater than 40˚C display HI, less than -25˚C display LO;
5.
Turn off the S1 switch, the LCD screen and LED indicators stop working.
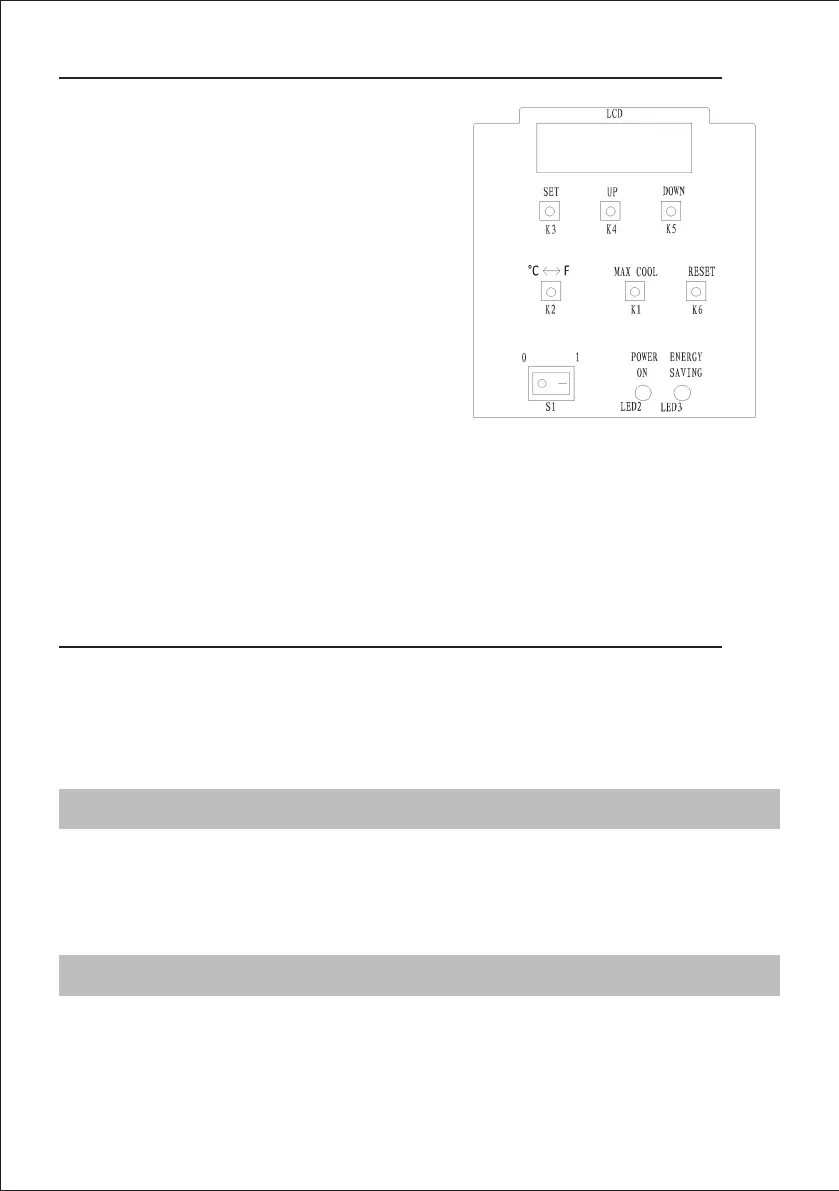
1. Front Key Function
●
K1-“COOL”, can adjust the set temperature “-18˚C”, “-20˚C”,
“-22˚C” in conjunction with “SET” key.
●
K2-“C / F”, Celsius-Fahrenheit conversion button, can perform
temperature conversion between Celsius and Fahrenheit.
●
K3-“SET”, hold “SET” key and simultaneously hold “UP” or
“DOWN” to set the temperature value, the temperature setting
range is -22˚C ~ 10˚C;
●
K4-“UP” / set temperature plus key, pressing this key alone
will not work, and it must be coordinated with “SET” key to set
the temperature;
●
K5-“DOWN” / set temperature decrement key, pressing this
key alone will not work, it must cooperate with “SET” key to
set temperature;
●
K6-"RESET" / reset button, when the machine is working
normally, you can press this button to reset the whole machine
and the default setting temperature is -2˚C.
 Loading...