Do you have a question about the Icom IC-AT100 and is the answer not in the manual?
Detects load resistance/reactance and controls motors for fast capacitor tuning.
Enables automatic band switching with compatible ICOM transceivers and linear amplifiers.
Matching circuit can be preset for each band for quick QSY and reliable operation.
Features four coaxial sockets for antennas, automatically selecting the suitable antenna for each band.
The tuner operates using either 13.8V DC or 117V/230V AC power sources.
Instructions for carefully removing the tuner from packaging, checking for damage, and retaining the carton.
Advice on placement to avoid environmental damage and ensure accessibility of controls.
Details for connecting the tuner to AC or DC power supplies, including voltage conversion.
Illustrates internal wiring adjustments for 100V, 117V, and 230V AC operation.
Specifies DC power supply voltage (12-15V) and current (0.5A) and connection procedures.
Guidance on connecting coaxial and control cables between the tuner, transceiver, and amplifier.
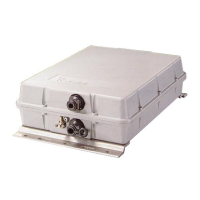
Connection diagrams for IC-AT500 with various ICOM transceivers and amplifiers.
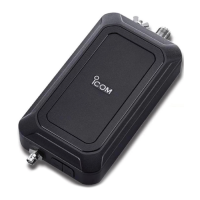
Connection diagrams for IC-AT100 with various ICOM transceivers and amplifiers.
Specific connection diagram for IC-730 enabling its auto band switching function.
Details the four antenna terminals and their frequency assignments for IC-AT100/AT500.
Steps for modifying internal wiring to change antenna terminal assignments.
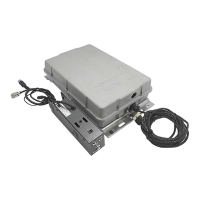
Instructions for installing an additional antenna connector on the rear panel.
Discusses tuner effectiveness with different antennas and potential coaxial cable loss issues.
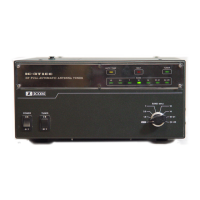
Identifies and explains the function of all front panel controls and indicators.
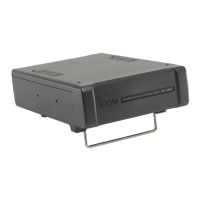
Details the function of all connectors and switches located on the rear panel.
Explains the AUTO TUNE/PRESET SWITCH, PRESET TRIMMERS, and PRESET INDICATORS.
Step-by-step guide for presetting the tuner to optimum conditions for each band.
Troubleshooting steps for when the auto-tune function does not operate as expected.
Procedures for when transceiver protection reduces output, involving manual preset adjustments.
Important safety warnings and precautions to ensure proper tuner operation and prevent damage.
Instructions for cleaning the unit and replacing internal fuses for AC and DC power.
Diagram of the IC-AT500 top view, labeling internal components like coils, capacitors, and motors.
Diagram of the IC-AT500 side view, showing AC Fuse Holder and AC Power Transformer.
Diagram of the IC-AT100 top view, labeling internal components.
Table detailing pin connections for the accessory socket on the rear panel.
Explains the variable capacitors, coil, and motors within the matching circuit.
Describes how the circuit detects load resistance and reactance using voltage and current signals.
Explains how detected voltages are amplified to drive motors for capacitor adjustment.
Details trimmer resistors used to set preset positions for variable capacitors for each band.
Explains how the rotary switch position is set to the desired band using a motor and photo-interrupter.
Describes the circuit that sets variable capacitors to presets and then resets to auto-tune mode after band switching.
Explains the band switching transistors and A/D converter for automatic band switching.
Visual representation of the band switching unit and its band control voltage chart.
Details the dual power supplies: AC to 13.8V DC and DC/DC conversion for negative voltage.
| Type | Automatic Antenna Tuner |
|---|---|
| Input Impedance | 50 ohms |
| Power Supply Voltage | 13.8 V DC |
| Minimum Tuning Power | 5 W |
| Maximum Tuning Power | 100 W |
| Tuning Time | Typically less than 3 seconds |
| Input Power (SSB/CW) | 100 W |
| Input Power (AM) | 30 W |