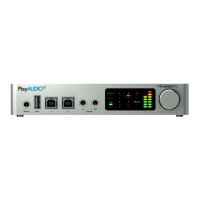
PlayAUDIO
12
User Guide v1.0
6. Connect a MIDI external controller to the USB host port. Ensure that both DAWs are configured so
that playback can be triggered on both DAWs simultaneously.
7. With the unit armed, use the attached MIDIexternal controller to trigger simultaneous playback on
Computer A and Computer B.
How to Test Automatic Failover
1. Ensure that the unit is armed and playback has been triggered on both computers. To force failover
from Computer A to Computer B, remove the cable from USB Device Port 1. The PlayAUDIO12 will
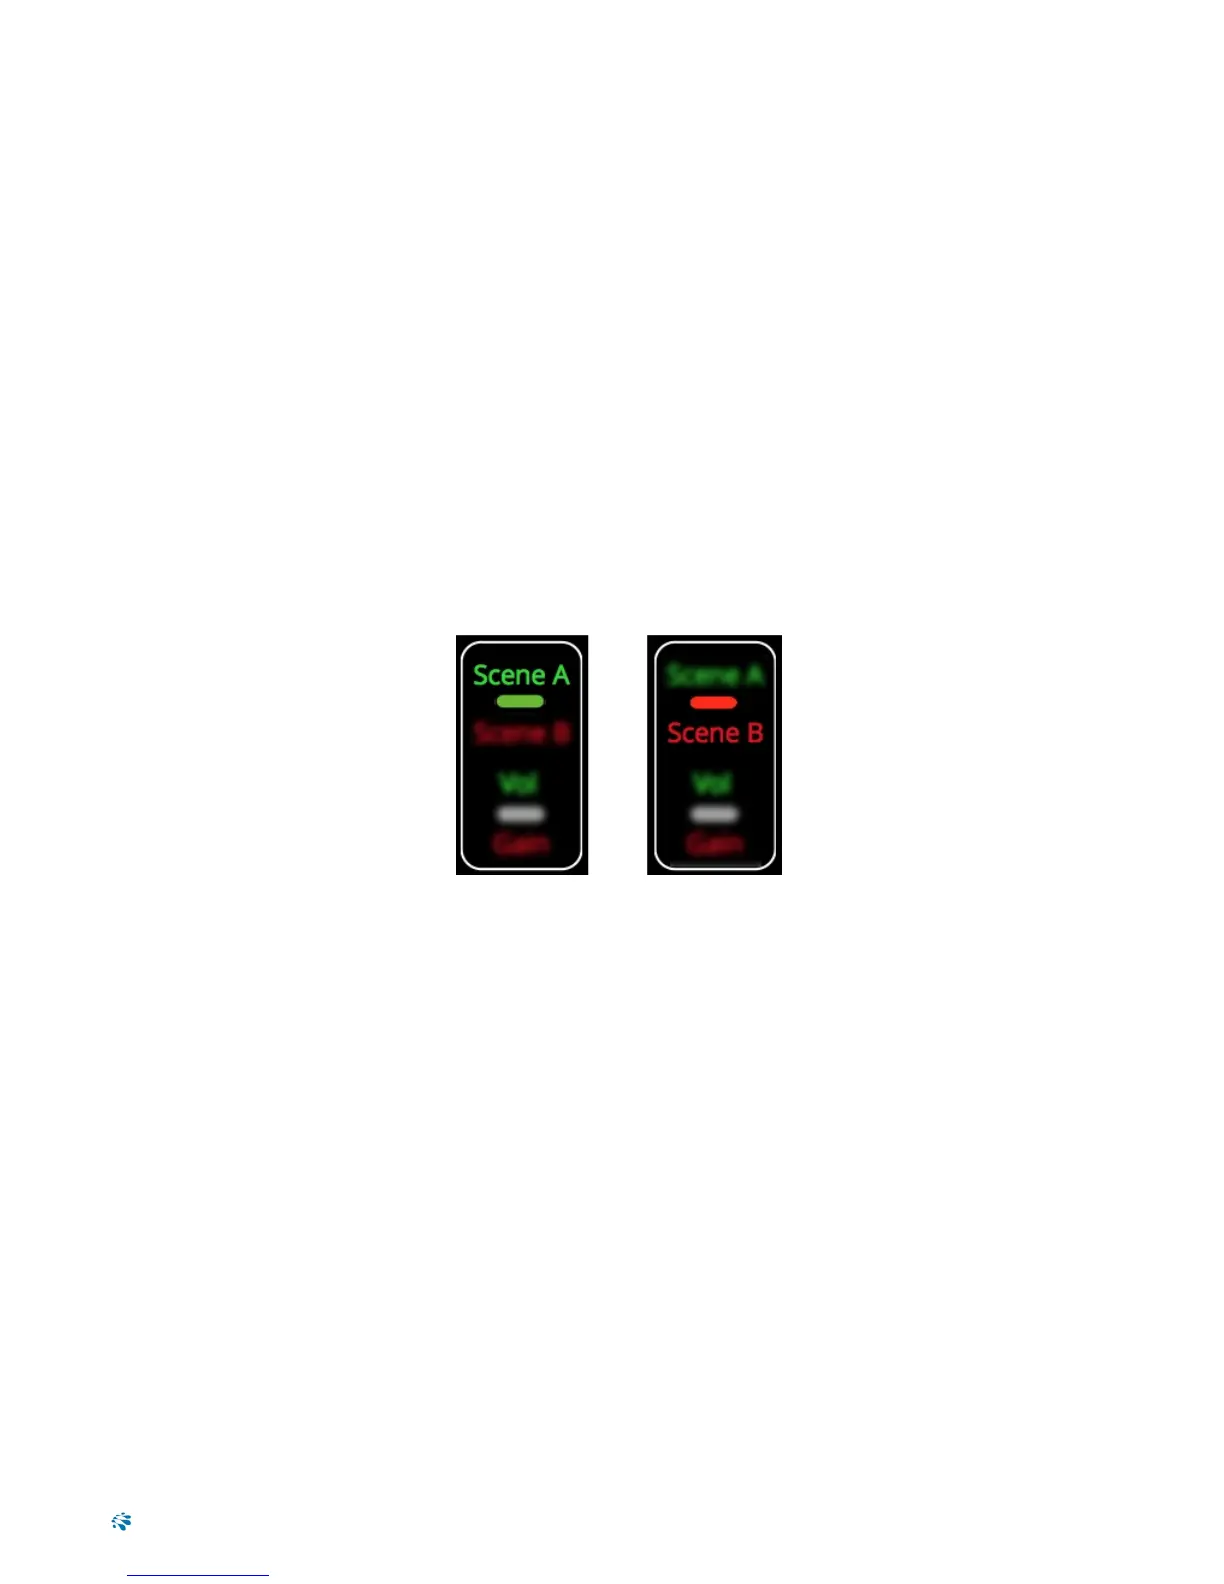
instantly switch over to Computer B as Audio and MIDIplayback continues uninterrupted. The Scene
indicator LED will change to red, indicating that Scene B is now the active scene.
How to Configure the PlayAUDIO12 for Manual Failover
1. Connect a 2-button TRS footswitch to the Control In jack on the PlayAUDIO12's front panel.
2. With the footswitch connected, engage either footswitch channel to activate failover to the opposing
Scene. The Scene LED on the touch panel will toggle to indicate the Scene that is active. (Addi-
tionally, note that pressing the Scene button on the touch panel also allows you to toggle the active
Scene.)
Figure 5: .Scene A active (left). Scene B active (right).
11