20
4
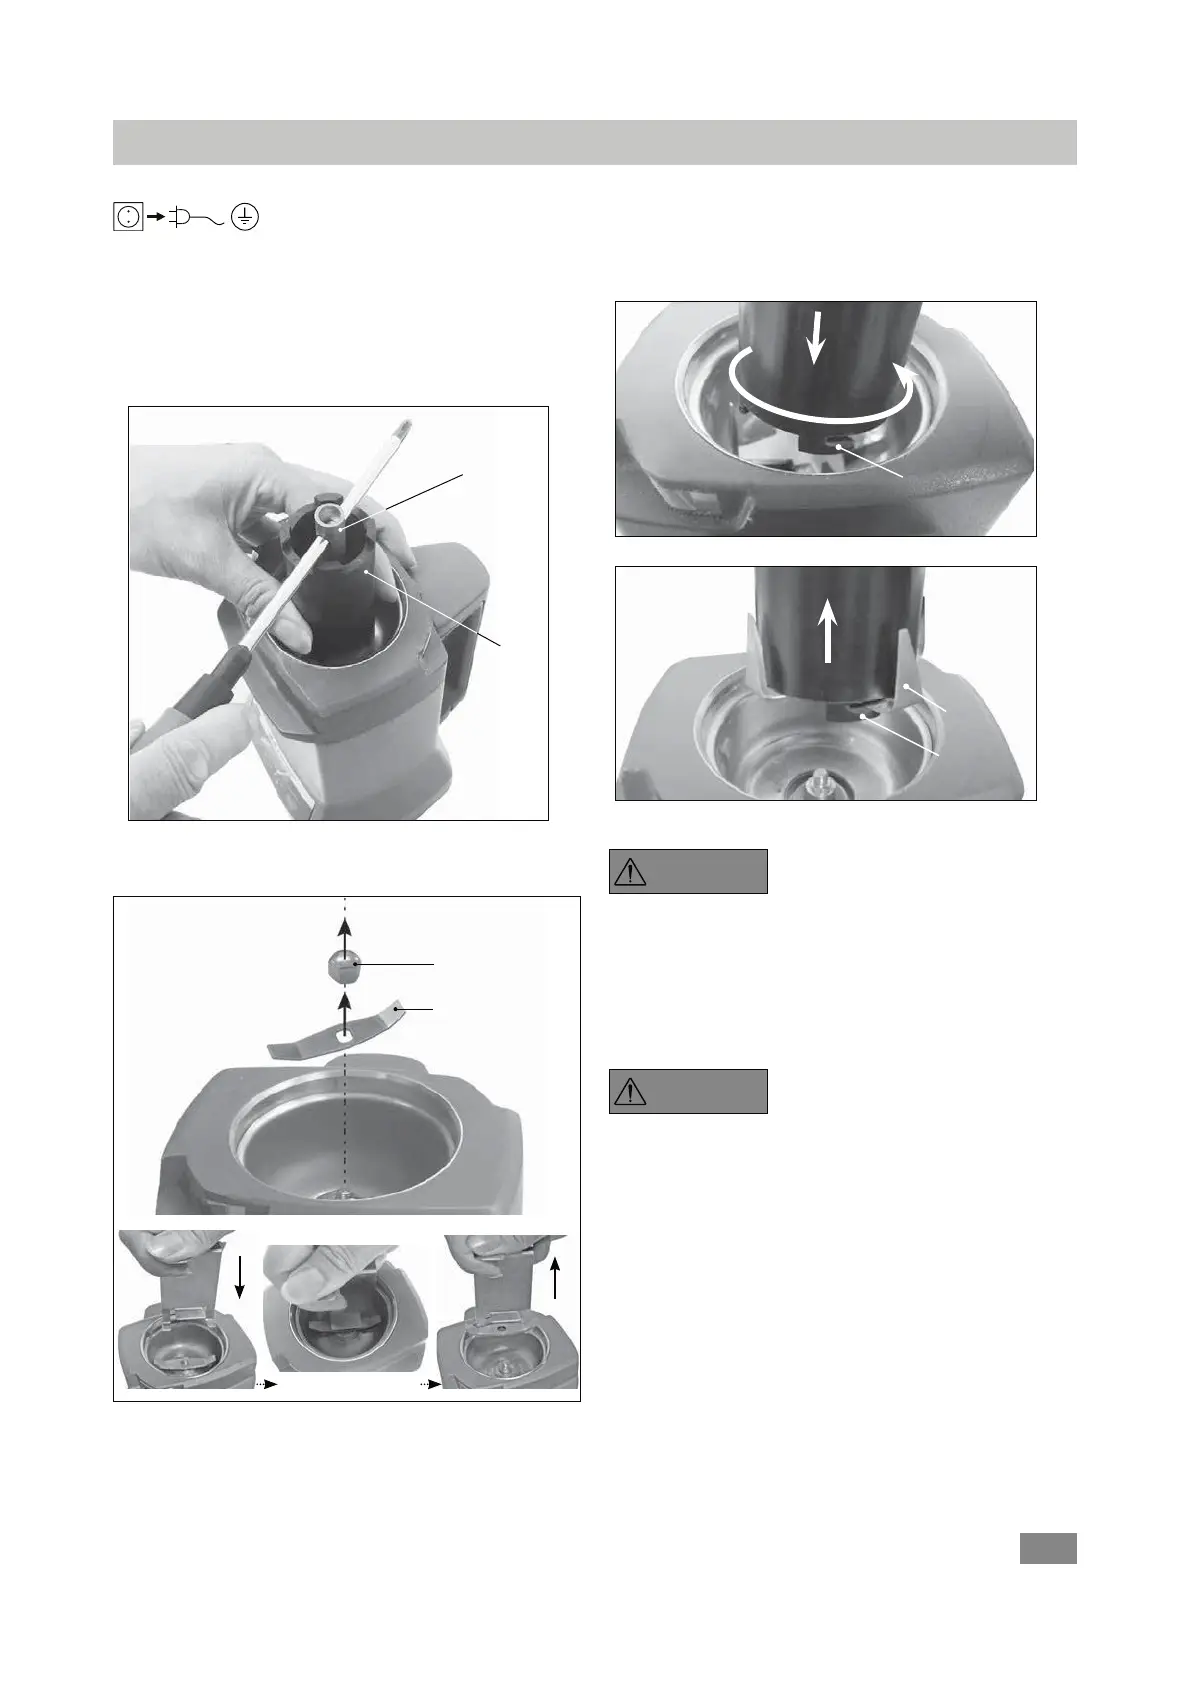
SW 8
bracket
Disconnect the mains plug prior to
exchanging or replacing the grinding
tools!
Exchanging and replacing the grinding tools as following:
Hold the grinding tool securely in place with the bracket.
Loosen the hexagonal retaining nut of the grinding tool
with socket wrench SW 8 as indicated in following Fig. 7.
Exchanging and replacing the grinding tools
Then, the hexagonal nut and the grinding tool can be re-
moved from the chamber.
Fig. 7
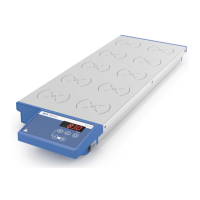
Note: When removing the A10.2 Star-shaped beater, use
the hooks on the bracket to hold the cutter. Then, the cut-
ter can be taken out of the chamber (see Fig. 9, Fig. 10).
hook
n
o
Fig. 9
hook
A17
Fig. 10
p
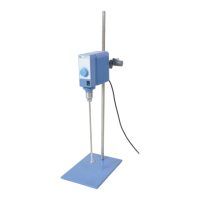
The edges of the blade are
sharp. It should only be handled
with protective gloves. Please
observe the safety instructions.
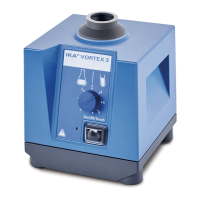
After set the new or another grinding tool in place, tight-
en the hexagonal nut in clock wise direction. To do this,
use the tools as shown in Fig. 7.
Note that when changing the tool
directly after a grinding procedure,
the pulverization tools are hot. The
mill must first be allowed to cool off.
Before assembling a new or another pulverization tool,
make certain that all parts are clean.
DANGER
DANGER
Fig. 8
Grinding tool
Hex. nut