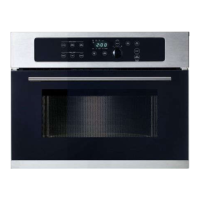
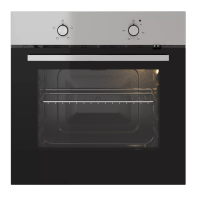
OVEN CONTROLS
Setting Delay Start
Delay Start sets a delayed starting time to oven
cooking or cleaning functions. Prior to setting a
delay start, be sure the time of day is set correctly.
Delay Start must be set while programming the
cooking function. To program oven to bake with
oven default temperature of 350°F and to shut-off
after 30 minutes:
WARNING
Food Poisoning Hazard. Do not let food sit for
more than one hour before or after cooking. Doing
so can result in food poisoning or sickness. Foods
that can easily spoil such as milk, eggs, fi sh, meat
or poultry, should be chilled in the refrigerator
fi rst. Even when chilled, they should not stand
in the oven for more than 1 hour before cooking
begins, and should be removed promptly when
fi nished cooking.
To program oven for a delay start beginning at
5:30, and for baking at 375°F:
1. Press Bake. Enter 3 7 5 using numeric keypad.
2. Press Delay Start.
3. Enter 5 3 0 using numeric keypad.
4. Press OK/START to accept.
5. The oven will turn on when the delay start time
(5:30) is reached.
NOTE
Delay Start may be set using a 24 hr clock. To set
clock for 24 Hr operation, See “Setting 12 Hour or
24 Hour display mode” on page 14 for more infor-
mation. The Delay Start feature may be used with
Convection Bake, Convection Roast, Convection
Convert, Bake, Broil and Self Clean functions.
Bread Proof
The bread proof feature maintains a warm envi-
ronment useful for rising yeast-leavened products.
Bread Proof is available only in the lower oven. The
following temperature settings apply to the bread
proof feature:
Bread proof setting: 100°F/38°C.
To set oven to Bread Proof:
1. Press Bread Proof.
2. PrF will appear in the display.
3. Press OK/START to accept.
4. The oven will maintain the proofi ng temperature.
Use oven light to check on progress. Turn light
off after checking.
5. When fi nished proofi ng press OFF.
19
EN