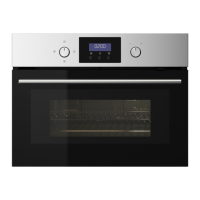
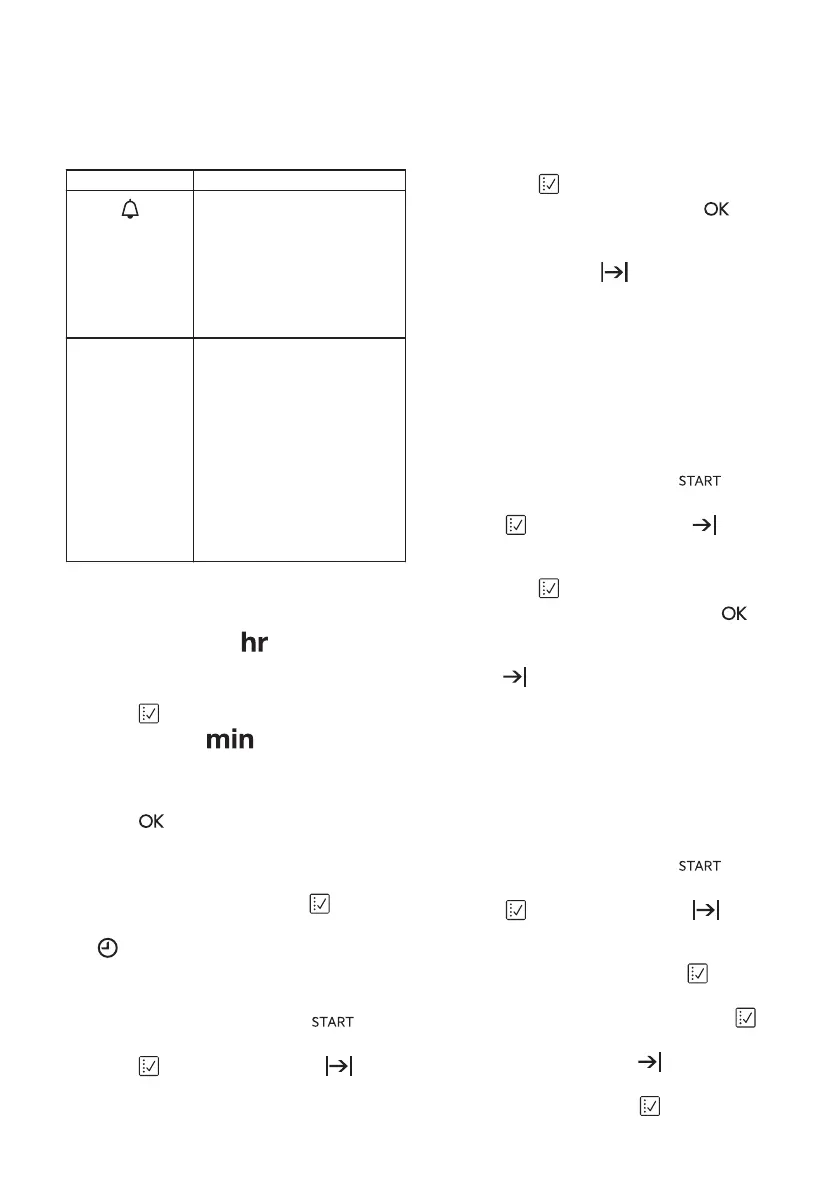
Clock function Application
MINUTE MIND‐
ER
Use to set a countdown
time. This function has no
eect on the operation of
the oven. You can set the
MINUTE MINDER at any
time, also if the oven is
o.
00:00
COUNT UP
TIMER
If you do not set any other
clock function the COUNT
UP TIMER automatically
monitor how long the
oven works.
The counting starts imme‐
diately when the oven
starts to heat.
The Count Up Timer can‐
not be used with the func‐
tions: DURATION, END.
Setting and changing the time
After the rst connection to the mains, wait
until the display shows and "12:00". "12"
ashes.
1. Turn the control knob to set the hours.
2. Press to conrm and set the minutes.
The display shows and the set hour.
"00" ashes.
3. Turn the control knob to set the current
minutes.
4. Press
to conrm or the set time of
day will be saved automatically after 5
seconds.
The display shows the new time.
To change the time of day press
again
and again until the indicator for the time of
day
ashes in the display.
Setting the DURATION function
1. Set a heating function. Press to
conrm.
2. Press again and again until starts
to ash.
3. Turn the control knob to set the minutes
and press
to conrm. Turn the control
knob to set the hours and press to
conrm.
When the set Duration time ends the signal
sounds for 2 minutes. and time setting
ash in the display. The oven turns o
automatically.
4. Press any button to stop the signal.
5. Turn the knob for the heating functions
to the o position.
This function is not available for some oven
functions.
Setting the END function
1. Set a heating function. Press to
conrm.
2. Press again and again until starts
to ash.
3. Turn the control knob to set the hours
and press
to conrm. Turn the control
knob to set the minutes and press
to
conrm.
At the set End time the signal sounds for 2
minutes.
and time setting ash in the
display. The oven turns o automatically.
4. Press any button to stop the signal.
5. Turn the knob for the heating functions
to the o position.
This function is not available for some oven
functions.
Setting the TIME DELAY function
1. Set a heating function. Press to
conrm.
2. Press
again and again until starts
to ash.
3. Turn the control knob to set the minutes
for DURATION time and press to
conrm. Turn the control knob to set the
hours for DURATION time and press
to conrm.
The display shows ashing .
4. Turn the control knob to set the hours
for END time and press to conrm.
ENGLISH
13
 Loading...