A B C
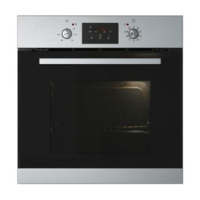
Turn the selector knob to the required
function, then turn the thermostat knob
clockwise to required temperature and press
the “ok” button. The oven is now working.
When the set temperature is reached, the
“q” indicator next to
on the oven display
disappears. At the end of the cooking, turn
the knobs to “0”.
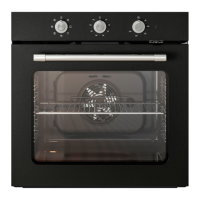
When using the grill it is advisable to set the
oven thermostat to 250 °C. This value can
be reduced whenever less intense heat is
required.
Starting the oven
When the oven is connected to the power
supply for the rst time, or reconnected
after a power failure, the display indicates
“12:00”.
Selecting and changing the clock time:
1. Press “set”. The time of day ashes on
the display.
2. Press button “-” or “+” to set the hour.
3. Press “set” and “-” or “+” to set the
minutes.
4. Press “ok” to conrm.
To change the time:
Press and hold “ok” for 3 seconds. until the
time ashes on the display. Repeat the steps
described above.
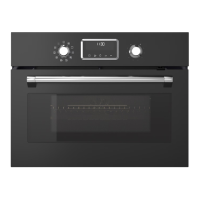
Select cooking function
1. Turn knob A to the chosen function. The
display shows the preset temperature
for that function or the power level in the
Timer
Special functions
Childproof lock
Cooking function selection knob
Cooking time
End of cooking time
 Loading...