• Secure the connecting cable with cable
clips or clamps.
Connection diagram hob
One-phase connection 220 V - 240 V ~ Two-phase connection 400 V 2L-1N ~
Insert the bridge between the
screws as shown.
Main power connection 1-phase Main power connection 2-phase
Wiring colours: Wiring colours:
Yellow / green Yellow / green
N Blue N Blue
L Black or brown L1 Black
L2 Brown
Tighten the terminal screws
securely!
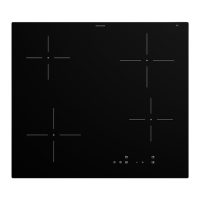
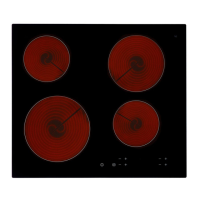
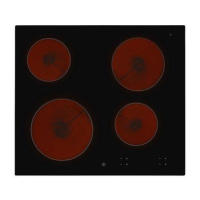
Once you connect the hob to the mains,
check if all the cooking zones are ready to
use. Place a pot with some water on the
zone and set the power setting for each
zone to the maximum level for a short time.
If or symbol comes on
the display after you activate the
hob for the first time, see the
"Troubleshooting" chapter.
ENGLISH 10
 Loading...