16
3. Obtain the AC Adapter from the Carrying Case and rotate
its DC output connector until the red dot on its connector
is visible.
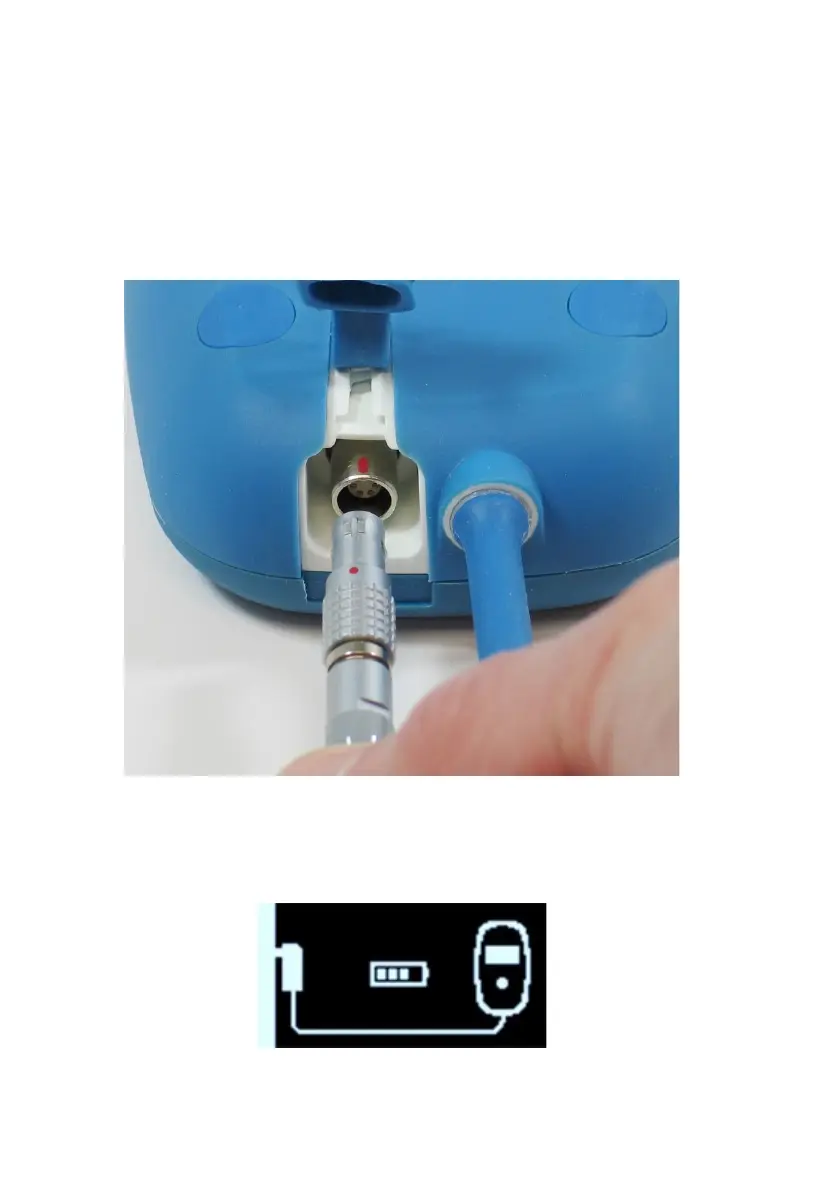
4. Line up the red dot on the DC output connector of the AC
Adapter with the red line on the power input connector of
your Vesta Charger (see Figure 8) and then insert the DC
output connector into the power input connector.
Figure 8: Alignment of the DC Connectors
Once the AC Adapter is connected to your Vesta Charger,
it will display the Charger Self-Charge Status screen. See
Figure 9.
Figure 9: Charger Self-Charge Status Screen